page A – 82
WheatNet-IP
/ Mar 2014
A P P E N D I C E S
WheatNet-IP
/ Mar 2015
The event at the top of the list is the next one due to fire. It is highlighted with a light
red background, whereas the other events in the list are normally highlighted with a light
green background.
If you click on an event in the list to select it for an action, such as to move, delete,
or disable it, the event text changes from black to white. Multiple events can be selected
using the Shift or Ctrl keys, as in normal Windows operation.
If an event is disabled it will show in the list as red text on a white background.
An example of this is shown later.
Moving Items
Events in the schedule must fire in sequence. This means that two events scheduled
to fire at the same time will still fire one after another, in the sequence they are listed on
the
Scheduled Events tab. If you have two (or more) such events and need to fire them
in a specific sequence, you can adjust their relative positions in the list. If you highlight
one of two (or more) events scheduled for the same time, one (or possibly both) of the
Move buttons (Move Up
and
Move Down) will become active. Clicking Move Up moves
the position of the event one place higher up the screen, whereas Move Down
does the
opposite. The buttons will be disabled (grayed out) if the event highlighted is scheduled
for a different time than the one in the direction that the button would move it if enabled.
Deleting Items
Just as you can delete events from the Event Manager tab, you can also delete events
from the
Scheduled Events tab. But the choices are a little more complicated. Highlight an
event on the Scheduled Events tab, click
Delete (or select Schedule>Del From Schedule
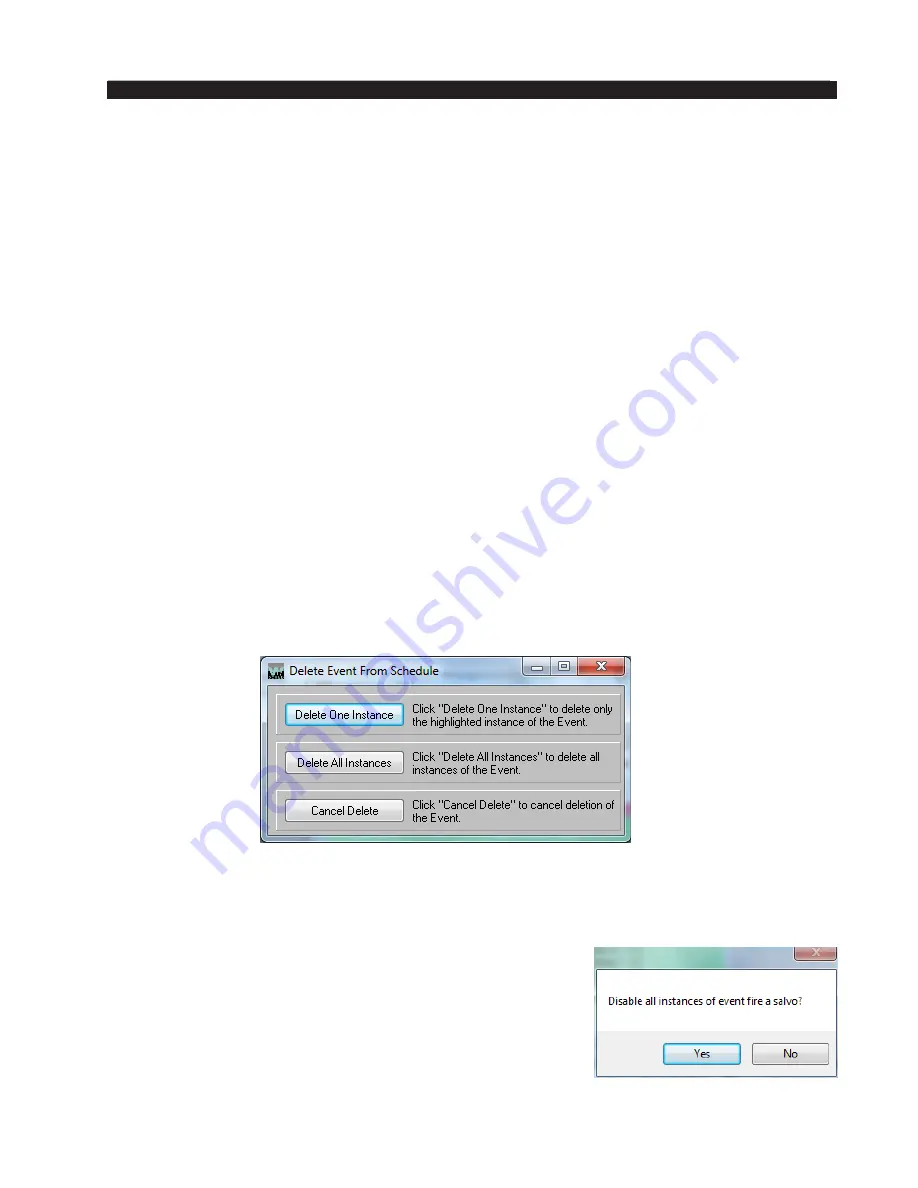
from the menu) and the following dialog pops up:
The choices are clearly explained on the dialog box. Click the appropriate button.
Enabling And Disabling Items
You can disable all instances of an event from the Scheduled Events tab. This will
prevent the event from firing but will not delete it from the
schedule. The event can later be enabled. Select an event and
click the Enable/Disable
button or select
Schedule>Enable/
Disable
from the menu. A dialog box asks you if you want
to disable all instances of the event:
Click Yes
to disable all instances of the event, or
No to
cancel the delete.


