page A – 57
WheatNet-IP
/ Mar 2014
A P P E N D I C E S
Using The Analysis Window
The first step in using the analysis window is to select the audio you want to view.
For reasons that will be mentioned below, this must be a source signal. You will not be
able to select a destination directly for analysis.
Right-click in the analysis window and select Take Source... from the popup. Find the
desired source and double-click it in the list to present that source to the analysis window.
The analysis window will now show the source’s audio in the presentation format selected,
which is O-Scope by default.
Right-click again in the analysis window to change the presentation format. Select
the desired format from the popup. Go ahead and experiment with the available formats
to determine which one you want to use for the task at hand.
Once you have selected the desired presentation format, right-click one more time in
the analysis window and select
Configure...
from the popup. You will be presented with a
number of choices to alter the analysis view. The configuration choices will be different
for each display format.
As mentioned above, you can only select sources to analyze. This is because the audio
being analyzed is streamed to the computer from the host Blade via the meter analysis
destination signal that was created when the application was set up as a 3rd party device.
By default, this destination is named Anlys A and appears as a destination on the host
Blade that was selected for the meter application.
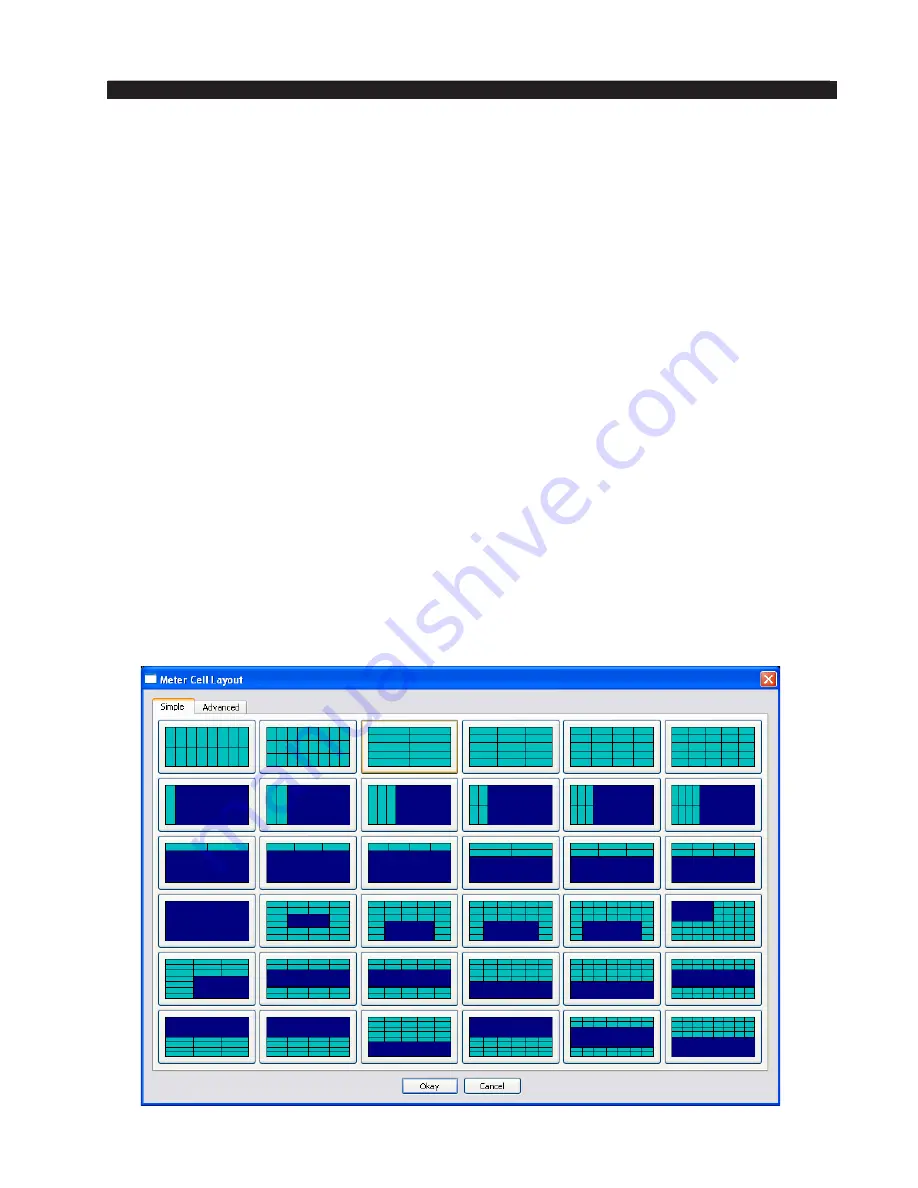
Changing The Meter Layout
So far we’ve been working with the default meter layout. Select
Layout>Configure...
to bring up the Meter Cell Layout dialog to edit this layout. The Simple tab shows a gallery
of layout starting points.


