Page 42
VP-X Installation and Operating Manual
Rev. D (August 5, 2020)
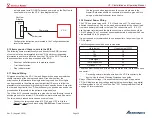
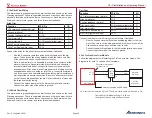
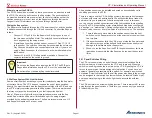
The table below shows the switch inputs and the associated pin.
Function
VP-X Pin
I/O
Switch 1 Input
J2-1
I
Switch 2 Input
J2-2
I
Switch 3 Input
J2-3
I
Switch 4 Input
J2-4
I
Switch 5 Input
J2-5
I
Switch 6 Input
J2-6
I
Switch 7 Input
J2-7
I
Switch 8 Input
J2-8
I
Switch 9 Input
J2-9
I
Switch 10 Input
J2-10
I
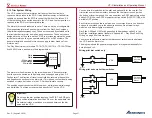
5.21a Standard switches
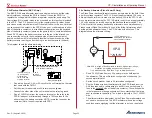
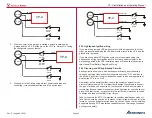
The diagram below shows how to wire a switch or group of switches. While
there are ten switch inputs, you can use only the inputs that you need and
leave the unused inputs unconnected.
Switch 1
Switch 2
Switch 3
Switch 4
Switch 10
VP-X
Switch 1
J2-1
J2-2
J2-3
J2-4
Switch 2
Switch 3
Switch 4
Switch 10
VP-X
• Wire each switch to an input on the VP-X.
• Wire the other terminal on each switch to ground. Use the same
ground block as the VP-X ground wiring.
5.21b Wiring lighted switches
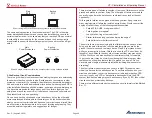
Lighted switches can be used with the VP-X but certain factors must be
considered. Lighted switches are designed in many different ways.
A common design has three terminals on the back, and the switch must
be used on the powered side of a circuit. The switch uses the power it is
switching to also power the light in the switch. This will not work with the
VP-X as the VP-X switch inputs require ground and not power.
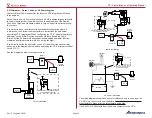
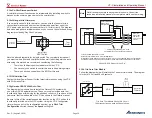
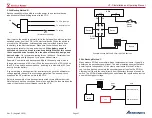
A switch that works with the VP-X has the lighting circuit separate from the
switching circuit. When you turn on (close) the switch, it provides a ground to
the VP-X switch input and also provides a ground to the light on the switch,
causing it to turn on. The diagram below shows how to wire a lighted switch:
Switch
(back view)
Switch terminals
VP-X
Switch
Input
1N4005
Diode
Ground
+12V/24V
Light terminals
+
-
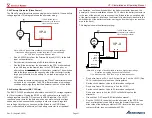
A diode must be placed on each switch input to the VP-X.
Most switches are part of a “family” and a specific style comes in multiple
configurations. Therefore, if the switch you like does not work with the VP-
X, look at the manufacturer’s catalog and see if they make another similar
switch that does work. Because of the wide variety of switches that are
available, we recommend testing a single switch first before cutting your
instrument panel.


