Operation Panel
4-66
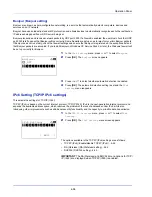
2
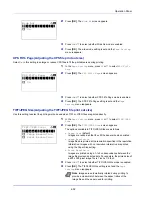
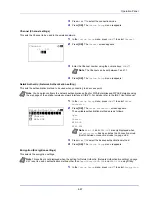
Press
[OK]
. The
PIN code
entry screen appears.
3
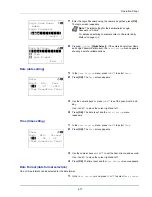
Enter the PIN Code using the numeric keys.
4
Press
[OK]
. The message
Connecting...
appears and the
connection with the access point starts.
Custom Setup (Detailed settings for the wireless network)
It is possible to change the detailed settings of the wireless network.
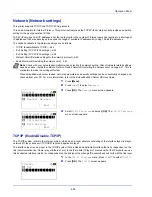
1
In the
Wireless Network
menu, press
or
to select
Custom
Setup
.
2
Press
[OK]
. The
Custom Setup
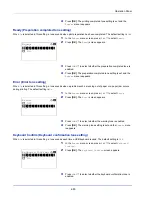
menu screen appears.
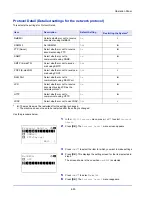
The following operations are possible:
• Netwk Name (SSID) (Registration of the access point's SSID)
• Connection mode (Switch between connection modes)
• Channel (Channel settings)
• Netwk Authentic. (Network Authentication setting)
• Encryption (Encryption settings)
Netwk Name (SSID) (Registration of the access point's SSID)
This sets the SSID (Service Set Identifier) for the wireless network access point the machine will be connected to.
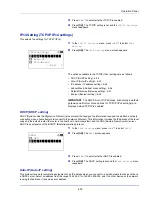
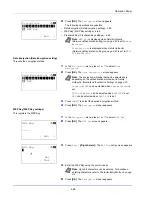
1
In the
Custom Setup
menu, press
or
to select
Netwk
Name(SSID)
.
2
Press
[OK]
. The
Netwk Name(SSID)
entry screen appears.
3
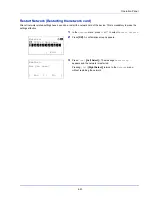
Enter the access point's SSID using the numeric keys.
4
Press
[OK]
. The
Custom Setup
menu reappears.
Connection mode (Switch between connection modes)
This selects the method for connecting to the wireless network. Set
Ad Hoc
when machines will be connected directly with
each other, without going through an access point.
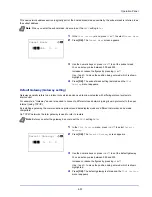
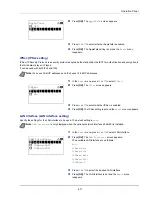
1
In the
Custom Setup
menu, press
or
to select
Connection
Mode
.
2
Press
[OK]
. The
Connection Mode
screen appears.
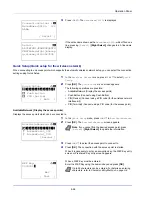
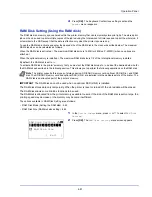
The available Connection Mode are as follows:
Ad Hoc
(Connect without going through access points)
Infrastructure
(Connect via an access point)
Note
Up to 8 characters can be entered. For details on
entering characters, refer to
Character Entry Method on page
A-2
.
PIN Code:
a
b
*
S
ABC
[ Text
]
Custom Setup:
a
b
********************-
2
Connection Mode
3
Channel
[ Exit
]
1
Netwk Name(SSID)
Note
Up to 32 characters can be entered. For details on
entering characters, refer to
Character Entry Method on page
A-2
.
Netwk Name(SSID):
a
b
*
S
ABC
[ Text
]
Connection Mode:
a
b
1
Ad Hoc
********************-
2
*Infrastructure
Summary of Contents for P-4030D
Page 1: ...User manual P 4030D 4030DN 4530DN P 5030DN 6030DN Print A4 Laser Printer b w ...
Page 22: ...Machine Parts 1 6 ...
Page 60: ...Printing 3 8 ...
Page 71: ...4 11 Operation Panel Menu Map Sample Menu Map Printer Firmware version ...
Page 163: ...4 103 Operation Panel 5 Press or to select whether Thin Print is enabled ...
Page 194: ...Operation Panel 4 134 ...
Page 232: ...Document Box 5 38 ...
Page 238: ...Status Menu 6 6 ...
Page 272: ...Troubleshooting 8 24 ...
Page 311: ......

