28
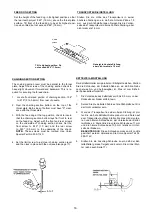
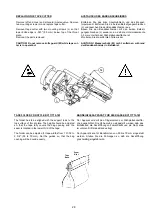
REPLACING THE TAPE CUTTER
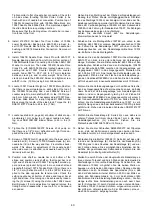
Remove left end cover and solenoid impulse valve. Remove
two mounting screws (L) and replace tape cutter.
Remount tape cutter with two mounting screws (L) so that
lower knife edge is .020" (0.5 mm) below top of the throat
plate.
Remount the parts removed.
CAUTION! Do not remove knife guard (M) while tape cut-
ter is in operation!
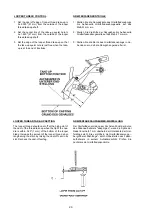
AUSTAUSCH DES BANDABSCHNEIDERS
Entfernen Sie das linke Abschlußblech und das Magnet-
Impulsventil. Entfernen Sie die beiden Befestigungsschrauben
(L) und tauschen Sie den Bandabschneider aus.
Bauen Sie den Bandabschneider mit den beiden Befesti-
gungsschrauben (L) wieder so an, daß die Untermesserkante
0,5 mm unterhalb der Stichplattenoberfläche ist.
Montieren Sie die entfernten Teile wieder.
ACHTUNG! Messerschutz (M) nicht entfernen, während
der Bandabschneider in Betrieb ist.
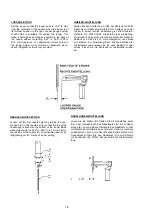
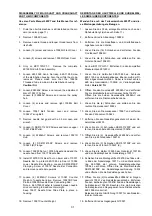
TAPE FOLDER FOR STYLE BC111T12-1M
The folder has to be aligned with the support rods to the
top surface of throat plate. The height should be adjusted
so, that the tape fully covers the bag opening and the
seam is located in the lower third of the tape.
The folder can be adjusted for tape widths from 1 31/32 to
2 3/4" (50 to 70 mm). Set the guides so, that the bag
opening will be bound equally .
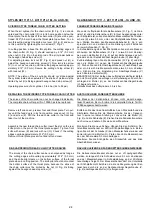
BANDEINFASSAPPARAT FÜR DIE KLASSE BC111T12-1M
Der Apparat wird mit den Trägerbolzen zur Stichplattenoberflä-
che ausgerichtet. Die Höhe muß so eingestellt werden, daß das
Einfaßband die Sacköffnung voll umschließt und die Naht etwa
im unteren Drittel des Bandes liegt.
Der Apparat kann für Bandbreiten von 50 bis 70 mm eingestellt
werden. Stellen Sie die Führungen so, daß die Sacköffnung
gleichmäßig eingefaßt wird.
Tape
Band
Seam
Naht
Summary of Contents for BC100
Page 15: ...13...
Page 25: ...23...
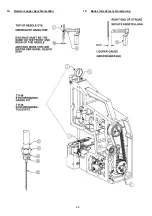
Page 44: ...42 19 Needle Looper Synchronisation 19 Nadel Greifersynchronisierung...
Page 49: ...47 NOTES NOTIZEN...
Page 50: ......


