2-29
Chapt
er
2
S
e
tt
ing-Up
Options
5
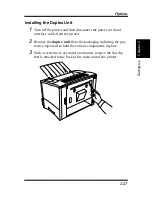
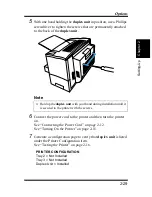
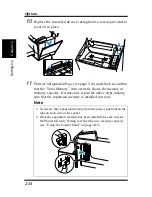
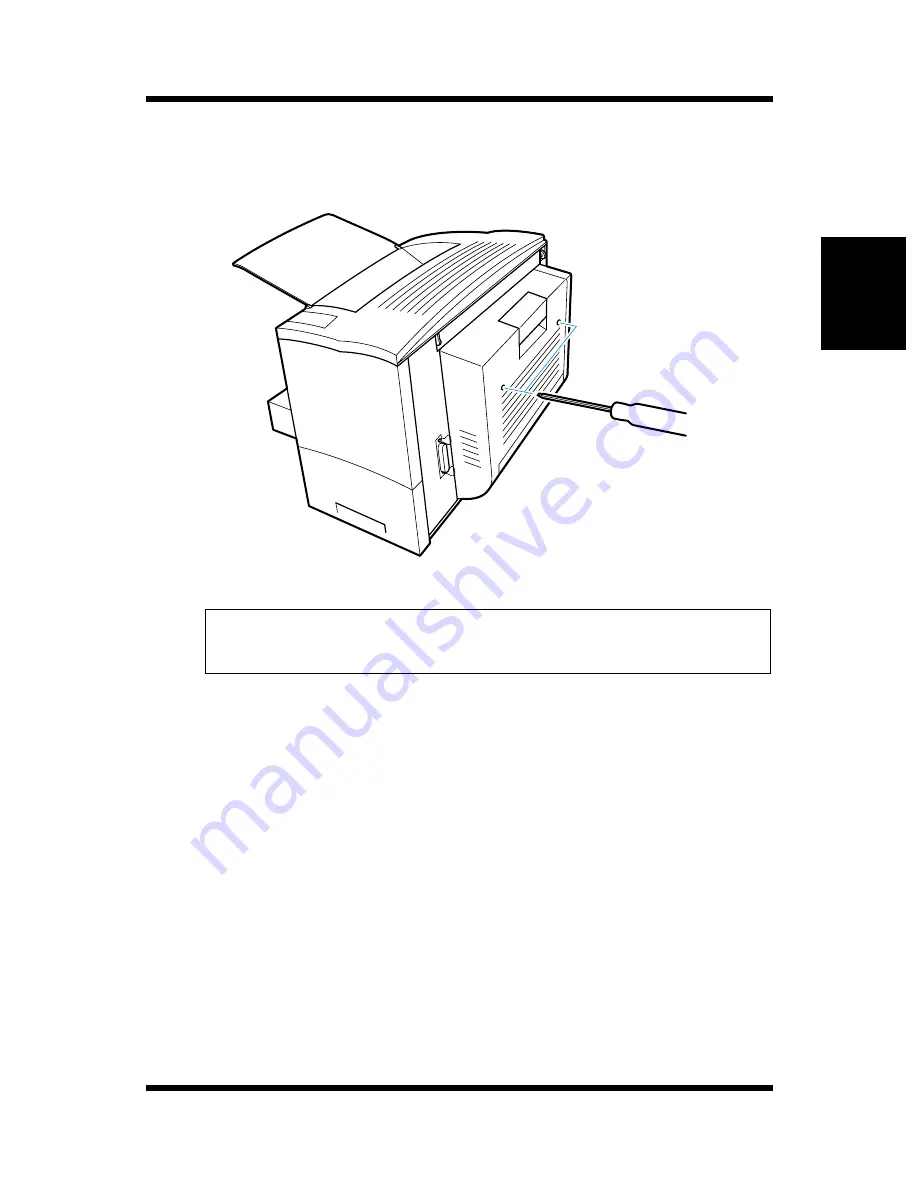
With one hand holding the duplex unit in position, use a Phillips
screwdriver to tighten the screws that are permanently attached
to the back of the duplex unit.
Note
6
Connect the power cord to the printer and then turn the printer
on.
See “Connecting the Power Cord” on page 2-12.
See “Turning On the Printer” on page 2-15.
7
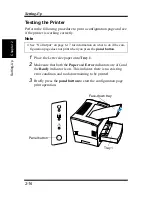
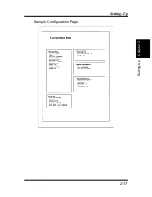
Generate a configuration page to verify that duplex unit is listed
under the Printer Configuration item.
See “Testing the Printer” on page 2-16.
◆
Hold up the duplex unit with your hand during installation until it
is secured to the printer with the screws.
PRINTER CONFIGURATION
Tray 2 = Not Installed
Tray 3 = Not Installed
Duplex Unit = Installed
Summary of Contents for LP 218
Page 1: ...INSTRUCTION HANDBOOK LP 218 Laser Printer 300 Series ...
Page 9: ...viii Foreword ...
Page 15: ...xiii Contents ...
Page 16: ...MEMO ...
Page 17: ...xv Contents ...
Page 18: ...Chapter 1 Introduction 1 1Chapter Introduction ...
Page 19: ...Chapter 1 Introduction ...
Page 26: ...Chapter 2 Setting Up 2 2Chapter Setting Up ...
Page 27: ...Chapter 2 Setting Up ...
Page 44: ...2 17 Chapter 2 Setting Up Setting Up Sample Configuration Page ...
Page 62: ...Chapter 3 Using the Printer 3 3Chapter Using the Printer ...
Page 63: ...Chapter 3 Using the Printer ...
Page 82: ...Chapter 4 PCL Printer Driver 4 4Chapter PCL Printer Driver ...
Page 83: ...Chapter 4 PCL Printer Driver ...
Page 165: ...4 82 Uninstalling the USB Device Driver Chapter 4 PCL Printer Driver ...
Page 166: ...Chapter 5 Maintenance 5 5Chapter Maintenance ...
Page 167: ...Chapter 5 Maintenance ...
Page 180: ...Chapter 6 Troubleshooting 6 6Chapter Troubleshooting ...
Page 181: ...Chapter 6 Troubleshooting ...
Page 219: ...6 38 Indicator Lights Printer Messages Chapter 6 Troubleshooting ...
Page 220: ...Chapter 7 Specifications 7 7Chapter Specifications ...
Page 221: ...Chapter 7 Specifications ...
Page 230: ...Appendix Glossary A Glossary Appendix A ...
Page 231: ...Glossary Appendix A ...


