Section 1 Basic Printer Functions
1-2
1. 1 Installation Requirements
The following conditions are required for the installation of the equipment.
1. Power source should be rated as:
120V +6% or -10%, 50/60Hz, 15A or higher
2. The equipment must be on a dedicated circuit.
3. The outlet must be near the equipment and easily accessible.
1. Make sure to connect this equipment to a properly grounded outlet.
2. The outlet shall be installed near the equipment and shall be easily accessible.
Site Environmental Conditions
Temperature Range
10 C to 30 C
50 F to 86 F
Humidity Range
20% to 85% RH. (NON CONDENSING)
Keep the printer away from water sources, boilers, humidifiers or refrigerators.
1. The installation site must not have any open flames, dust or ammonia gases.
2. The equipment must not be exposed to the air vents from heating/cooling systems.
3. The equipment should not be exposed to the direct sunlight.
Please draw curtains to block any sunlight.
When you open the printer (Upper Half), do not expose the Photoconductive Drum
to strong (intense) light as this will damage the Drum.
Ozone will be generated while this equipment is in use, although the quantity generated
is within all safe levels. (see certifications) Ventilate the room, if so required.
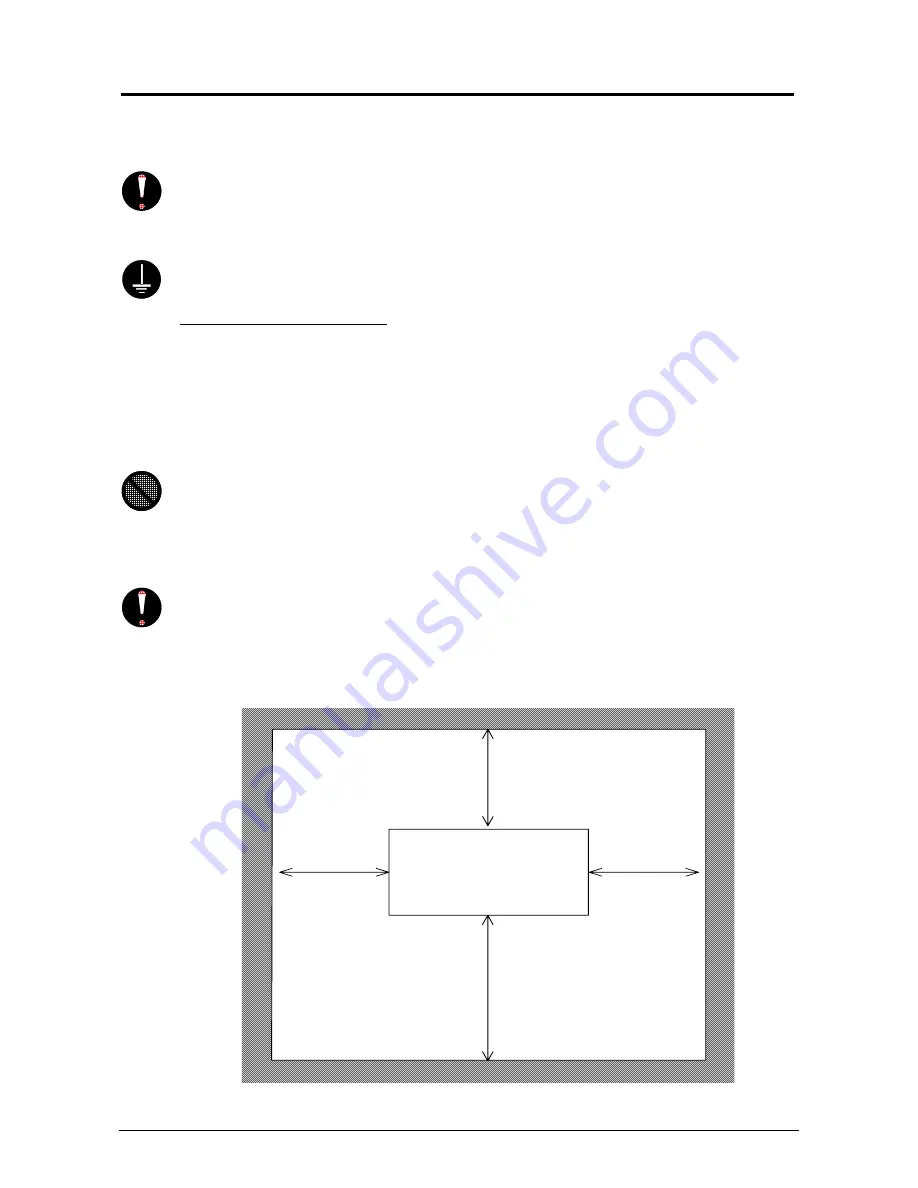
Keep ample space around the equipment to ensure comfortable operation.
(Refer to the following figure.) The floor must be level and the strength must be ample to
sustain the weight of the equipment.
System
45cm / 18”
or wider
45cm / 18”
or wider
(Front)
(Rear)
60cm / 24” or larger
when the standard tray is installed
80cm / 32” or larger
Summary of Contents for CX 8036
Page 1: ...Instruction Handbook CX 8036 Large Format System ...
Page 68: ...Section 2 Copy Mode 2 28 ...
Page 94: ...Section 4 Job Info Screen 4 8 ...
Page 138: ...Section 6 Windows Driver 6 22 ...
Page 150: ...Section 7 AutoCAD HDI Driver 7 12 5 0 Custom Settings 1 2 7 3 8 4 9 10 6 5 ...
Page 201: ...Section 8 Request 8 45 ...
Page 206: ...Section 8 Request 8 50 ...
Page 224: ...9 18 Section 9 KIP Print Net KIP PrintNet on Opera ...
Page 228: ...9 22 Section 9 KIP Print Net ...
Page 242: ...Section 11 Connectivity 11 8 ...
Page 246: ... 4 ...
Page 252: ...2 2 Select the Applications folder 3 Select the Utilities folder ...
Page 255: ...5 8 Select Add 9 The printer set up will be in the Printer List ...
Page 265: ......
Page 268: ...UTAX GmbH Ohechaussee 235 22848 Norderstedt Germany ...


