Section 8 Request
8-8
2. 0 Function / Feature Details
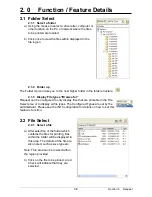
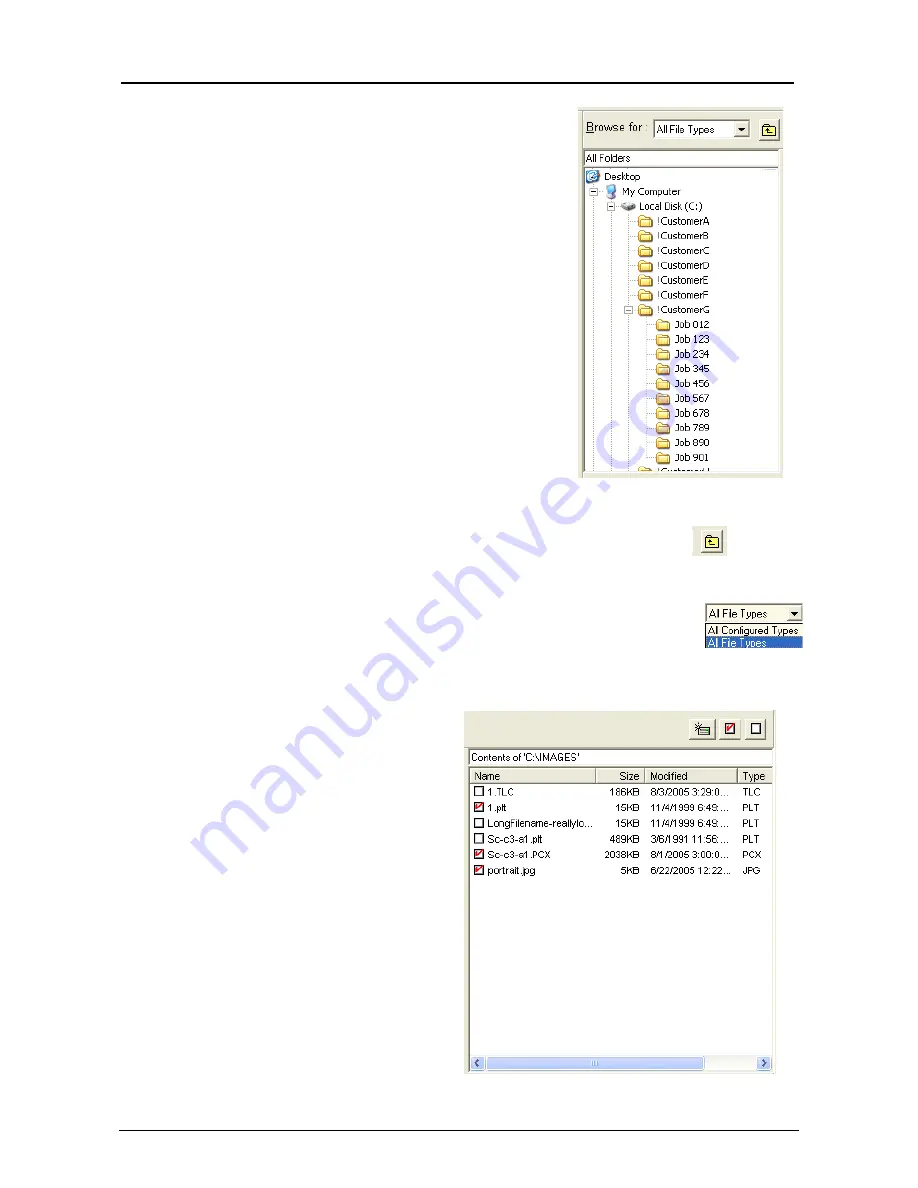
2.1 Folder Select
2.1.1 Select a folder
a) Using the mouse to select a drive letter, computer or
other location on the PC or network where the files
to be printed are located.
b) Click once to view the files within displayed in the
file region.
2.1.2 Folder
up
The Folder Up icon take you to the next higher folder in the folder structure.
2.1.3 Display File types “Browse for”
Request can be configured to only display files that are printable in the File
Select area or to display all file types. The Configured Types are set by the
administrator. Please see the INI. Configuration for details on how to set this
feature’s function.
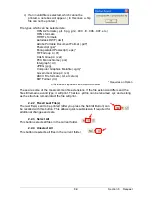
2.2 File Select
2.2.1 Select a file
a) After selection of the folder which
contains the files for printing, files
within the folder will be displayed in
this area. The details of the file are
also noted, such as size type etc.
Note: This area can be resized within
the region provided.
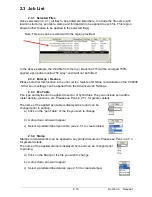
b) Click on the file to be printed: a red
Check will indicate that they are
selected.
Summary of Contents for CX 8036
Page 1: ...Instruction Handbook CX 8036 Large Format System ...
Page 68: ...Section 2 Copy Mode 2 28 ...
Page 94: ...Section 4 Job Info Screen 4 8 ...
Page 138: ...Section 6 Windows Driver 6 22 ...
Page 150: ...Section 7 AutoCAD HDI Driver 7 12 5 0 Custom Settings 1 2 7 3 8 4 9 10 6 5 ...
Page 201: ...Section 8 Request 8 45 ...
Page 206: ...Section 8 Request 8 50 ...
Page 224: ...9 18 Section 9 KIP Print Net KIP PrintNet on Opera ...
Page 228: ...9 22 Section 9 KIP Print Net ...
Page 242: ...Section 11 Connectivity 11 8 ...
Page 246: ... 4 ...
Page 252: ...2 2 Select the Applications folder 3 Select the Utilities folder ...
Page 255: ...5 8 Select Add 9 The printer set up will be in the Printer List ...
Page 265: ......
Page 268: ...UTAX GmbH Ohechaussee 235 22848 Norderstedt Germany ...


