❏
10. After the glue has thoroughly dried, remove all
the T-pins you can reach. Carefully lift the fin (with
the rudder) from your building board. Trim the jig tabs
from the ribs and take out the rest of the T-pins.
❏
11. Use a razor plane or a #11 blade to trim the
right side of the LE so it is the same size as the front
of the ribs and matches the airfoil shape.
❏
12. Sand the ribs, leading edges, fin spar, rudder spar
and trailing edges so that they blend.
❏
13. Glue the end of R1A, that was cut off earlier,
to the sheeting and to R1A.
❏
14. Bevel the trailing edge of the left rudder skin
the same way you did the stab.
❏
15. Glue the four die-cut 1/8” [3.2mm] balsa
rudder torque rod blocks
between ribs R1A and
R2 in the rudder.
❏
16. Cut five 1-7/8” [47.6mm] long
hinge blocks
from the 1/4” x 3/8” x 36” [6.4 x 9.5 x 914mm] balsa
stick. Test fit, then glue the hinge blocks, evenly
spaced vertically, to the fin TE spar and the rudder
LE spar where shown on the plan.
❏
17. Glue the die-cut 1/8” [3.2mm] balsa
fin gusset
to the hinge block and rib R6. The gusset should be
raised so it is even with the left side of the fin TE and
rib R6 (so it does not interfere with the hinge slot).
❏
18. Trim the rudder torque rod blocks and any
hinge blocks so they are even with the ribs.
❏
19. Reinforce all glue joints that don’t look strong.
❏
20. Glue the other rudder and fin skin to the right
side of the rudder and fin.
Optional:
Use the die-cut
1/8” [3.2mm] balsa
fin/stab cradles R1C
and
R6C
to
hold the fin and rudder flat on your workbench while
you glue the right skins on.
❏
21. Sand the tip of the fin and rudder sheeting
flush with rib R6.
❏
22. Cut the ribs and separate the rudder from the
fin. Sand the excess sheeting and rib stubs from the
TE of the fin and the LE of the rudder. Sand the
bottom of the rudder even with rib R1A.
❏
23. Glue a die-cut 1/8” [3.2mm] balsa
fin trailing
edge (R9)
to the fin TE spar and a die-cut 1/8”
[3.2mm] balsa
rudder leading edge (R9)
to the
rudder LE spar. Sand the fin TE and rudder LE so
they blend with the tips and skins.
❏
24. Use the
straightedge and pin technique to
draw a centerline on the LE of the rudder and the TE
of the fin.
❏
25. Cut the
hinge slots
on the centerline of the fin
and rudder where shown on the plan.
❏
26. Cut three more hinges from the hinge strip and
temporarily join the rudder to the fin. If necessary,
adjust the hinge slots so the fin and rudder align.
❏
27. Securely tape the rudder to the fin with
masking tape on both sides. Sand the ends of the fin
and rudder so they are even.
❏
28. Draw a centerline on the top and bottom of the
3/4” x 1-7/16” x 7-3/8” [19 x 36.5 x 187mm] balsa
fin
tip block
. Cut the block into two pieces as shown on
the plan. Sand the edges you just cut so they are
smooth and match the angle on the plan.
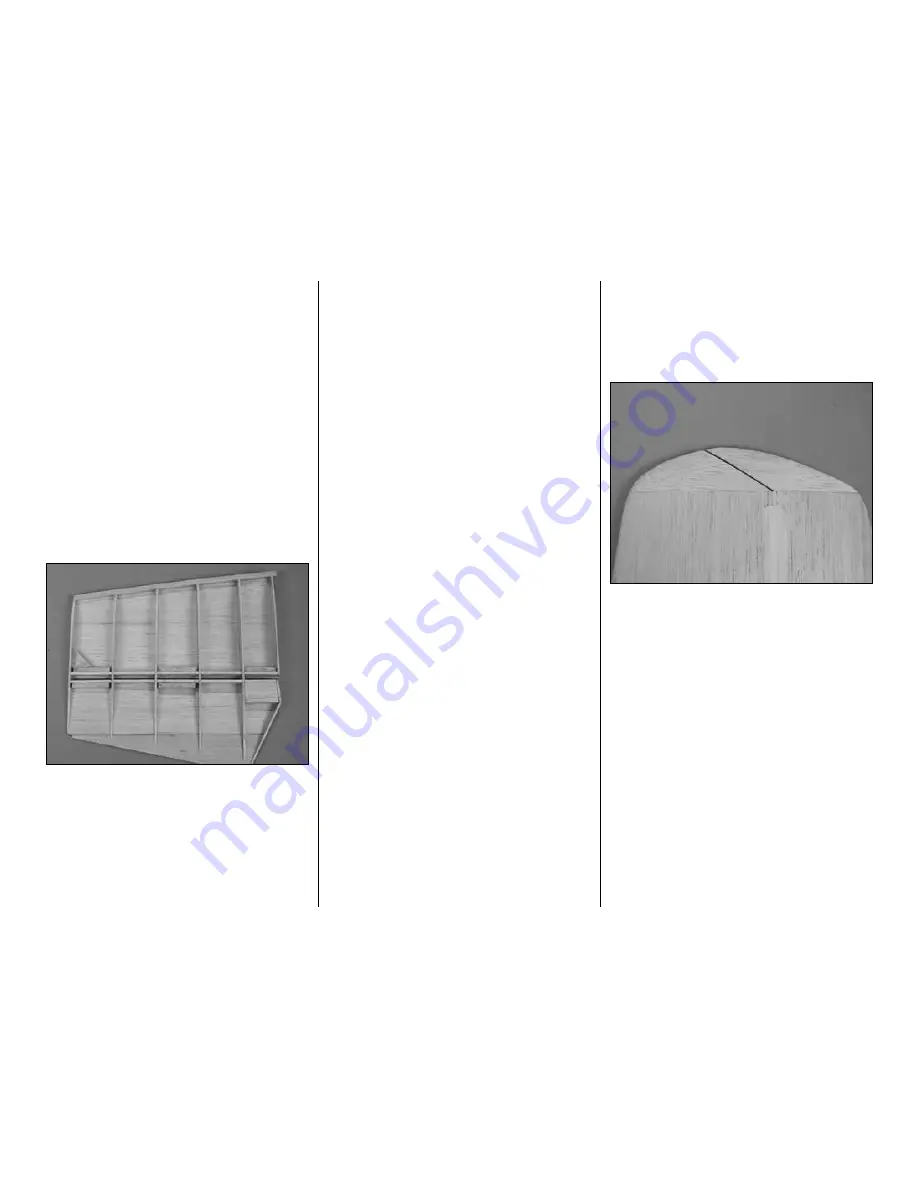
Use this photo for the next two steps.
❏
29. Use thick or medium CA to glue the rudder and
fin tip blocks to the rudder and fin in the same manner
that you glued the tip blocks to the elevator and stab.
Use the centerline on the tip blocks as a guide to make
sure it is centered on the rudder and fin.
❏
30. Use a razor plane or a hobby carving knife
followed by sanding to carefully shape the fin and
rudder tip blocks. Inspect your progress frequently
and use the centerlines as a guide.
Hint:
Stick a T-pin through the top of the rudder tip
into the fin. This will hold the rudder tip while you
shape it.
❏
31. Shape the LE of the fin as you did with the stab.
❏
32. Separate the rudder from the fin.
❏
33. Shape the leading edge of the rudder to a “V”
as you did with the elevators. Use the centerline on
the leading edge as a guide. Make sure the angle of
the “V” will allow the throws indicated in the back of
this manual.
-17-
Summary of Contents for T-34B MENTOR
Page 7: ...7 DIE CUT PATTERNS...


