Quick Start Guide
Thank you for purchasing the IDEA10 aircraft. Please read all instructions carefully.
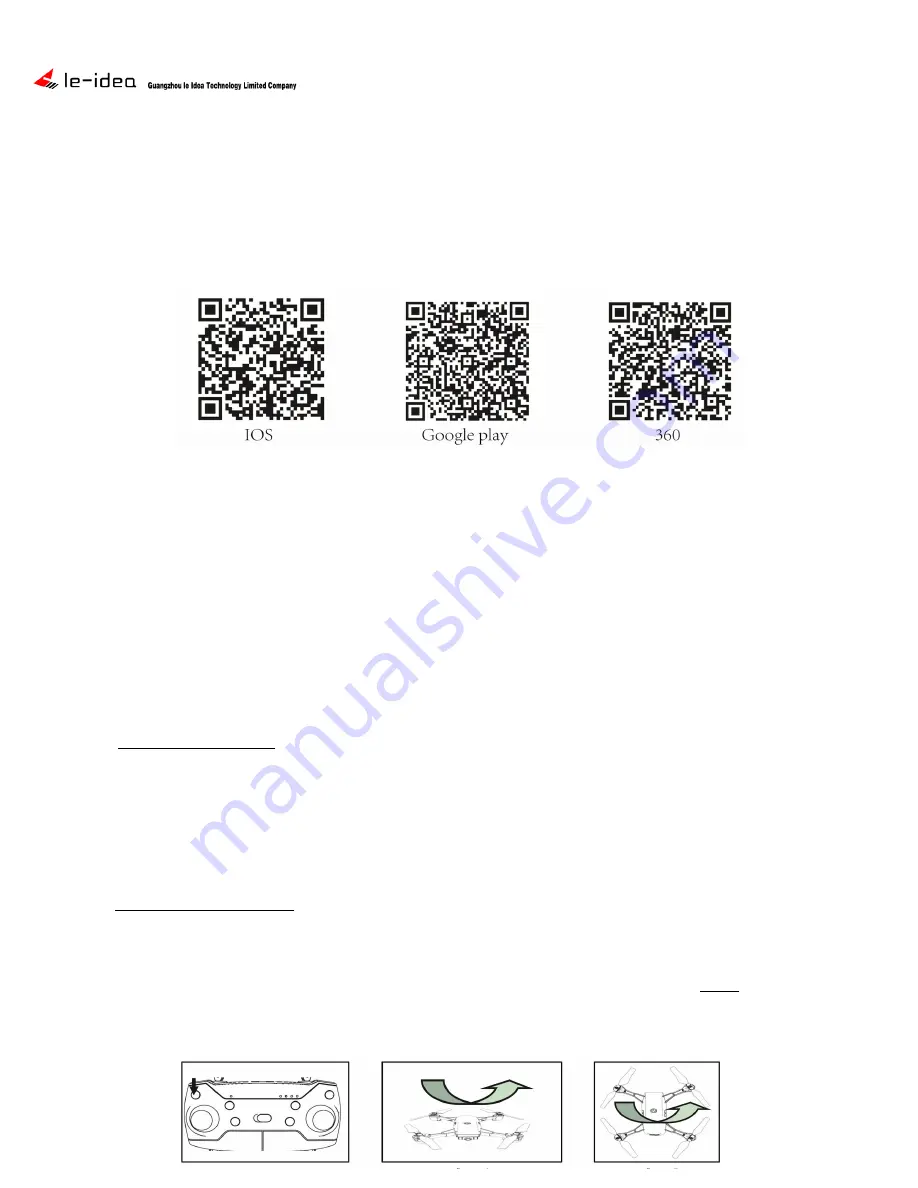
1) Download the APP. The free APP allows the aircraft to communicate with your device.
This pairing also enables Photos, Videos and Selfie/Follow mode in addition to other
advanced features. To download: scan QR code below using your device camera or a
QR reader.
2) This aircraft emits its own WiFi band. Once aircraft is powered on (step 5) you will
need to connect your device to the WiFi before using the APP. Search and connect to
(WiFi-1080P-GPS-xxx). If you are not familiar with this type of connection, refer to your
specific device manual or the Flight Guide.
3) The physical controller is the safest way to control this aircraft. The APP has
advanced functions, but a shorter range. It is advisable to use the APP for functions
such as: initiate selfie/follow mode, take pictures or to begin recording video. FPV and
VR modes are also available. Please refer to the Flight Guide for in depth APP guide.
4) Unfold the arms of the aircraft and carefully insert a fully charged battery into the
battery compartment until snug and fit. Battery should be fully charged before each
use. It will take about 120 minutes to fully complete a charge cycle.
5)
POWER AIRCRAFT: Place it on flat level surface with no overhead obstructions or
magnetic fields (power lines etc.) Press the power button on the top of your aircraft
until all 4 LED’s (2 Red 2 White) begin to flash.
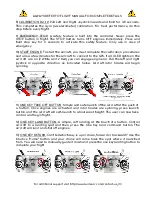
6) After inserting appropriate batteries into the remote control, turn it on by sliding
the power switch to the right. The remote control should sound a “beep” and display 4
blue LED lights. Flip left joystick up and then down to pair remote with aircraft.
7)
CALIBRATION Part 1: Press GPS button on the remote you will hear a “beep”. While
drone is on a level surface, slowly spin it counter-clockwise until RED LED lights stop
blinking.. While drone is still in hand, flip nose down (camera facing down) and slowly
turn the aircraft counter-clockwise until WHITE LED lights stop blinking. You will hear
distinct “beeps” during this process. It is important to keep aircraft
level during this
process. Wait about 30 seconds. If all 4 LED lights are on (2 White 2 Red) this confirms
successful calibration. If not, power down aircraft and remote and restart the process
again.


