❏
8. Cut
stringers
from 3/16” x 3/16” x 30” [4.8 x 4.8
x 762mm] balsa sticks to fit from the firewall to F7D
and from the firewall to F2A. Use leftover sticks
wherever possible. Glue the stringers into position.
❏
9. Sand the stringers and canopy base to conform
to the contour of the formers.
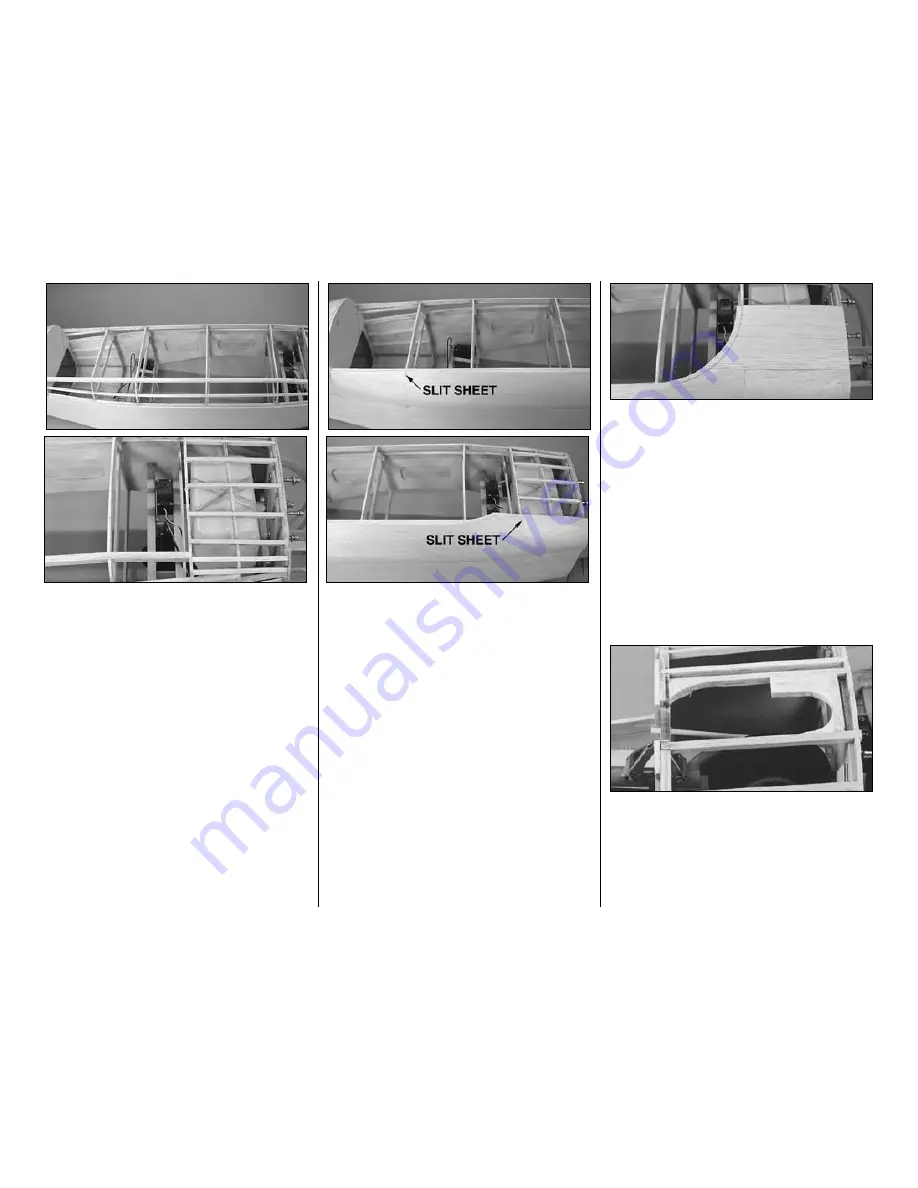
❏ ❏
10. Sheet the forward right side of the fuselage
using a 3/32” x 3” x 30” [2.4 x 76 x 762mm] balsa
sheet. Select the
softest balsa sheet you have left.
Sand the bottom of the sheet as needed to fit the
curve of the fuselage side. Start by gluing the sheet
in place at the bottom between F3, F4 and F5 with
thin CA. Soak the outside of the sheet thoroughly
with a mixture of rubbing alcohol and water. Next,
bend the sheet over and glue it to F3, F4, F5 the side
stringer and the canopy base, holding it in place until
the CA cures. Slit the sheet vertically at F6 and
continue gluing it in place from F5 to F7 using the
same technique. You will need to sand the edges of
the vertical slit to fit the slit together. At the front of
the fuselage, slit the sheet vertically at F2 and glue it
in place in the same manner. You will find this
surprisingly easy to do.
Note:
The sheeting sticks out slightly where it joins
the lower fuselage sheeting. This will be sanded
smooth later.
❏ ❏
11. Use a short piece of 3/32” [2.4mm] balsa
sheet and glue it in place on the top of the fuselage
from the firewall to F2. The sheet should be trimmed
at the center of the center stringer. Note that we
traced the shape of the canopy onto the sheeting.
❏
12. Sheet the other side of the fuselage in the
same manner.
❏
13. Sand the front of the sheeting even with the
firewall. Sand the top even with the canopy base.
Sand the sides of the sheeting even with the lower
fuselage sheeting.
SHEET THE FORWARD BOTTOM
❏
1. If you’re installing retracts, turn the fuselage over
and build a small
framework from leftover balsa to
support the sheeting around the nose wheel cutout.
❏
2. Use leftover 1/16” [1.6mm] balsa sheeting to
seal around the nose gear between F1 and F2. This
will prevent fuel and exhaust residue from entering
the fuselage.
-52-
Summary of Contents for T-34B MENTOR
Page 7: ...7 DIE CUT PATTERNS...


