MOUNT THE WING TO THE FUSE
Remember the wing? Go get it so you can mount it
to the fuse.
❏
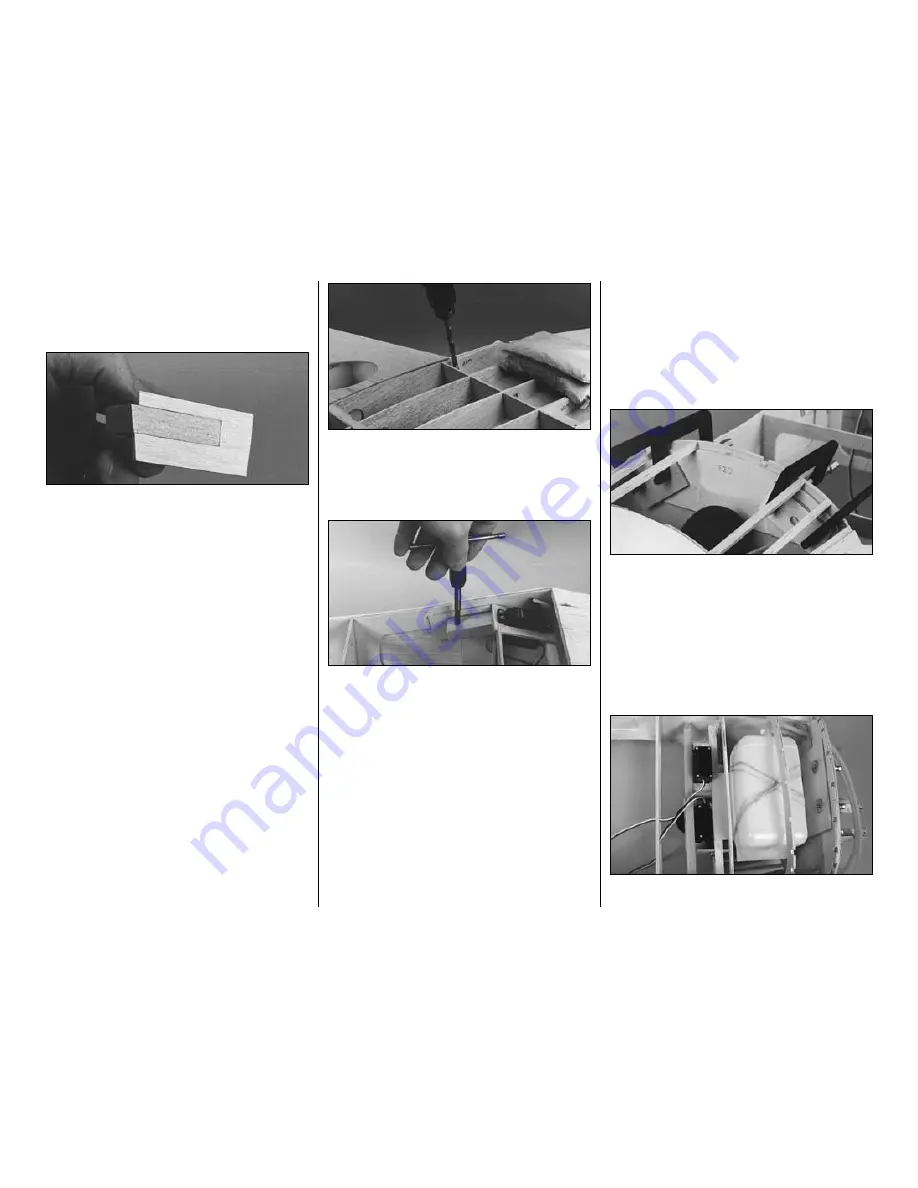
1. Bevel the end of both 1/2” x 1” x 2-1/4” [12.7 x
25.4 x 57.2mm] maple
wing bolt blocks
so they
match the angle of the die-cut 1/8” [3.2mm] plywood
wing bolt block holder
.
❏
2. Use 30-minute epoxy to glue the wing bolt
blocks and holders in the fuse where shown on the
plan. See the photo at step 8.
❏
3. Place the wing in the wing saddle on the fuse
with the dowels in the center section in the holes in
F2. Observe any
high spots in the saddle of the
balsa
fuse sides that prevent the wing from fitting.
Remove the wing and sand the high spots so the
wing matches the fuse as accurately as possible. Do
not sand the ply fuse side doublers. Also check that
the stab and wing are parallel.
❏
4. Remember the
pin and string method you used
to align the stab? Get your string out and stick a T-
pin in the center of the bottom, middle stringer just
ahead of the tail cone.
❏ ❏
5. Use the arrow on the tape to align the wing
with the fuse the same way you did the stab.
❏ ❏
6. Once you have the wing aligned, place weights
over the center section to keep it from shifting during
the next few steps. Keep your string handy so you can
recheck alignment as you proceed.
❏ ❏
7. Drill through
only one
wing bolt plate, the top
sheeting and the wing bolt block on one side of the
wing with a #7 drill. Keep the drill bit perpendicular to
the wing bolt plate as you drill so the head of the
wing bolt will rest flat.
❏ ❏
8. Remove the wing and tap threads into the
wing bolt block with a 1/4-20 tap. Enlarge the hole in
the wing bolt plate and the top sheeting with a round
file or a 17/64” [6.8mm] drill. Replace the wing on the
fuselage and bolt it down with the one 1/4” - 20 nylon
wing bolt.
❏
9.
Remount the #7 drill bit in your drill
. Repeat
steps 5, 6, 7 and 8.
❏
10. Bolt the wing to your fuselage and leave the
wing bolts barely snug. Realign the wing.
❏
11. Drill 1/4” [6.4mm] holes through the 1/8” x 1” x
2” [3.2 x 25.4 x 50.8mm] plywood
wing dowel
plates
.
Slightly
enlarge the holes with a round file or
a piece of sandpaper wrapped around something
round such as a pen or a piece of brass tube. This
will allow you to plug the wing into the fuselage
without too much resistance.
❏
12. Spread a thin film of 30-minute epoxy on one side
of both wing dowel plates and fit them over the dowels
protruding through former F2D inside the fuse.
Accurately mark the location of the plates on F2D.
❏
13. Remove the wing. Clamp the wing dowel
plates to F2D with C-clamps. Wipe excess epoxy
from the holes if any is present.
SHEET THE FORWARD DECK
The next several steps will be easier if you remove the
engine, engine mount and nose gear from the model.
Use this photo for the next three steps.
❏
1. Assemble your fuel tank. Position the tank floor
and the tank in the fuselage and determine where to
-50-
Summary of Contents for T-34B MENTOR
Page 7: ...7 DIE CUT PATTERNS...


