❏ ❏
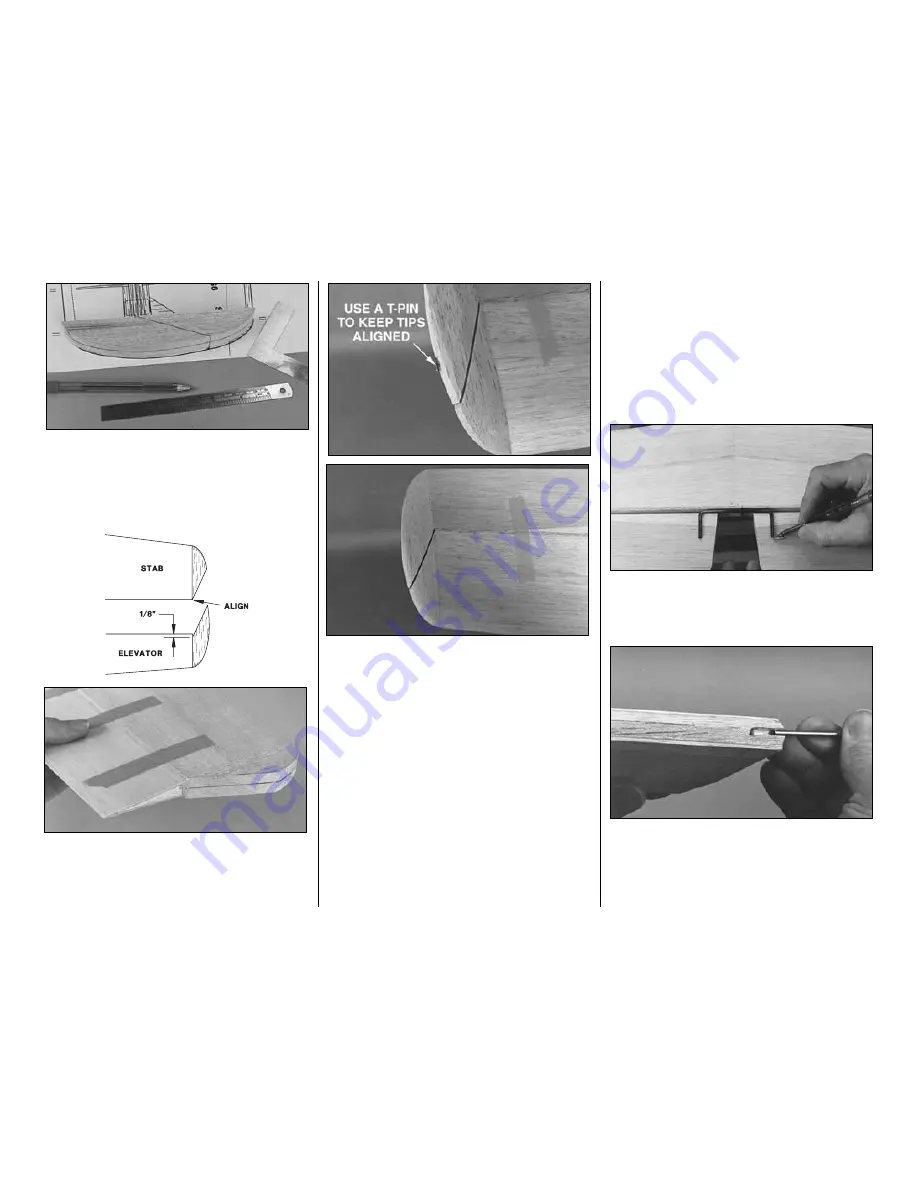
41. Place the stab tip block over its location on
the plan. Mark where the elevator tip meets the stab
tip on both sides of the block.
❏ ❏
42. Cut the stab tip from the elevator tip. True
the edges you just cut with a bar sander.
❏ ❏
43. Glue the
stab tip
to the stab. The sharp
point of the stab tip should align with the TE of the
stab. Glue the
elevator tip
to the elevator so it is 1/8”
[3.2mm] aft of the LE and aligns with the stab tip (as
shown in the sketch).
❏ ❏
44. Use a razor plane or a hobby carving knife,
followed by sanding to
carefully
shape the elevator
and stab tip. Inspect your progress frequently. Use
the centerlines as a guide and the plan as a
reference so you know what the curve of the tip
should look like.
Hint:
Stick a T-pin through the elevator tip into the
stab. This will hold the elevator tip while you shape it.
Note:
When you shape the left stab tip, in addition to
the plan, use the finished tip on the right stab as a
guide to shape the left stab tip. This way you can
make sure both of the stab tips are identical.
❏ ❏
45. Shape the stab LE as shown on the plan.
❏ ❏
46. Separate the elevator from the stab.
❏ ❏
47. Shape the leading edge of the elevator to a
“V” as shown on the plan. Use the centerline on the
leading edge as a guide. Make sure that the angle of
the “V” will allow the throws indicated in the back of
the manual.
❏
48. Go back to step 39 and do the other stab tip.
❏
49. Using the plan, accurately mark the location of
the 1/8” [3.2mm]
elevator joiner wire and horn
(from now on referred to as just the
elevator joiner
)
on the elevators.
❏
50. Drill a 9/64” [3.6mm] hole 1-1/4” deep and cut
a groove in the center of both LE’s for the joiner. Test
fit the elevator joiner in the elevators.
Hint:
Use a 1/8” [3.2mm] brass tube sharpened at
one end to cut the grooves.
-15-
Summary of Contents for T-34B MENTOR
Page 7: ...7 DIE CUT PATTERNS...


