❏
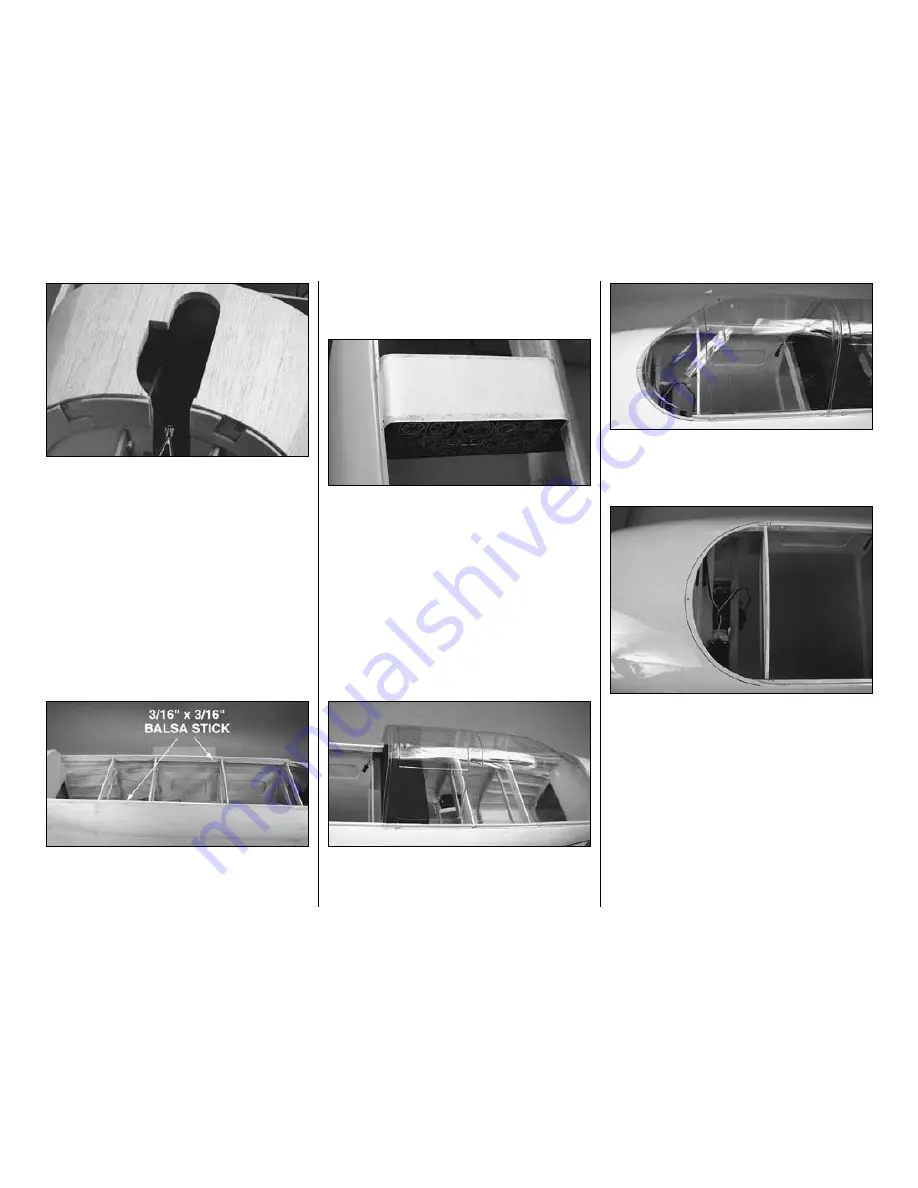
3. Use leftover 3/32” [2.4mm] balsa sheet to sheet
the bottom forward fuse, between the firewall and F2.
Cut the wheel well for the nose wheel and strut if you
are installing retracts.
FIT THE CANOPY
The canopy is supplied in two parts. It has been
designed to be held in place with canopy glue and/or
small screws. For better access to the tank, you may
want to use small screws for the front of the canopy
instead of glue.
It is possible to modify the canopy to be a sliding canopy.
You are responsible for any modifications needed.
❏
1. Cut two 3/16” x 3/16” x 30” [4.8 x 4.8 x 762mm]
balsa sticks to a length of 21” [533.4mm] and glue
one to each canopy base, along the inside edge. See
the "cross section at former F5" view on the plan.
If you are installing the optional cockpit kit (TOPQ8413)
in your T-34B, you can skip the next step and follow the
instructions supplied with the cockpit kit.
❏
2. Fit and glue two die-cut 1/8” ply
instrument
panels
in place where shown on the plans. Cut a
piece from a manila file folder to fill the area between
the two instrument panels. Paint the material flat
black after it is glued into place.
Note:
You may want to wait, as we did, until the
model is covered and trimmed before fitting the
cockpit and canopy to the model.
❏
3. Cut the rear canopy out on the cut lines and fit
the canopy into place on the fuselage. We held the
rear canopy in place with eight #2 x 3/8” [9.5mm]
sheet metal screws.
❏
4. Cut the front canopy out on the cut lines and fit
the canopy into place on the fuselage. We held the
front canopy in place with five #2 x 3/8” [9.5mm]
sheet metal screws.
❏
5. Trace the outline of the front canopy on the top
of the fuselage with a fine point felt tip marker pen.
Remove the front canopy from the fuselage.
-53-
Summary of Contents for T-34B MENTOR
Page 7: ...7 DIE CUT PATTERNS...


