SoCKit User Manual
63
www.terasic.com
December 1, 2015
Power on the SoCKit board.
Use USB cable to connect PC and the SoCKit board (J2) and install USB Blaster driver if
necessary.
Execute the demo batch file “
SoCKit_DDR3_Nios_Test.bat
” for USB-Blaster II under the batch
file folder,
SoCKit_DDR3_Nios_Test\demo_batch
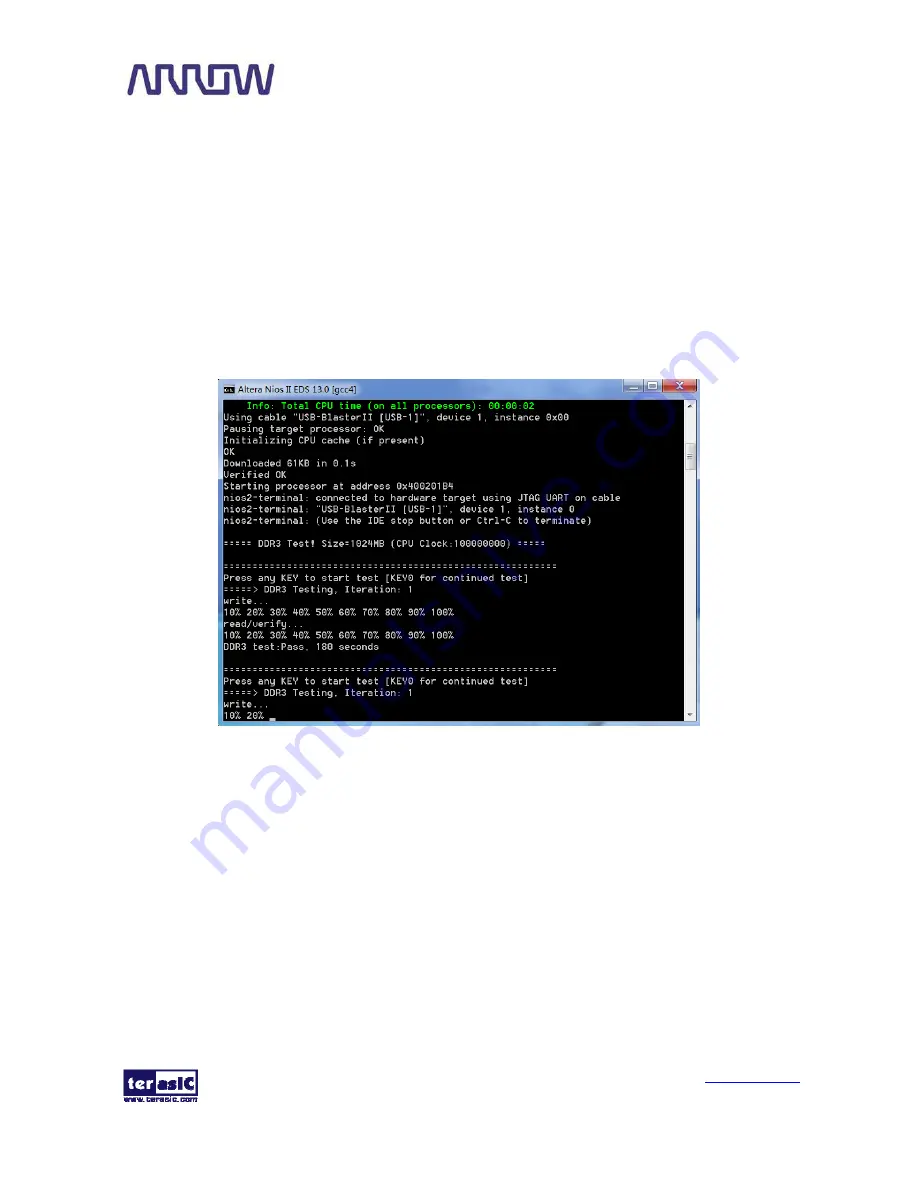
After Nios II program is downloaded and executed successfully, a prompt message will be
displayed in nios2-terminal.
Press
Button3~KEY0
of the SoCKit board to start SDRAM verify process. Press
KEY0
for
continued test and press any to terminate the continued test
.
The program will display progressing and result information, as shown in
Figure 5-7
.
Figure 5-7 Display Progress and Result Information for the DDR3 Demonstration
5
5
.
.
5
5
I
I
R
R
R
R
e
e
c
c
e
e
i
i
v
v
e
e
r
r
D
D
e
e
m
m
o
o
n
n
s
s
t
t
r
r
a
a
t
t
i
i
o
o
n
n
In this demonstration, the key code information that the user has pressed on the remote
controller(
Figure 5-8
,
Table 5-4
) will be displayed
in nios2-terminal.
The remote controller can be
purchased from Terasic website or user can use any remote control.
We use Terasic remote
controller for the following demonstration.
Users only need to point the remote controller to the IR
receiver on SoCKit and press the key. After the signal being decoded and processed through FPGA,
the related information will be included in hexadecimal format, which contains Custom Code, Key
Code and Inversed Key Code. The Custom Code and Key Code are used to identify a remote


