9.5.2 Delete all programmes
This function will delete all programme memory.
>
Use the
up/down arrow keys
to mark the line
Delete
all programmes.
>
Press
OK.
The following prompt will appear:“Do you really want to
delete all programmes?”.
>
Use the
left/right arrow keys
to select
Yes
or
Abort.
>
Confirm your selection by pressing
OK.
9.5.3 Updating software
In addition, you have the option of updating the operating
system software of your digital receiver via satellite (ASTRA
19° East).
>
Press
OK
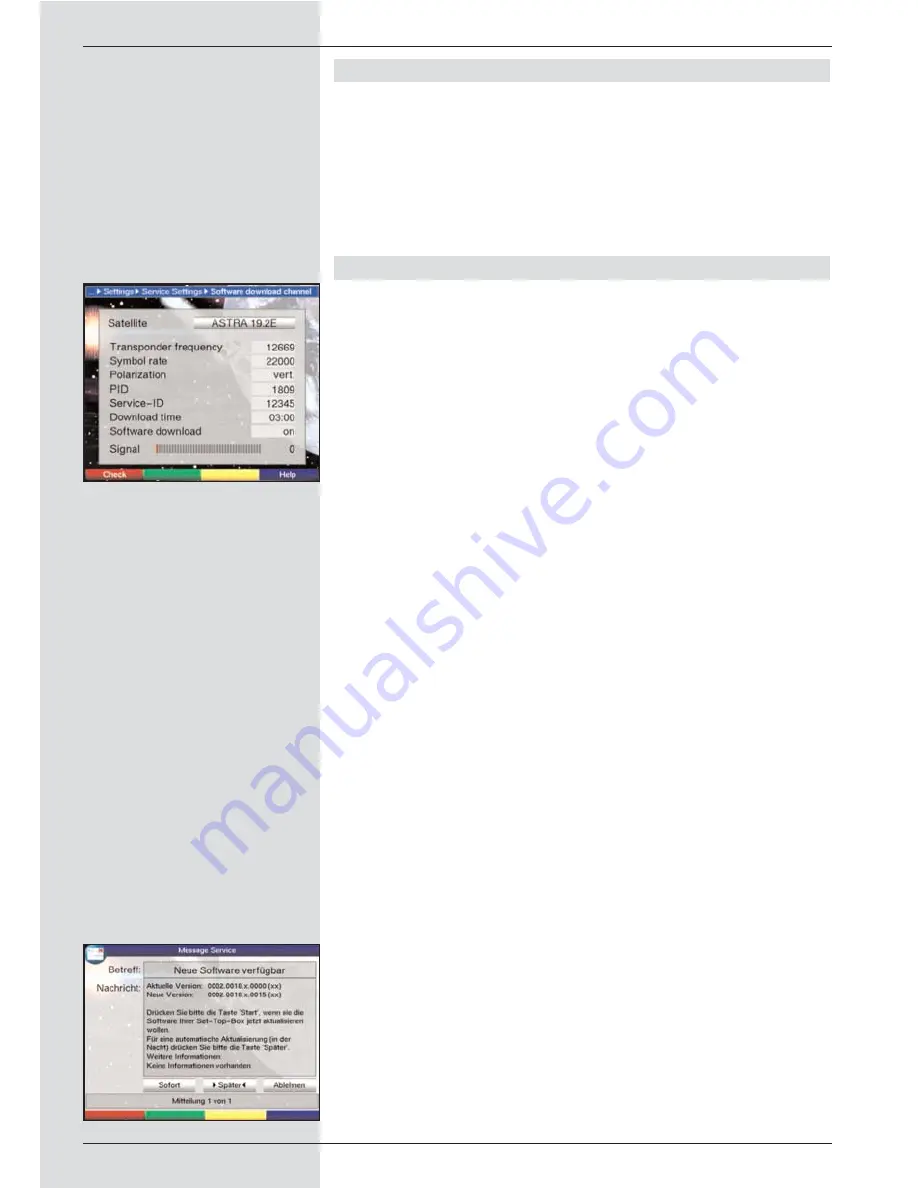
to go to the sub-menu
Software update
(Fig. 9-23).
To perform a software update, mark the line
Software
update.
>
Press the
OK
key to switch the software update func-
tion to
On.
>
In the line
Update time
use the
numeric keys
to
select the time at which the software update is to be
carried out.
>
To start the updating of the operating software manual-
ly, press the
red function key Test.
>
Press the
Menu
key to revert to normal operation.
Should the parameters of the data channel used for downloa-
ding the software updates have changed, these may be cor-
rected as described under Point 8.3.4 (manual programme
scan). The current transponder data may be obtained from
your specialist retailer. In the normal course of events you
should not make any changes to this menu.
Note:
This function should not be implemented if you have
made changes in the menues “Basic settings” or “LNC
configuration”, as these settings will revert to the factory
default settings, and the desired changes will have to be
entered again. For the new software to be downloaded
automatically, the digital receiver must be in standby
mode. The download procedure will be indicated on the
display by “SAtL”. Do not interrupt this procedure, e.g.
by switching the receiver on or off.
Independently of whether you have set the automatic soft-
ware update function to On of Off, each time you switch on
the receiver the system will check whether a new version of
the operating system software for your digital receiver is avai-
lable. If a new version of the operating software is available,
this will be indicated by a message shown on screen
(Fig. 9-24).
To start the update of your software, follow the instructions
displayed on your screen.
48
(Fig. 9-24)
(Fig. 9-23)
Summary of Contents for DigiCorder T1
Page 57: ...57...
Page 61: ...61 DigiCorder T1...


