>
Confirm your selection by pressing
OK
, the unit will
perform an automatic programme search. All the satel-
lites selected during the antenna configuration prove-
dure will be scanned for programmes. This procedure
may take several minutes. Please note any messages
displayed on screen.
Updating software
When you have confirmed the antenna settings, the digital
receiver will automatically check whether a more up-to-date
version of the software for your unit is available via satellite.
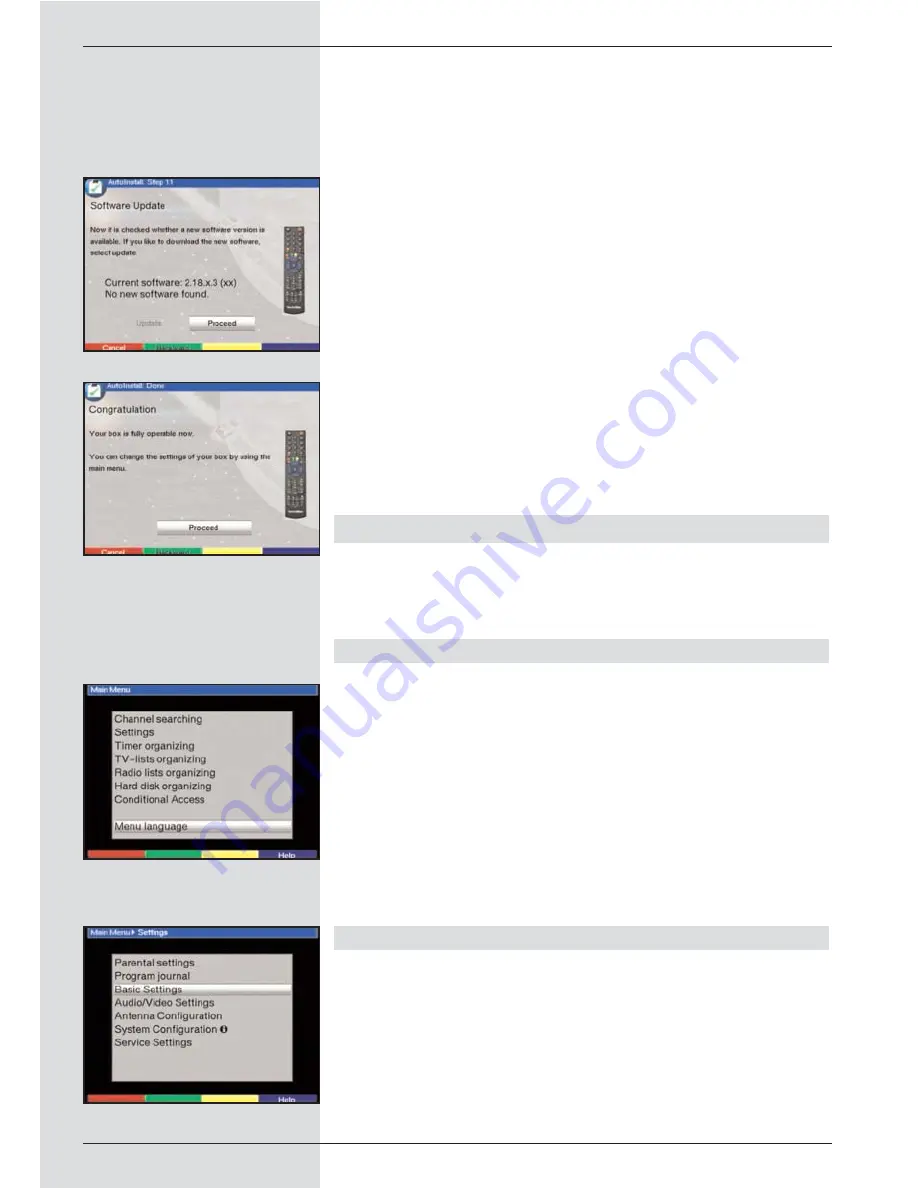
If a new version of the software is available, you can perform
an automatic software update.
>
Use the
right/left arrow keys
to select the field
Update, and confirm by pressing
OK
. (Fig. 5-7) The
new software for your unit will now be downloaded.
This procedure may take several minutes.
Exiting from the installation assistant
>
The installation assistant will display a final message
(Fig. 5-8) Confirm this by pressing
OK
, to return to
normal operation.
6 Settings
You have now connected your digital receiver, and commen-
ced operating it. You can, if you wish, still optimize the set-
tings of the digital receiver in accordance with your preferen-
ces.
6.1 Operating language
This menu item allows you to set the menu language in
accordance with your preferences.
To change the operating language, proceed as follows:
>
Press the
Menu
key to display the
Main Menu
.
(Fig. 6-1)
>
Now use the
up/down arrow keys
to mark the menu
line
Operating language
.
>
Confirm by pressing
OK
.
The sub-menu
Operating language
will be displayed.
>
Use the
up/down arrow keys
to mark the preferred
language.
>
Press
OK
to store this selection in memory.
>
Press
Back
to return to the
Main Menu
.
6.2 Basic settings
To gain optimum enjoyment from your DVB receiver, you
should still make some settings related to your individual pre-
ferences.
>
Press the
Menu key
to call up the
Main Menu
.
>
Use the
up/down arrow keys
to mark the entry
Settings
.
>
Confirm by pressing
OK
. The sub-menu Settings will
be displayed. (Fig. 6-2)
>
Now use the
up/down arrow keys
to mark the entry
14
(Fig. 5-7)
(Fig. 5-8)
(Fig. 6-1)
(Fig. 6-2)
Summary of Contents for DigiCorder T1
Page 57: ...57...
Page 61: ...61 DigiCorder T1...


