


TASCAM SS-CDR250N / SS-R250N
35
4 – Playback
Using the repeat playback function
All tracks in the playback area can be played back repeatedly.
Specified intervals within a track can also be played back (A-B
repeat playback).
Ordinary repeat playback settings
When the repeat playback function is on, operation depends on
the playback mode setting.
Playback mode
setting
Function
CONTINUE
Repeat playback of the playback area set
on the
PLAY AREA
screen
SINGLE
Repeat playback of the current track
PROGRAM
Repeat playback of the entire program
RANDOM
Repeat playback in random order of
the playback area set on the
PLAY AREA
screen
Follow the procedures below to turn the repeat playback func-
tion on.
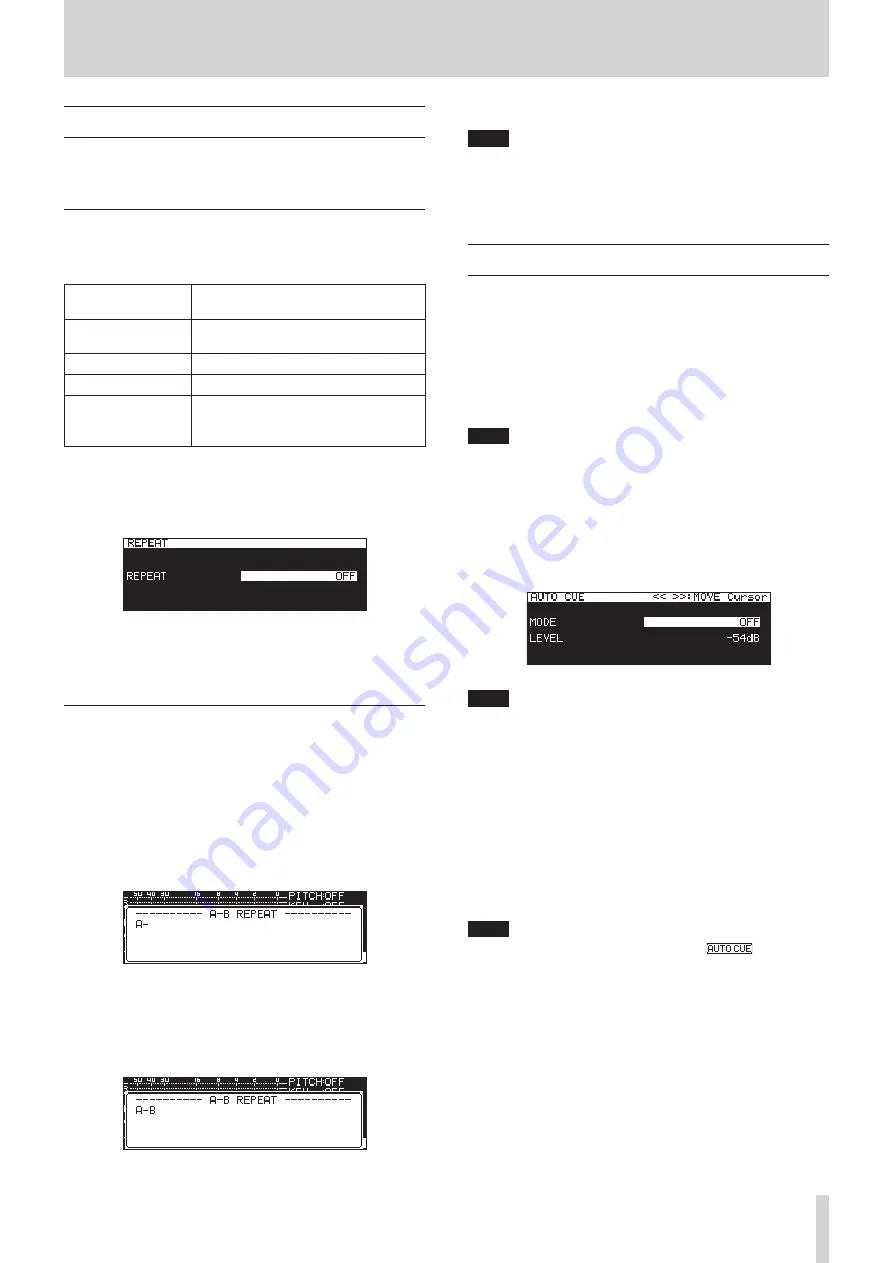
1.
Select
REPEAT
on the
PLAY 1
page to open the
REPEAT
screen. (See “Menu operation procedures” on page 22.)
2.
Turn the repeat function on or off.
Options:
OFF
(default),
ON
3.
Confirm the setting and return to the Menu Screen.
A-B repeat playback settings
Specified intervals within a track can be played back (A-B repeat
playback). Follow the procedures below to use A-B repeat play-
back.
1.
When playing back or in playback standby, press the
m
[A-B] button while pressing the SHIFT button at the point
where you want the repeat playback interval to start (A).
On the Home Screen, “
-- A-B Repeat --
” and “
A-
” appear
in a pop-up.
2.
Press the
m
[A-B] button again while pressing the SHIFT
button at the point where you want the repeat playback
interval to end (B).
On the Home Screen, “
-- A-B Repeat --
” and “
A-B
” appear
in a pop-up.
This confirms the set interval (A-B) and starts A-B repeat
playback.
NOTE
i
Press the STOP button on the unit or the remote control to
clear the set interval (A-B).
i
The A-B repeat playback interval cannot include more than
one track.
Using the auto cue function
If the auto cue function is on, when a track is selected, the unit
will skip any silence at the beginning of the track and pause at
the point where sound actually starts. As a result, sound will be
output immediately after playback starts.
The threshold level (auto cue level) for the audio signal detec-
tion used by the auto cue function can also be set. In short, the
unit will treat signals above the auto cue level as sound and sig-
nals below the auto cue level as silence.
NOTE
When the auto cue function is on, if a track is selected during
playback, it will start playing from the point where sound is
first detected.
If a track is selected when playback is paused, playback will
pause at the point where sound is first detected.
Select
AUTO CUE
on the
PLAY 1
page to open the
AUTO CUE
screen. (See “Menu operation procedures” on page 22.)
NOTE
When the
AUTO CUE
screen is open, use the
m
[A-B] and
,
[INPUT] buttons to move the cursor between setting
items.
Turn the auto cue function on/off
Select
MODE
and turn the auto cue function on/off.
Options:
OFF
(default),
ON
Set the auto cue level
Select
LEVEL
and set the auto cue level.
Options:
-72dB
,
-66dB
,
-60dB
,
-54dB
(default),
-48dB
,
-42dB
,
-36dB
,
-30dB
,
-24dB
NOTE
When the auto cue function is on, the
icon appears
in the playback screen function activation status area.


