19
(GB)
Using On-screen Menus
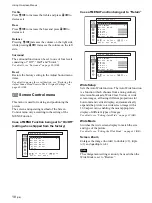
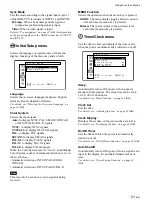
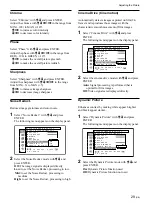
Screen Size menu
This menu is used for adjusting the picture size.
This screen is only displayed when the MENU
Function is set to “On/Off”.
H
S i z e
0 0
V
S i z e
0 0
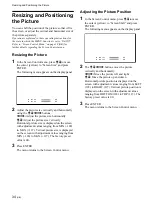
H Size
Adjust the horizontal picture size. Press
,
to enlarge
the horizontal size and press
<
to diminish it.
V Size
Adjust the vertical picture size. Press
M
to enlarge the
vertical size and press
m
to diminish it.
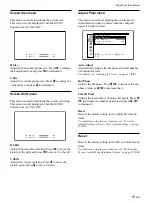
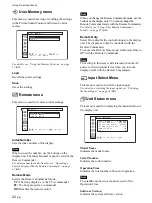
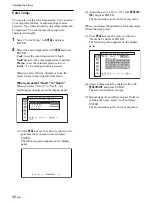
Screen Shift menu
This menu is used for adjusting the picture centering.
This screen is only displayed when the MENU
Function is set to “On/Off”.
H
S h i f t
0 0
V
S h i f t
0 0
H Shift
Adjust the horizontal centering. Press
,
to move the
picture to the right and press
<
to move it to the left.
V Shift
Adjust the vertical centering. Press
M
to move the
picture up and press
m
to move it down.
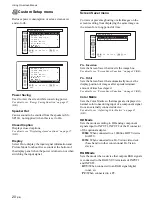
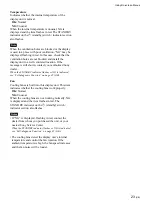
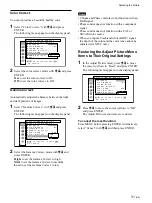
Adjust Pixel menu
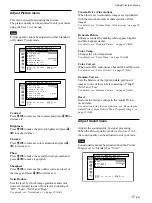
This menu is used for adjusting the picture pixels.
Adjustment can only be made when the computer
signal is being received.
S c r e e n
C o n t r o l
A d j u s t
P i x e l
A u t o
A d j u s t
D o t
P h a s e
T o t a l
H
P i x e l
:
1 3 4 4
R e s e t
s e t
,
t o
s e l e c t ,
,
t o
ENTER
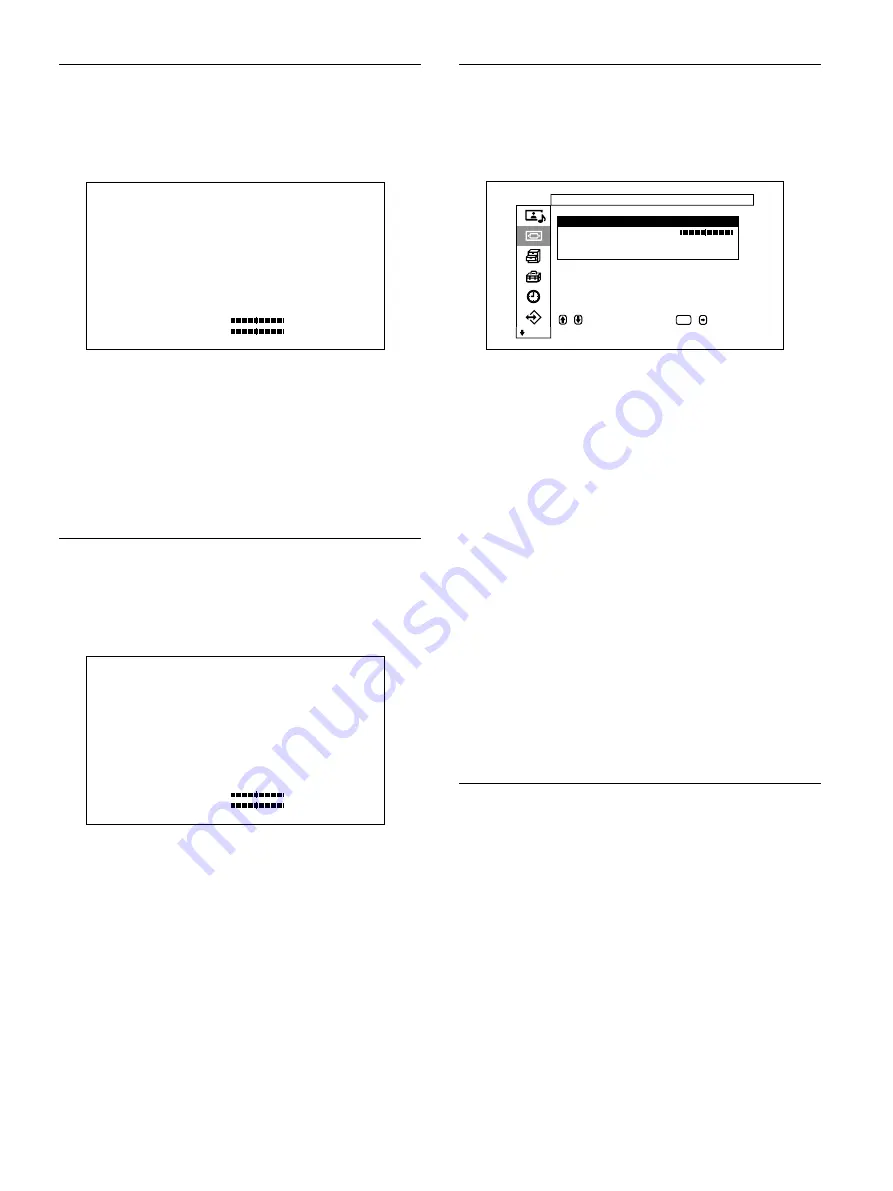
Auto Adjust
Automatically adjusts the dot phase and total number
of horizontal pixels.
For details, see “Adjusting the Pixels” on page 35 (GB).
Dot Phase
Adjusts the dot phase. Press
M
/
,
to increase the dot
phase and press
m
/
<
to decrease the it.
Total H Pixel
Adjusts the total number of horizontal pixels. Press
M
/
,
to increase the number of pixels and press
m
/
<
to decrease it.
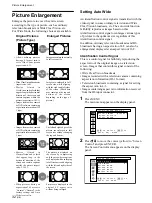
Reset
Restore the factory setting in the Adjust Pixel menu
items.
For details on using the reset function, see “To restore
Adjust Pixel menu items to their original settings” on page
35 (GB).
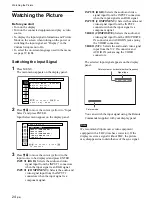
Reset
Restore the factory setting in the Screen Control menu
items.
For details on using the reset function, see “Restoring the
Screen Control Menu Adjustment Values” on page 35 (GB).
Summary of Contents for PFM-32C1
Page 53: ...53 JP ...
Page 199: ......
Page 297: ......
Page 298: ...2 CS 警告 为避免引发意外的火灾或遭受雷击的危险 请勿将 本机置于雨点所及或者潮湿的地方 输出插座应安装于装置附近使用方便的地方 ...
Page 311: ...15 CS 连接 使用电缆夹 可用附带的电缆夹 5 个 有效地捆扎扬声器电 缆 请按下图所示的方法安装电缆夹 1 2 后视图 取下去皮 纸遮盖物 请按图所示 的方法粘贴 电缆夹 ...
Page 346: ......
Page 347: ......
Page 348: ...Sony Corporation Printed in Japan ...

