RPSB 1800/1802 Installation Guide
37
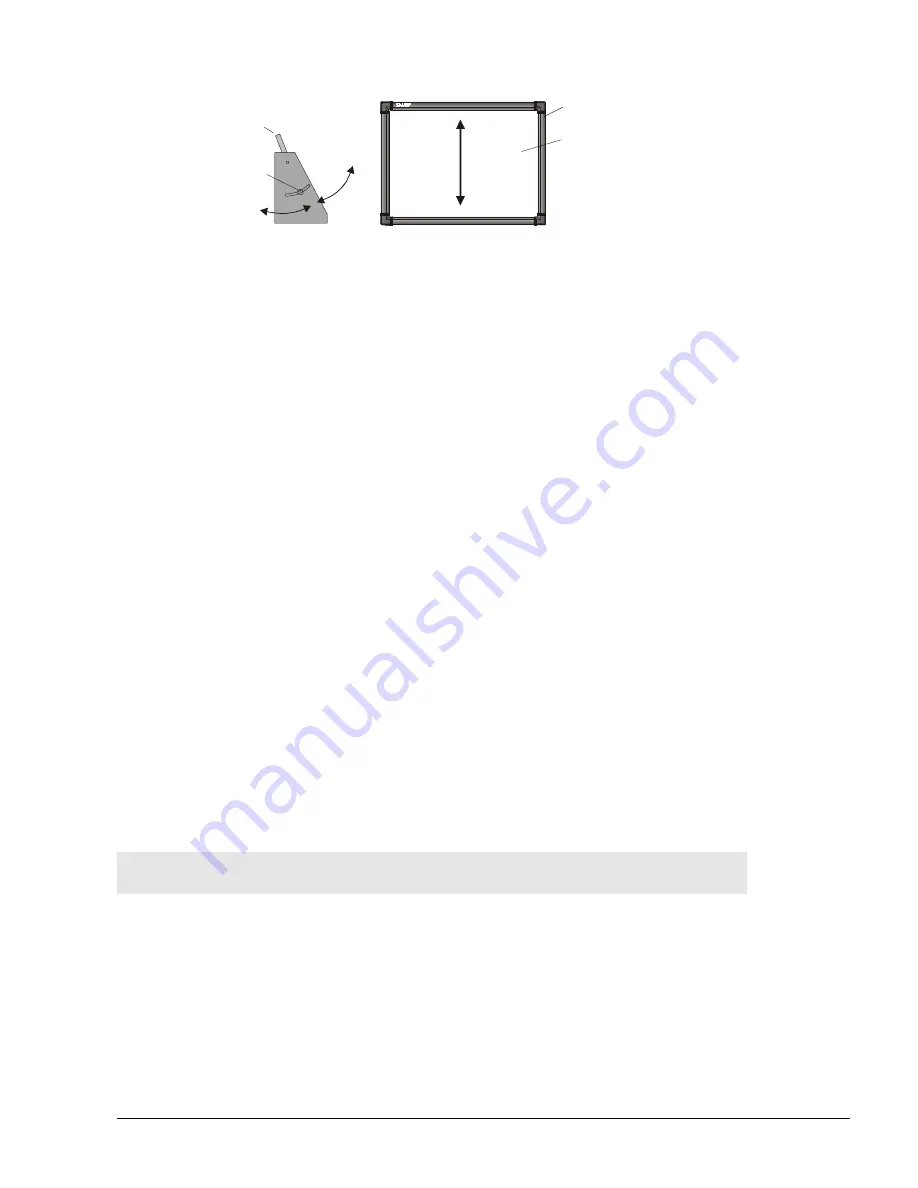
Loosen
Thumbscrew
SMART Board
Image
Small Mirror
Side View
Small Mirror
(access from
front doors)
Move Image Up or Down
3. Gently push the mirror away from you, from the bottom.
4. Watch the SMART Board overhead as you push: If the projector is turned on, you'll
see the image slide up the screen. Pulling the mirror towards you will cause the image
to move down the screen.
Stop moving the mirror when the image appears to be centered on the screen. The
image should not cover the entire screen.
5. Use the projector's zoom lens to zoom out until the image squarely covers the entire
screen.
6. Tighten the thumb screws on both sides of the mirror to hold it in place.
NOTES
:
•
Do not overtighten these screws. Also, be careful not to forcibly move or twist the
mirror while tightening the screws.
•
Adjust the position of the cables so they do not block the projector light path. If you
see cable shadows on the screen when the projector is turned on, make further
adjustments to the cable positions.
3. Adjusting the Projector
You must make a few final adjustments to the projector to ensure a focused image that fits
within the bezel of your SMART Board at the top and bottom, with a margin of approximately
3/8" on both right and left sides. Try each of the following procedures in turn, always using
small, slow movements. Look up and observe the effect on the image projected on the
SMART Board as you make each fine adjustment.
NOTE
: The 3/8" margin described above is an
optimal
measurement. Alignment can vary: in
some instances, the image can fill the entire screen; in others, the margin can be greater than
3/8", but be perfectly satisfactory as long as it's even on all sides.
To move the image from side to side, shift the platform top slightly from
right to left.
Loosen the four screws that secure the top to the platform base, then shift the platform until
the image is centered properly.


