


C H A P T E R 2
Installing your interactive projector
11
smarttech.com/kb/170295
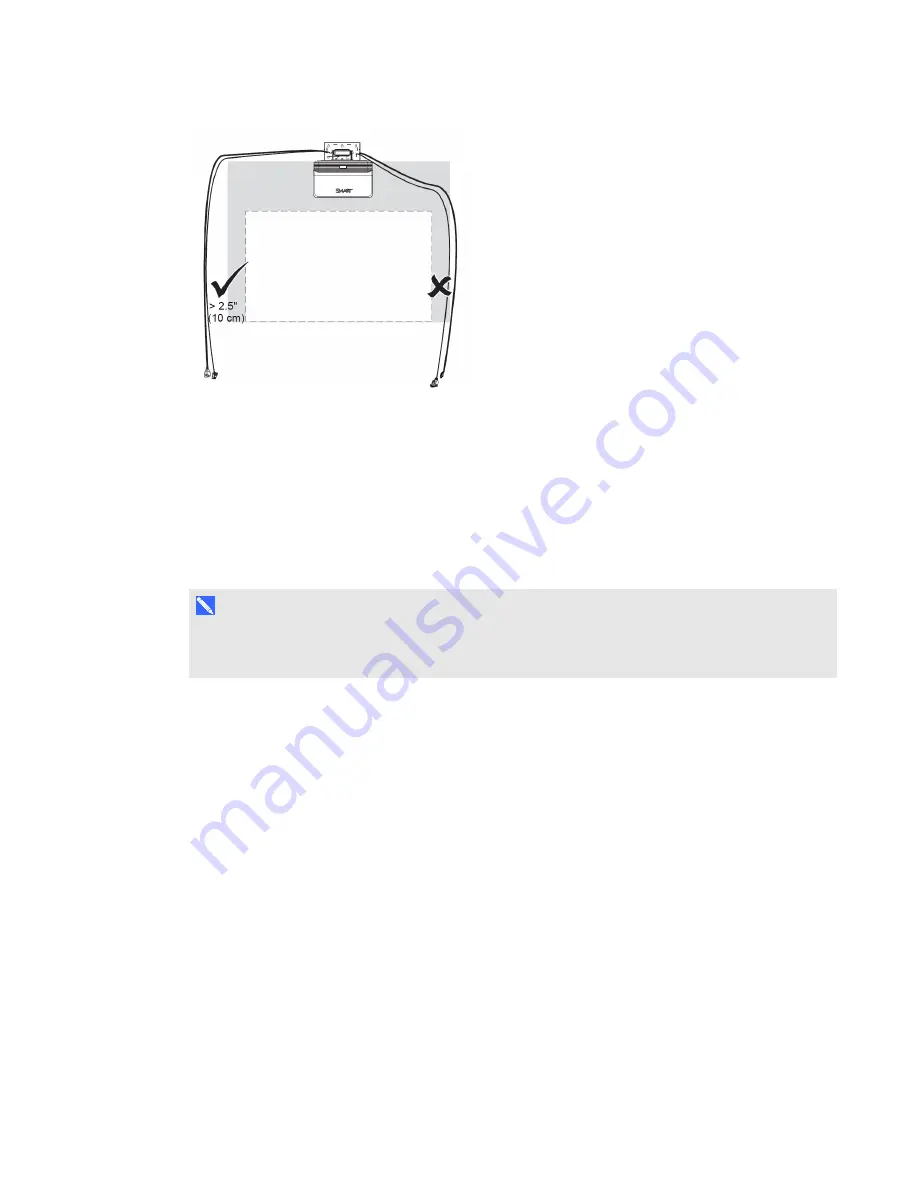
Examples of common obstructions to watch out for include:
l
Cables or wires that hang into the projected image
l
Screws or nails protruding from the wall or the dry-erase board
l
Wall protrusions or uneven wall surfaces
l
Map rails on the wall or the dry-erase board
N O T E
See the
SLR60wi surface evaluation guide
) more information on how to
choose a surface.
Choosing a location
SMART includes a mounting template with your interactive projector (
).
Using this template ensures that you can do the following:
l
Determine where to install the projector in relation to the studs in the wall and the size of the
projection surface.
l
Mount the projector at a safe height for head space clearance, while maintaining enough space
for airflow and installation access above the unit.
Choose a location that’s far from bright light sources, such as windows and strong overhead lighting.
Bright light sources can cause distracting shadows on the projection surface and can reduce the
contrast of the projected image.
Summary of Contents for LightRaise 60wi
Page 7: ...C O N T E N T S v smarttech com kb 170295 More information 95 Index 97 ...
Page 8: ......
Page 14: ......
Page 42: ......
Page 48: ......
Page 62: ......
Page 80: ......
Page 102: ......
Page 104: ......
Page 107: ......
Page 108: ...SMART Technologies smarttech com support smarttech com contactsupport smarttech com kb 170295 ...


