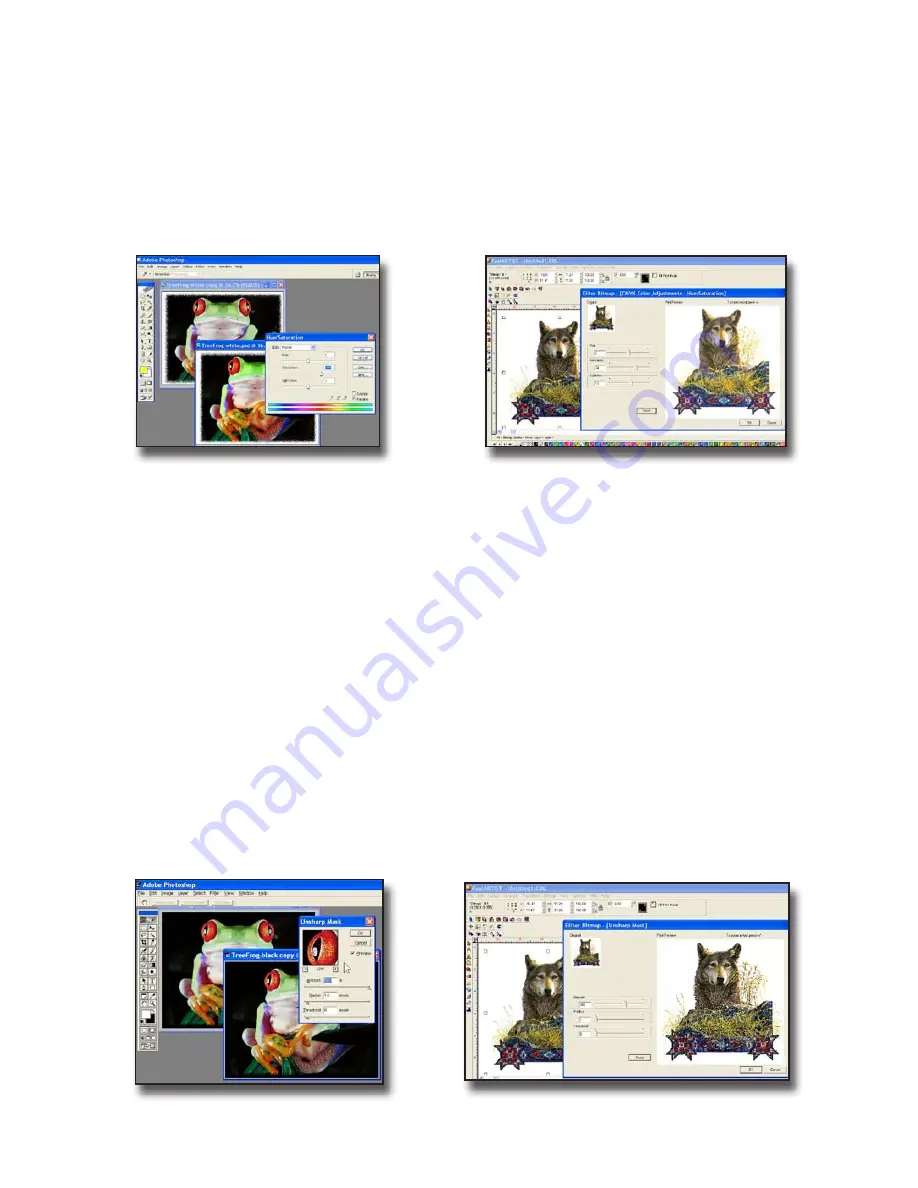
Check File Saturation
Quite often customers’ images will be flat and in need of a color boost. Always
check the file to see if it needs a saturation boost by going to
Bitmap > CMYK
Color Adjustments > Hue Saturation
(FastARTIST) or
Image > Adjustments > Hue
Saturation
(Photoshop).
Sharpening Images
Typically, an image can be made sharper. Even if the file came from an agency
or large licensed job, don’t assume that their artist knew your needs. Images
that are printed not only get darker, but also get softer. You must make them as
sharp as possible.
Go to
Bitmap > Filters > Sharpen > Unsharp Mask
(FastARTIST) or
Filter > Sharpen
> Unsharp Masking
(Photoshop). Don’t let the term “Unsharp” fool you. This term
comes from the process camera days and means it only sharpens areas of high
contrast. The reality is, it sharpens the image but keeps it less apparent that you
have sharpened the image.
Move the Amount slider to 150%. Set the Pixel Radius to 1 and the Threshold to
8. How does the image look? To compare the original to the sharpened version,
uncheck the Preview check box (Photoshop). Click it on and off and compare
the results. If you can’t see much difference, move the Amount slider higher. Go
all the way to 500% if you need to but don’t make the image too grainy.
42
Fast T-Jet Blazer Pro User’s Manual
Summary of Contents for Fast T-Jet Blazer Pro
Page 2: ......
Page 4: ......
Page 10: ...ii ...
Page 14: ......
Page 20: ...6 Fast T Jet Blazer Pro User s Manual ...
Page 22: ...Fast T Jet Blazer Pro User s Manual 8 ...
Page 36: ...22 Fast T Jet Blazer Pro User s Manual ...
Page 48: ...34 Fast T Jet Blazer Pro User s Manual ...
Page 63: ...User s Manual Fast T Jet Blazer Pro Operation and Maintenance ...
Page 64: ......
Page 76: ...62 Fast T Jet Blazer Pro User s Manual ...
Page 98: ...84 Fast T Jet Blazer Pro User s Manual ...


