Selecting Delivery Destinations
175
9
B
Use the
{{{{
1
1
1
1
}}}}
or
{{{{
0
0
0
0
}}}}
key to
highlight the title you want to
select, and then press
[
OK
]
.
The destinations assigned to the
selected title are displayed.
Note
❒
You can select the title under
which each of the registered
destinations is assigned by
using ScanRouter V2/Pro-
fessional.
C
Highlight the destination you
want to select, and then press
[
Select
]
.
Note
❒
While highlighting a destina-
tion with its check box select-
ed, press
[
Clear
]
to clear the
check box (this deselects the
destination).
❒
If you want to select from an-
other title, press the
{{{{
./*
}}}}
(Ti-
tle) key. This displays list of
titles again.
To recall all available
destinations
A
Press the
{{{{
./*
}}}}
(Title) key.
List of titles appears on the
screen.
B
Use the
{{{{
1
1
1
1
}}}}
or
{{{{
0
0
0
0
}}}}
key to
highlight
[
All
]
, and then press
[
OK
]
.
FFFF
When you are finished, press
[
OK
]
.
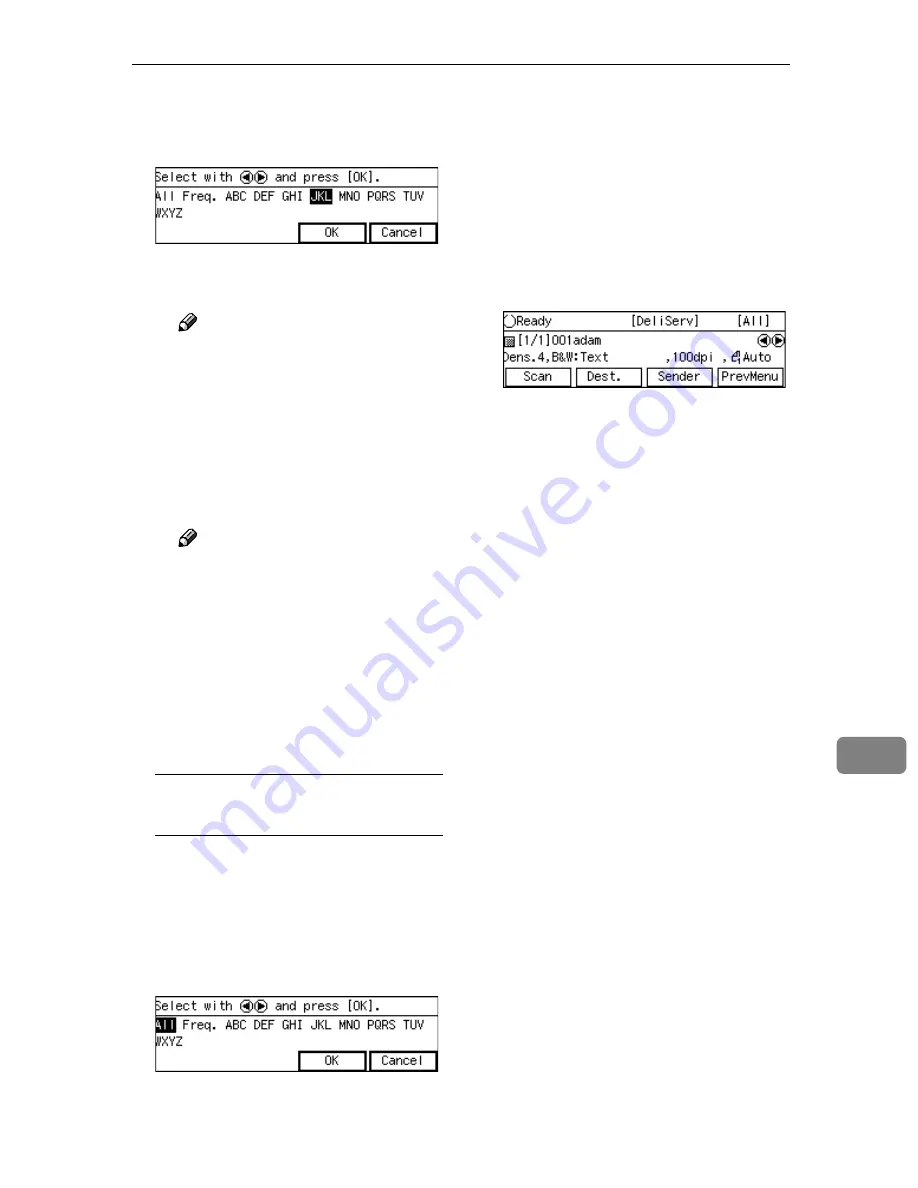
Th e Delivery Server stan dby
screen appears. The first destina-
tion you have selected appears at
the second line of the screen. When
you have selected multiple desti-
nations, you can confirm them by
using the
{{{{
1
1
1
1
}}}}
and
{{{{
0
0
0
0
}}}}
keys.
Summary of Contents for IS200e
Page 10: ...vi ...
Page 32: ...What You Can Do With This Machine 22 1 ...
Page 42: ...Setting Up the Scanner 32 2 ...
Page 128: ...Configuring the Scanner Settings 118 3 ...
Page 136: ...Setting Originals 126 4 ...
Page 154: ...Sending Scan File by E mail 144 5 ...
Page 166: ...Sending Scan File by Scan to Folder 156 6 ...
Page 172: ...Sending Scan File by Scan to FTP 162 7 ...
Page 182: ...Printing Scanned Image Files 172 8 ...
Page 186: ...Sending Scan Files Using Delivery Server 176 9 ...
Page 192: ...Using the TWAIN Scanner Function 182 10 ...
Page 238: ...Image Scanner Operating Instructions GB GB G422 8601 ...


