Getting started
Setting up your Samsung Galaxy
Your Samsung account
can help you ind a lost
or stolen Galaxy, and can
even be used to disable it
7
Date and time
The next settings you change are for the date and time. You
can set these manually or get your network to set them automatically. In
most cases the latter will be perfectly fine. You can also select your time zone
– although the network time settings should automatically do this for you.
Regardless, you can always come and change this information later on.
9
Create an account
After agreeing to the terms and conditions of this account
with a tap in the box that appears on the next screen and a tap of the Agree
button, you are ready to set up your account. You will need to enter some
details first, however, like an email address and password. Note down what you
have chosen somewhere safe. You’ll get an email to verify your account (Fig 5).
11
Google account
Next, you will be asked to set up a Google account. You
will need one of these to access Google Play and download apps. You’ll get a
Gmail email address as part of the process too, which gives you access to lots of
useful stuff through the Google website. If you don’t already have an account,
answer No to ‘Are you a Google user?’ and then select Get an account.
8
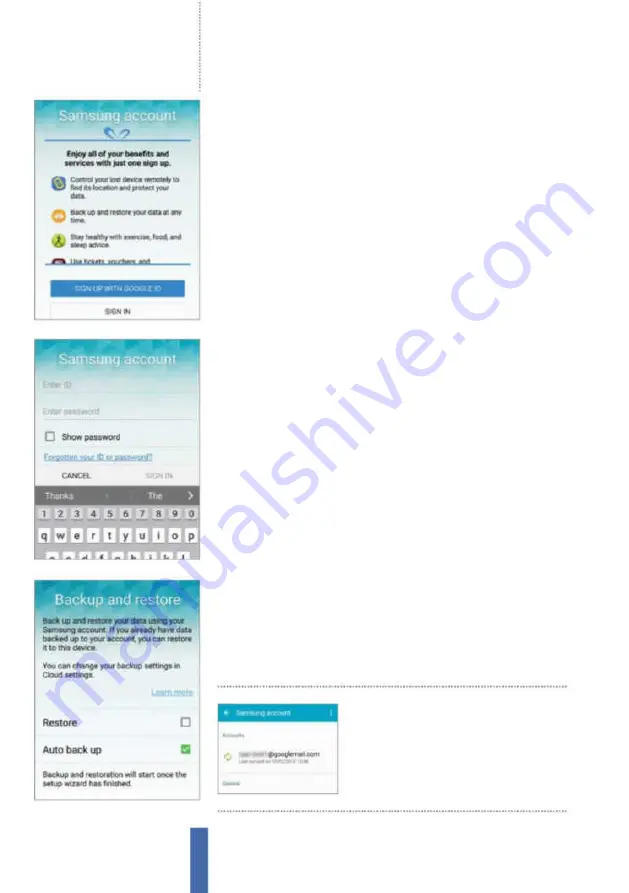
Samsung Account
Next, you can set up your Samsung account. Samsung
lets you access a range of services, including Find My Mobile, which helps you
locate a lost phone and even lock it so that if anyone else finds it they can’t
access your data. You can skip this and do it later if you like, but it is a good idea
to do it sooner rather than later (Fig 4).
10
Backup and restore
You can set up your Samsung account so that it will back
up call logs, SMS and MMS messages, settings and other data (Fig 6). If you
ever need to do a reset and have already made this backup beforehand, you
can choose to restore the information to your Galaxy device when you come
to this part of the installation process.
12
Type in details
Enter your real first and last names and then press the forward-
facing arrow on the right side of the screen to move on to the next menu.
There will be a short wait while your Galaxy device processes the information
about your name. After this is finished, it will ask you to select an email address
for your Google Mail address.
Fig 4
Create a Samsung account
Fig 5
Add contact info to your account
Fig 6
Keep all your data safe
16
Summary of Contents for Galaxy Tab S6 Lite
Page 1: ...Samsung Galaxy TheCompleteManual TheindependenthandbookforGalaxyusers N E W ForTab Note S6 S7...
Page 2: ......
Page 4: ......
Page 131: ......


