Operator’s Guide
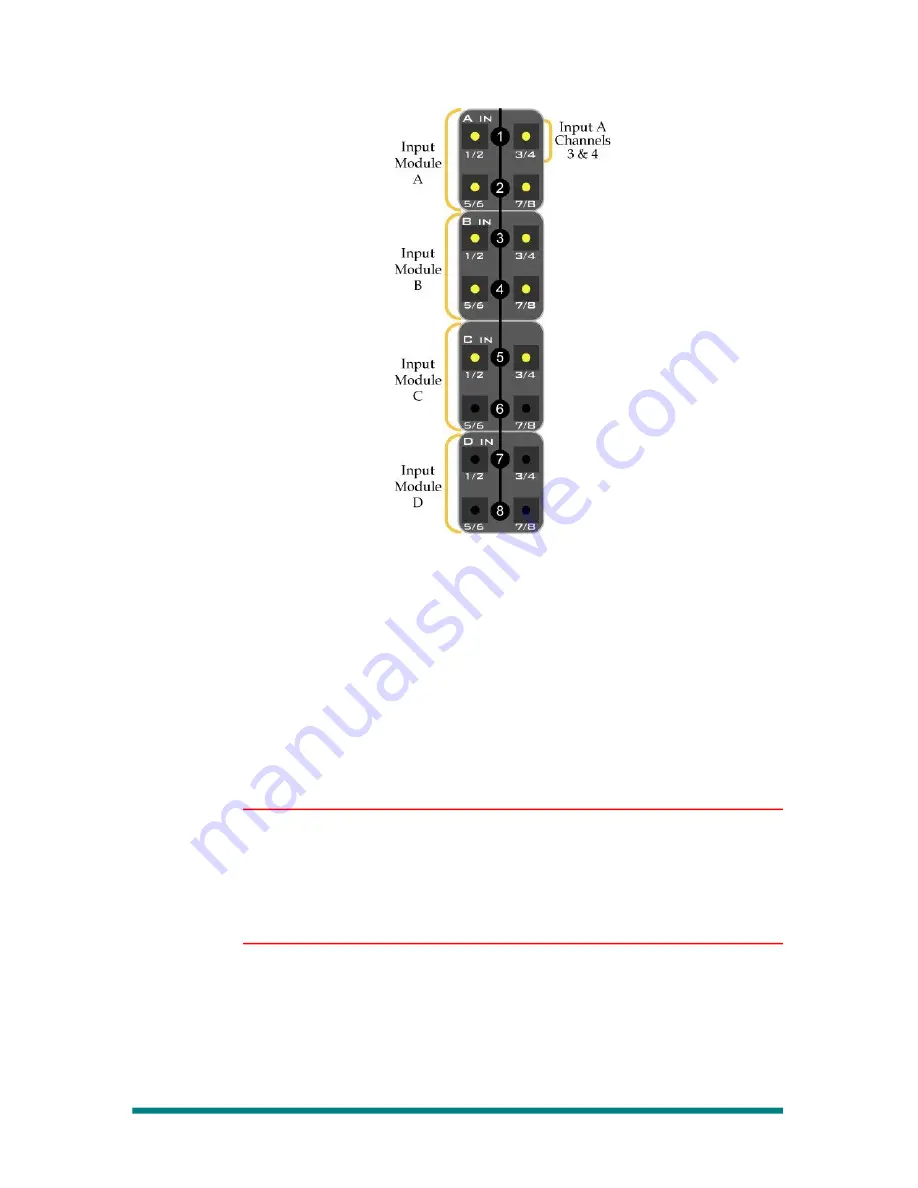
Figure 56. Multi-Function Keypad for Fader Input
Assignment
Note that there are four areas in the Multi-Function Keypad and
labeled “A In”, “B In”, “C In” and “D In.” These correspond to the four
input card slots on the back of the mixer. Each area has four buttons,
which correspond to the four possible input pairs. The number of
LEDs that light up for an input card depend upon the type of card that
is installed.
If an input module is not installed, the associated LEDs for those
channel pairs will not light up.
4.
You can now select an input using the Multi-Function Keypad or
choose TONE as the assigned source.
Note
If you wish to preview the inputs to locate a particular source, press PVW.
This allows you to step through several sources, previewing them without
exiting the fader assignment process.
Auto To/From channels can also be selected by pressing either the PGM
(From) or PST (To) button. Refer to “Auto To/Auto From Mode” on page
95 for details regarding Auto To/From.
5.
Using the Multi-Function Keypad as shown above, select the input
channel pair you want to assign to the selected fader.
Your choice is immediately assigned to the selected fader and the
fader assign process is completed, unless you selected Preview in
the previous step.
If you choose to Preview your input selection, deselect the select
button to end the input assignment process.
Making Fader Assignments
Page 55


