Operator’s Guide
7.
Make sure the MUTE button is disabled.
8.
Make sure the Monitor knob is adjusted properly.
Monitoring Record Returns
1.
Ensure that Record Returns have been properly configured. Refer to
“Assigning Record Returns“ on page 88 for details.
2.
Make sure the PGM OUT button is disabled.
3.
Make sure the SOLO button is disabled.
4.
Make sure Mute button is disabled.
5.
Make sure the Monitor knob is adjusted properly.
Setting up the Monitor Mode
Monitor modes are various monitor matrix output configurations for
normal monitoring of program outputs. There are nine monitor modes:
Mono, 2-Channel, 4-Channel, 8-Channel, three Surround modes, and two
User modes.
User modes
are modes that you can modify.
Note
The Monitor Mode cannot be activated if the mixer is in any other mode or
menu.
Fader Select buttons will not function when in Monitor Mode.
Selecting a Monitor Mode
1.
Ensure that the mixer is not in a System Menu or another menu.
2.
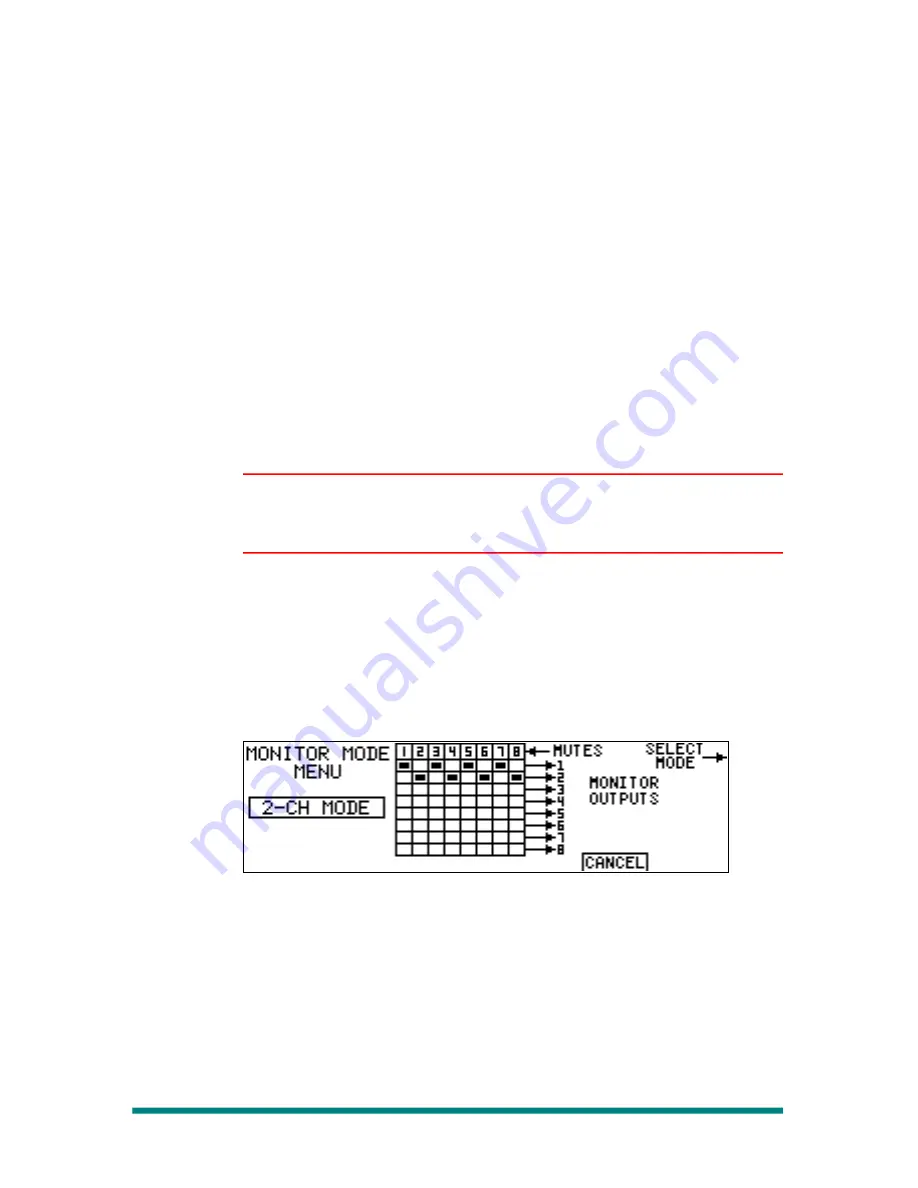
Press the MODE button to bring up the Monitor Mode Menu.
When the MODE button is activated, the Monitor Mode Menu is
displayed. The current mode is displayed along with a representation
of the monitor crosspoints and mute status. Muted channels are
displayed in reverse video with the MUTES indicator.
Figure 80. Monitor Mode Menu Example
3.
Use the Upper Soft Knob to select monitor modes.
If you select one of the user modes, see the instructions for User
Modes below (page 79).
4.
To accept the currently-displayed monitor mode, deselect the MODE
button.
Or, press CANCEL to cancel mode selection and return to the
previously-applied monitor mode.
The modes are described below.
Monitoring Control
Page 75


