Generating a Report
6.2
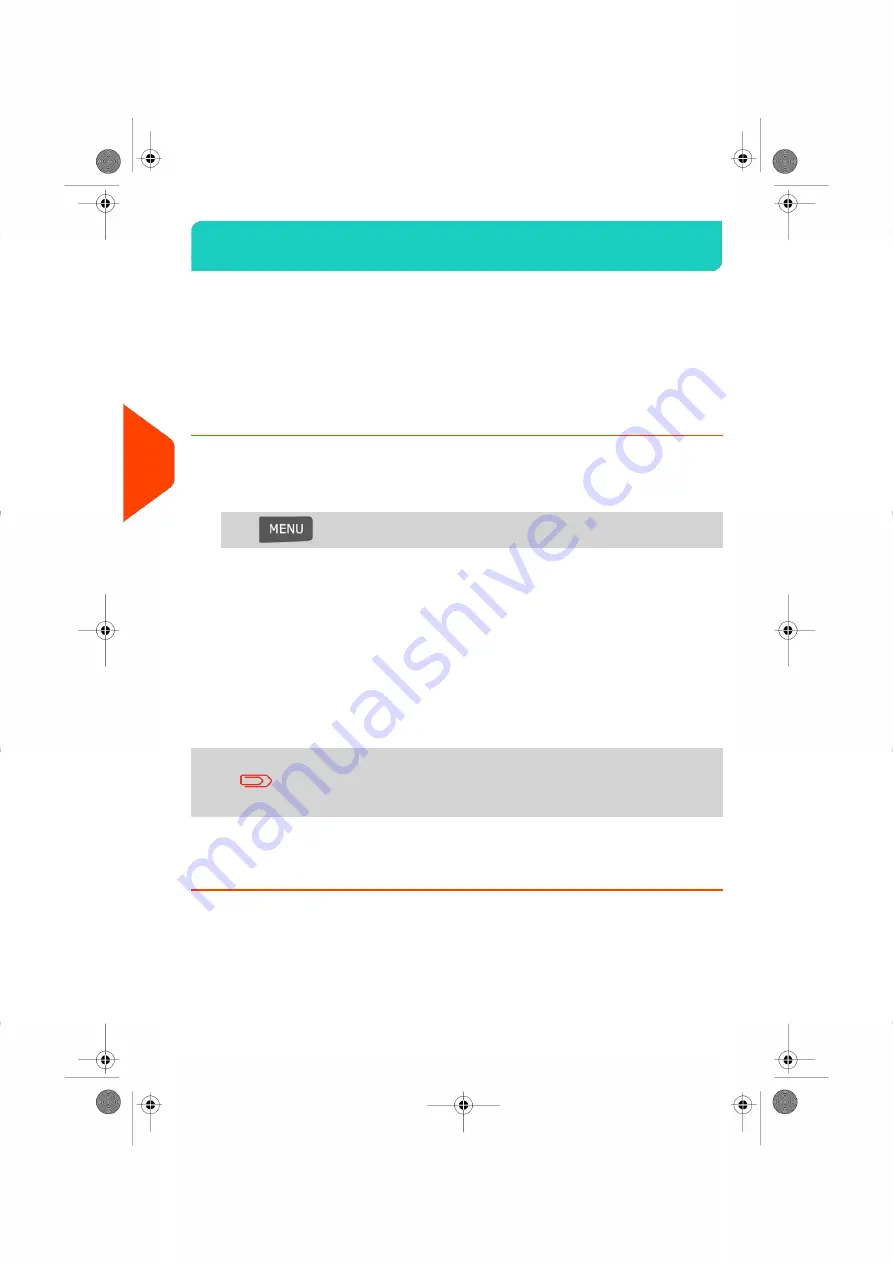
To generate a report, select the desired report, and choose how you want to display
or record the report:
• On screen.
• On an external printer (if any).
• On a label.
• On a USB memory key.
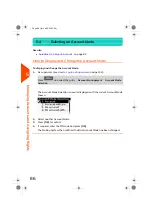
How to Generate a Report (as a User)
To generate a Report:
1.
As a user:
Press
and select the path:
Reports
2.
A list of available report types is displayed.
3.
Select the report type and press
[OK]
.
4.
Depending on the report type, the system may ask for preferences such as:
- Period of time targeted (begin date, end date).
- Desired account, etc.
Select or type the required parameters and press
[OK]
.
The Output selection screen is displayed.
Use the
[C]
key to clear displayed parameter data (from right
to left) and then enter the new parameter data you want.
5.
Select an available output device.
The system will send the report details to the selected output.
100
| Page 100 | Jul-24-2023 01:59 |
6
Reports
Summary of Contents for IS-420
Page 1: ...User Guide IS 420 Mailing Systems...
Page 5: ...Page 4 TOC Jul 24 2023 01 59...
Page 7: ......
Page 15: ......
Page 17: ......
Page 31: ......
Page 33: ......
Page 71: ...The Label Dispenser can hold up to 40 labels 66 Page 66 Jul 24 2023 01 59 3 Processing Mail...
Page 73: ......
Page 81: ......
Page 83: ......
Page 99: ......
Page 101: ......
Page 115: ...Content 110 Page 110 Jul 24 2023 01 59 6 Reports...
Page 127: ......
Page 135: ......
Page 149: ...3 Press OK to validate 144 Page 144 Jul 24 2023 01 59 8 Configuring your Mailing System...
Page 155: ...Geodesic map 150 Page 150 Jul 24 2023 01 59 8 Configuring your Mailing System...
Page 156: ...Geodesic codes 8 Configuring your Mailing System 151 Page 151 Jul 24 2023 01 59...
Page 167: ......
Page 169: ......
Page 183: ......
Page 199: ......
Page 201: ......
Page 211: ......
Page 220: ...A0154024 A 24 07 2023...


