37
© 2017 Proceq SA
Zoom
in by placing thumb and index finger together on the
screen and spreading them apart. This can be used in both the
horizontal and vertical directions when making a measurement.
Zoom
out by placing thumb and index finger apart on the
screen and pinching them together.
Pan
the image from left to right by dragging.
The potential values associated with each cell can be visual-
ized by zooming in at the needed level.
Double tap
: zoom to fit the whole scan
4
Color palette of displayed potential values
5
Settings:
switches to the settings menu
6
Start / stop measurement
7
Store measured data
8
Move to next line
9
Coarse Grid On / Off
10 Edit notes / Edit cell values / Reset all values:
tap cell to edit
11 Probe position and horizontal distance from start
12 Actual measured potential value
13 Save actual measured value at cursor position and move cur-
sor to the next cell (defined by the Measurement on Settings or
Direction buttons on the screen)
14 Direction buttons:
tap once to modify the measurement path as
defined in Setting (framed in white). Tap on the framed button to
actually move the cursor on the screen
In order to allow for an easier handling of the unit during the measure-
ment, the Store (13) and Move to next line (8) buttons can be replicated
on the hard Keys.
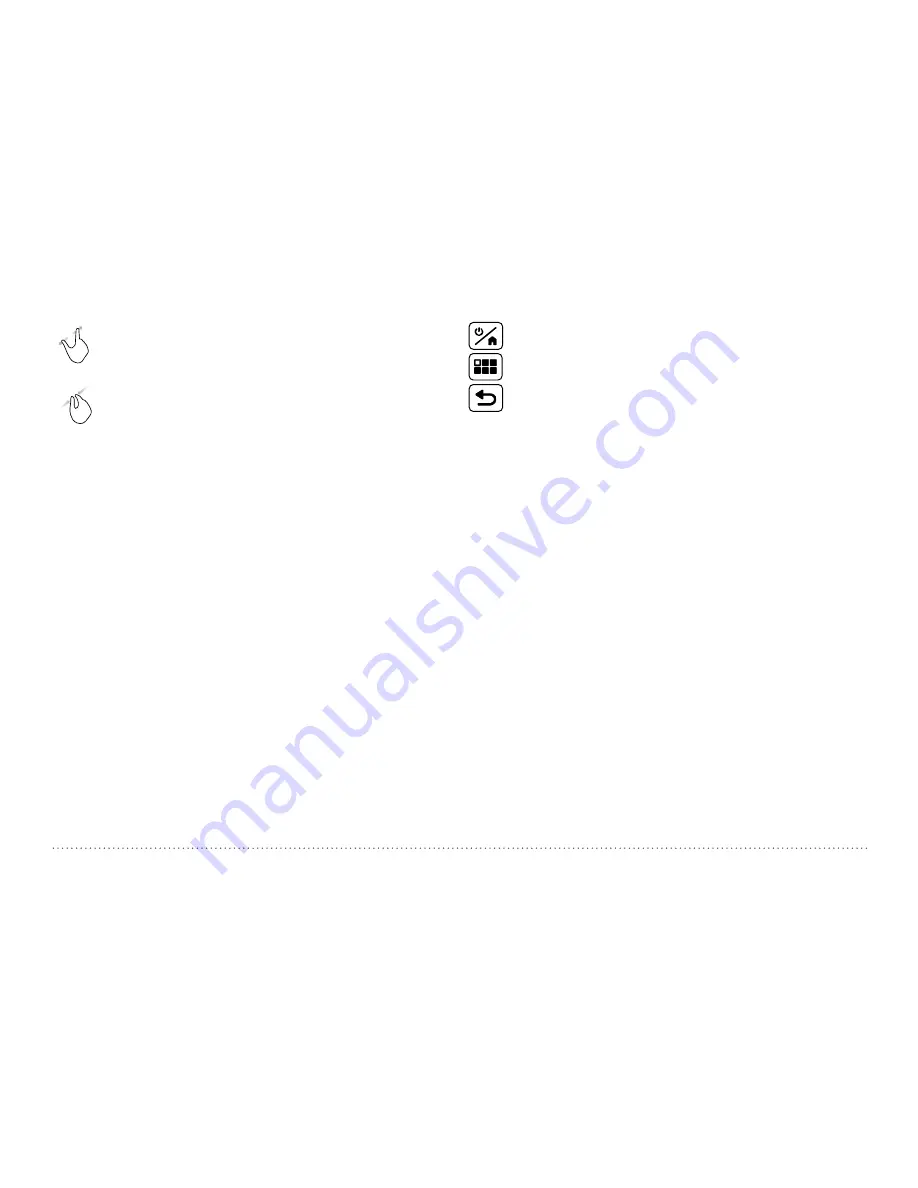
Store measured data and move cursor to next cell
Toggle Hard Keys Mode On/Off (tap on screen to confirm)
Move to next cell
Measurement procedure
The cursor begins by default in the top left hand corner of the screen.
• Press 6 to start the measurement sequence
• Moisten the foam rubber plug of the electrode with water and press
it lightly onto the first measuring point. The measured value will be
shown in the 12 box. Once it stabilizes, a beep will indicate when the
measurement has been acquired automatically. (if Auto Save is se-
lected in Settings and the measured value is < -50mV) and the cursor
will move to the next point to be measured. You can force the storing
of the current value and move to the next cell by pressing 13.
Changing the cursor position can be done by tapping and dragging the
cursor or using the Direction buttons 14.
• Following the measurement it should be possible to see a wet patch
when applied on dry concrete. If this is not the case then the foam rub-
ber plug should be moistened with water again.
• After the last point of a row you can press 8 and the cursor will move
to the next line (zero or current point depending on the Direction of
Next Line setting).
• You can switch anytime between Coarse and Fine grid by pressing
9; when coarse grid is activated the cursor will skip a number of cells
defined by the Coarse Grid Factor after storing or when moved with
the Direction buttons. Skipped cells are diplayed in white.
• You can edit or delete the measured value at cursor position by press-
ing 10; alternatively the value can overwritten by simply positioning the
cursor and storing the new measured value.


