© 2017 Proceq SA
22
3
Display
of selected Settings:
• Measuring Range
• Type of correction (None, AI, NRC, CAL)
• 1
st
and 2
nd
layer rebar size and spacing
• Cover Offset (if set)
• Probe Direction X: Undefined direction
^, v, <, >: On vertical wall, probe head towards
up, down, left, right
_, ˉ: On horizontal surface, on soffit
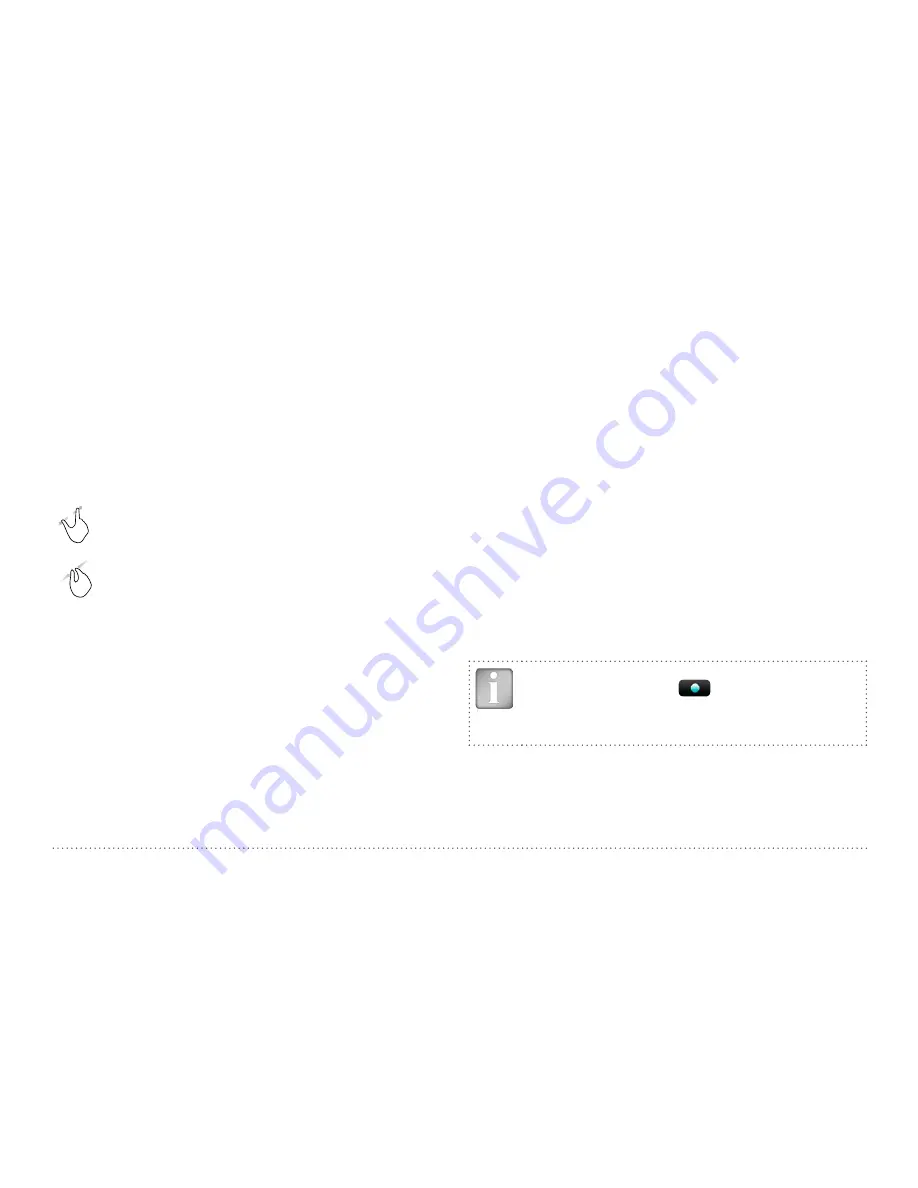
Zoom
in by placing thumb and index finger together on the
screen and spreading them apart. This can be used in both the
horizontal and vertical directions when making a measurement.
Zoom
out by placing thumb and index finger apart on the
screen and pinching them together.
Pan
the image from left to right by dragging.
4
Measured values displayed:
Cover / Diameter
5
Settings:
switches to the settings menu
6
Rebar Diameter:
measuring of rebar diameter
7
Store measured data
8
Restart: all data of current measurement are deleted
9
Delete current line
10 Move to next line / Rotate probe
11 Switch from X scan to Y scan and vice versa
12 Zoom to fit the whole scan
13 Actual Cover
14 Distance to the nearest rebar
15 Nos. / Measured diameter
16 Skip distance
17 Skip button
18 Coils indicator
19 Speed bar
The Cross-Line Mode is used to display the rebars of the first and second
layer arranged in a rectangular mesh. The measuring procedure including
turning the probe cart and changing cursor position is the same as for
Multi-Line Mode. In fact it is a Multi-Line scanning in X- and Y direction,
where the user can switch between horizontal and vertical scans by tap-
ping on 11.
In addition to the Multi-Line settings the grid width to define the spacing
between the Y-lines must be set.
3.2.3. Cover Meter Display Views
Measured data can be displayed in six different views: Snapshot, Statis-
tics, Single-Line, Multi-Line, Area-Scan and Cross-Line View. All
the settings stored with the measurements can be changed afterwards.
The views will change accordingly; to store the measuring series with the
changes tap Store.
NOTE! Each View can be changed in a measuring mode in
order to add data. Tap on
Set the cursor to the new
starting position and continue with the measurements (see
“3.2.3. Cover Meter Display Views” ). All data and settings
will be stored in the reopened file.


