Mechanical instructions
GB 13
EM1A
4.
4.2.3
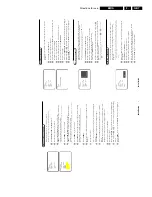
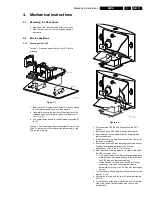
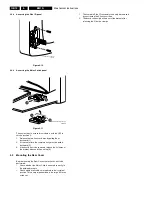
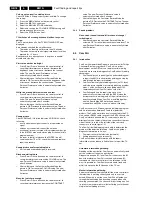
Accessing the Double Window (DW) panel
Figure 4-6
1.
Remove the DW bracket from the bottom tray by pulling
it backward (after pressing the fixation clamp).
2.
The board can easily be lifted out of the bracket [2] after
releasing the 2 fixation clamps [1].
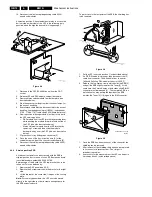
4.2.4
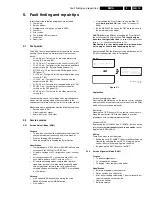
Accessing the Multi Voltage panel (if present)
1.
Remove the DW bracket from the bottom tray by pulling
it backward.
2.
Press the 2 fixation clamps downward [3] (see figure 4-
7).
3.
The board can easily be lifted out of the bracket after
releasing the 2 fixation clamps [4].
4.2.5
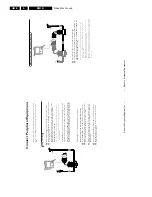
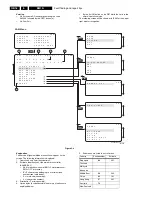
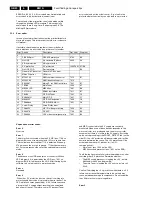
Accessing the Double Astigmatic Focus (DAF) panel
Figure 4-7
1.
The complete module can be removed from the LSP-
bracket by pressing its fixation clamp [1] (located behind
the PWB), while sliding the module in the direction of the
CRT [2].
2.
The board can easily be lifted from its bracket after
releasing the 2 fixation clamps [3].
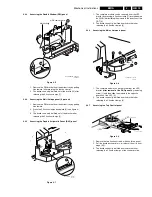
4.2.6
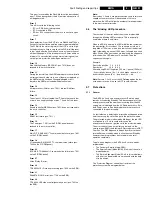
Accessing the Mains Harmonic panel
Figure 4-8
1.
The complete module can be removed from the LSP-
bracket (after removal of the DAF-panel) by removing
screw [1] and then slide the module in the opposite
direction of the CRT [2].
2.
The board can easily be lifted from its bracket after
releasing the 2 fixation clamps [3].
4.2.7
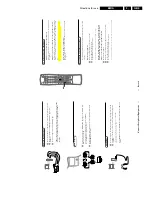
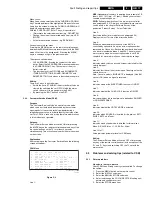
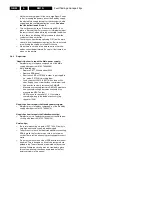
Accessing the Top Control panel
Figure 4-9
1.
Remove the two fixation screws, which hold the panel.
2.
Pull the board backward (w.o.w. release it from its front
hinge [M]).
3.
The board can easily be lifted from its bracket after
releasing the 2 fixation clamps at the connector side.
CL 06532130_015.eps
031000
PIP/Double Window
Multi Voltage
1
1
3
4
2
4
CL 06532130_016.eps
031000
1 pt
3
1
3
3
2
CL 06532130_017.eps
131000
3
2
3
1
3
CL 06532012_003.eps
030200
M
Top control board


