32
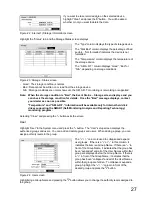
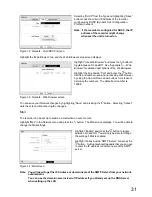
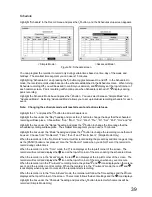
Highlight the box beside “Port” and press the button. Use the arrow buttons to enter the SMTP Server port
number obtained from your system administrator. The default port number is 25.
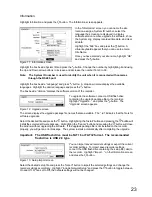
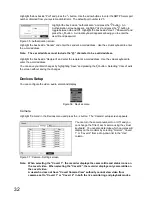
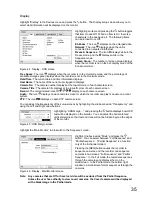
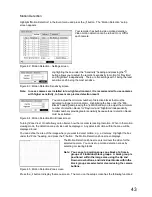
Highlight the box beside “Authentication” and press the button. An
Authentication screen appears. Highlight “Use” and press the button to
toggle between On and Off. Highlight the box beside “User” / “Password” and
press the button. A virtual keyboard appears allowing you to enter the
user ID and password.
Figure 35 : Authentication screen
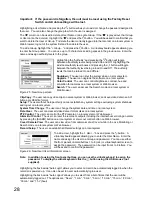
Highlight the box beside “Sender” and enter the sender’s e-mail address. Use the virtual keyboard to enter
the e-mail address.
Note: The e-mail address must include the “@” character to be a valid address.
Highlight the box beside “Recipient” and enter the recipient’s e-mail address. Use the virtual keyboard to
enter the e-mail address.
You can save your Mail changes by highlighting “Save” and pressing the button. Selecting “Cancel” exits
the screen without saving the changes.
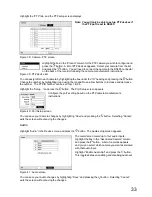
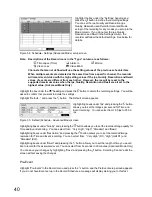
Devices Setup
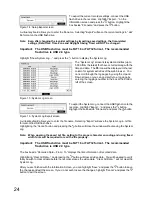
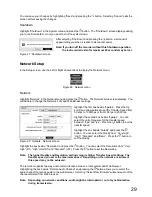
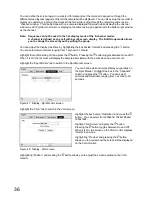
You can configure the video, audio, alarm and display.
Figure 36 : Devices menu
Camera
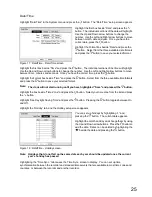
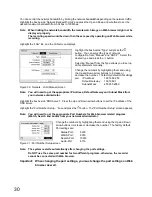
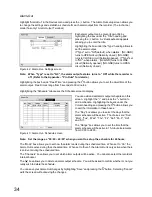
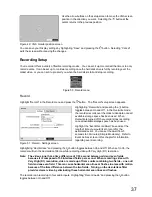
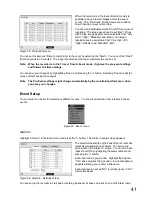
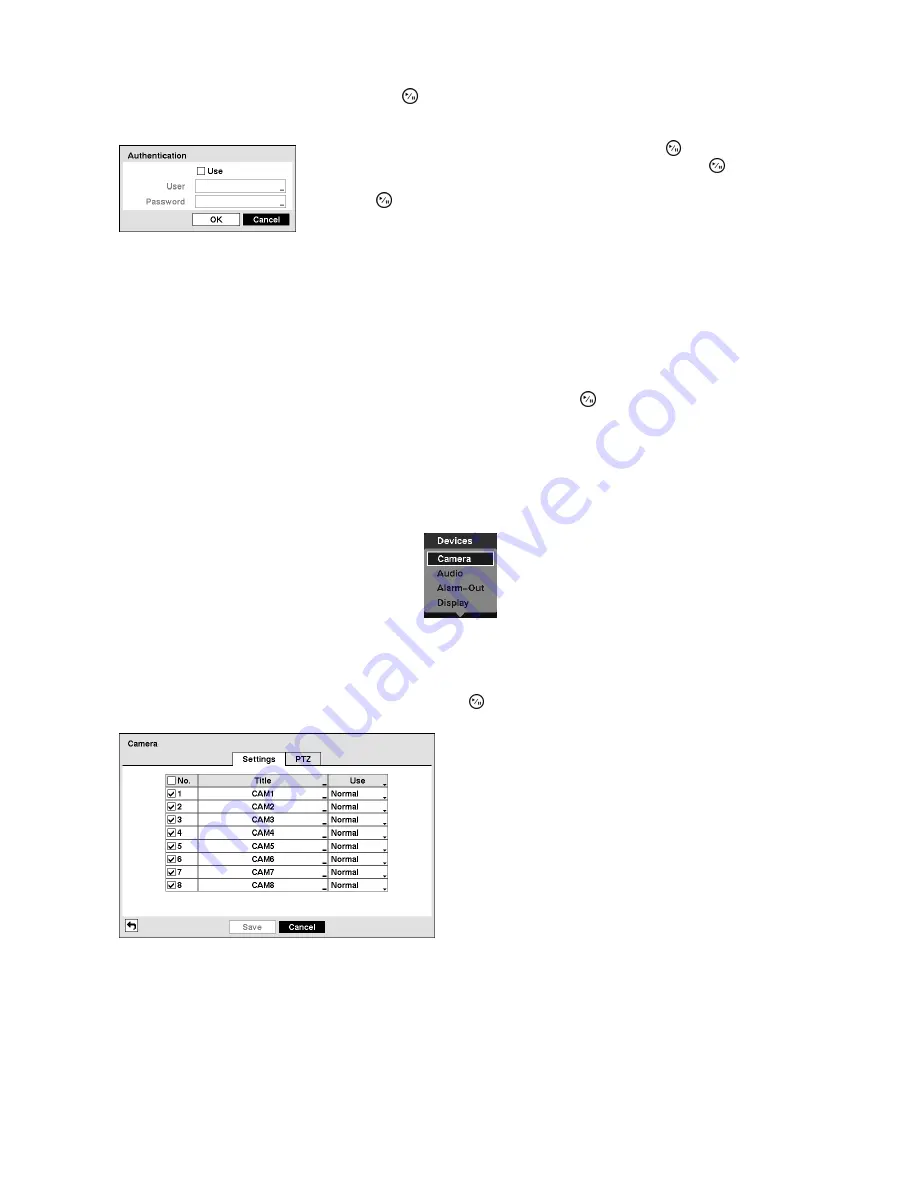
Highlight “Camera” in the Devices menu and press the button. The “Camera” setup screen appears.
You can turn the camera number On or Off, and you
can change the Title of each camera using the virtual
keyboard. You can also determine which cameras will
display on the monitors by selecting “Normal”, “Covert
1” or “Covert 2” from a drop-down list in the “Use”
column.
Figure 37 : Camera - Settings screen
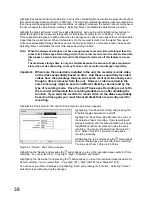
Note: When selecting the “Covert 1”, the recorder displays the camera title and status icons on
the covert video. When selecting the “Covert 2”, the recorder displays only camera title on
the covert video.
A user who does not have “Covert Camera View” authority cannot view video from
cameras set to “Covert 1” or “Covert 2” in both the live monitoring and playback modes.
Summary of Contents for WJ-HL204/G
Page 77: ...76 Map of Screens ...


