


27
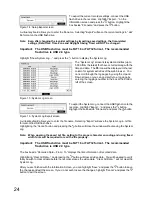
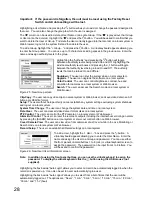
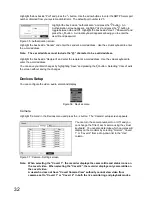
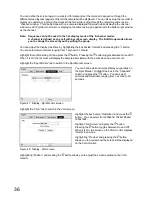
If you want to erase recorded data on the selected device,
highlight “Clear” and press the button. You will be asked
whether or not you want to delete the data.
Figure 22 : Internal 1 (Storage Information) screen
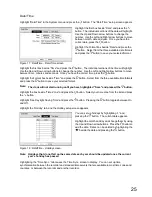
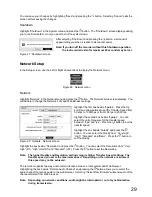
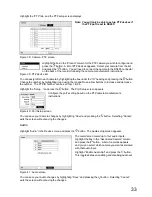
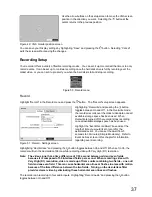
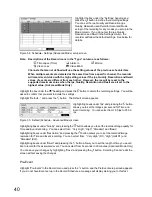
Highlight the “Status” tab, and the Storage Status screen displays.
The “Type” column displays the type of storage device.
The “Disk Bad” column displays the percentage of bad
sectors. “Not formatted” indicates the device is not
formatted.
The “Temperature” column displays the temperature of
the storage device.
The “S.M.A.R.T.” column displays “Good”, “Bad” or
“N/A”, depending on storage conditions.
Figure 23 : Storage - Status screen
・
Good : The storage condition is normal.
・
Bad : Data cannot be written on or read from the storage device.
・
N/A : Storage conditions are normal, however, the S.M.A.R.T. monitoring is not working or supported.
Note: When the storage condition is “Bad”, the Event Status – Storage screen displays and you
can check the storage condition for details. Once the “Bad” message displays, contact
your dealer as soon as possible.
“Temperature” and “S.M.A.R.T.” information will be available only for
internal
hard disk
drives supporting the SMART (Self-Monitoring Analysis and Reporting Technology)
monitoring program.
Selecting “Close” and pressing the button exits the screen.
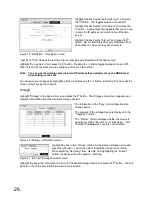
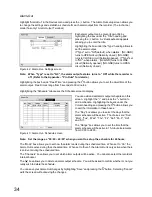
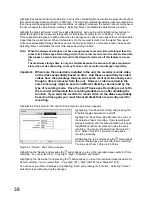
User
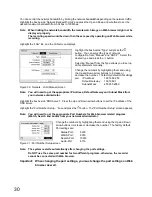
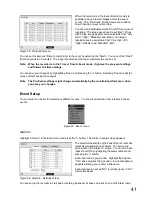
Highlight “User” in the System menu and press the button. The “User” setup screen displays the
authorized groups and users. You can add and delete groups and users. When adding a group, you can
assign authority levels to the group.
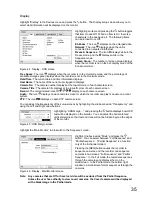
The “+” / “–” column is used to collapse and expand
user groups. If there is a “+” or “–” in this column, it
indicates the item is a Group Name. If there is a “–” in
front of the Group Name, it indicates that the group has
been “expanded” and all of the User Names within that
group are displayed below the Group Name. If there is
a “+” in front of the Group Name, it indicates that the
group has been “collapsed” and all of the User Names
within that group are hidden. To collapse or expand a
group, highlight the “+” / “–” column in front of the
desired group and press the button.
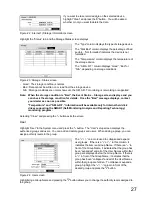
Figure 24 : User screen
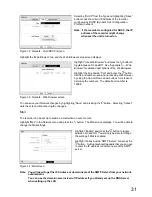
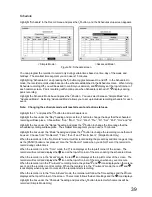
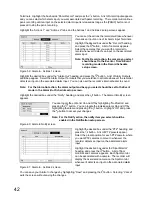
Highlighting a Group Name and pressing the button allows you to change the authority levels assigned to
the group.
Summary of Contents for WJ-HL204/G
Page 77: ...76 Map of Screens ...


