

28
Important:
If the password is forgotten, the unit must be reset using the Factory Reset
Switch
and all data settings will be lost.
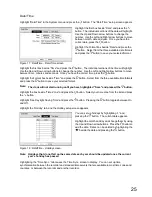
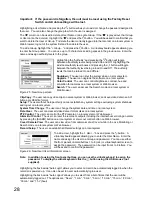
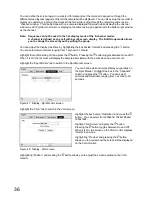
Highlighting a User Name and pressing the button allows you to add or change the password assigned to
that user. You can also change the group to which the user is assigned.
The “ ” column can be used to delete a User Name or an entire Group. If the “ ” is grayed out, that Group
or User cannot be deleted. Highlight the “ ” and press the button. You will be asked to confirm that you
want to delete the User or Group. To delete the User currently logged into the recorder on a local system or
Web browser, log out of the system first and then delete the user.
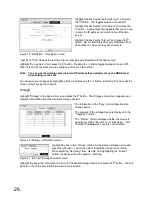
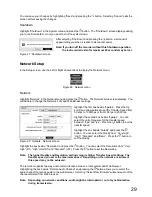
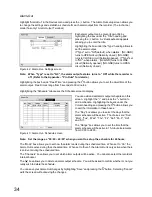
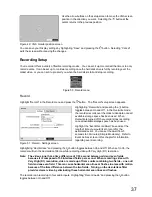
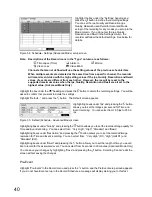
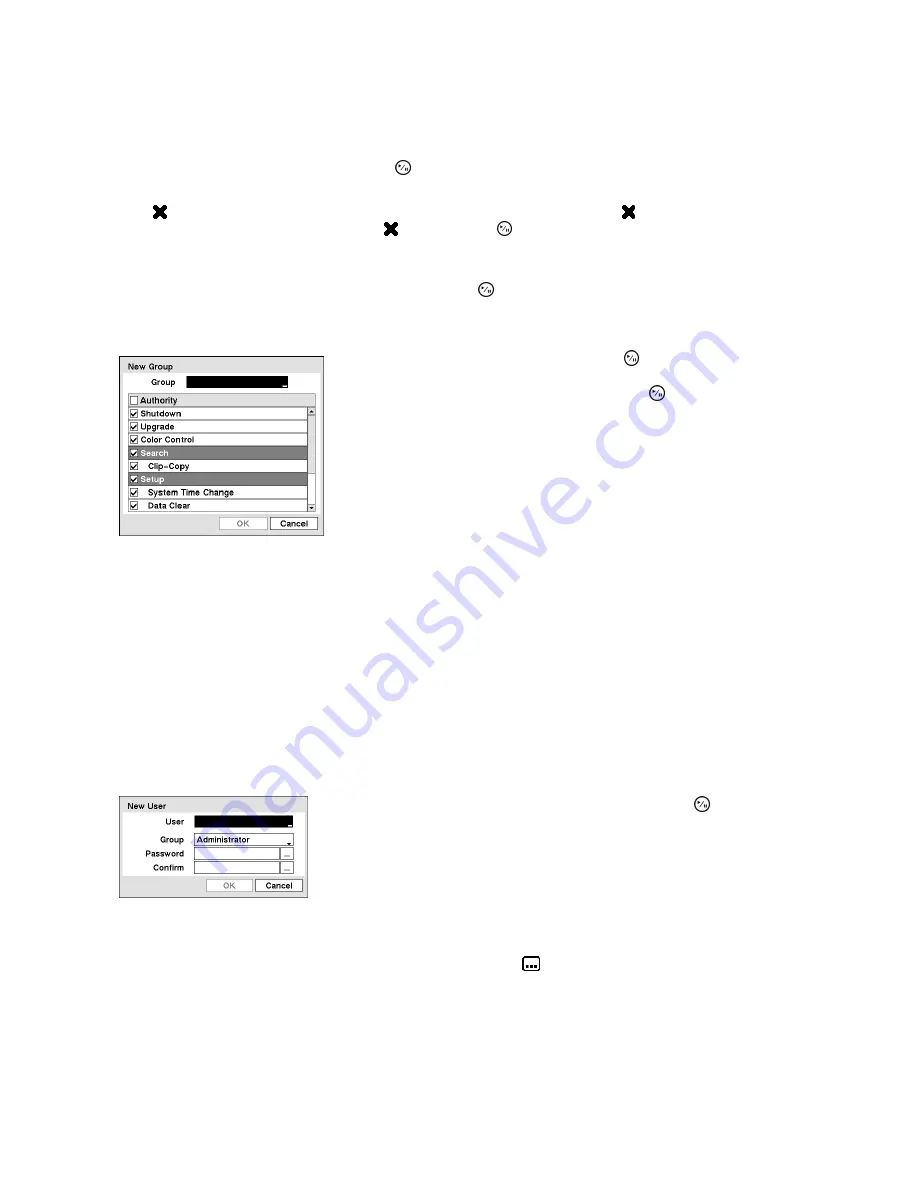
To add a Group, highlight the “+ Group…”
and press the button. A virtual keyboard appears allowing you
to enter the Group name. You can use up to 15 characters including spaces in the group name. Enter the
name and assign authority levels to the group.
Highlighting the “Authority” and pressing the button will toggle
between all authority levels being turned On and Off. Highlighting the
individual authority level boxes and pressing the button will toggle
between that authority level being turned On and Off. The authority
levels that can be turned On and Off are:
Shutdown
: The user can shut the system down on a local system.
Upgrade
: The user can upgrade the software on a local system.
Color Control
: The user can control brightness, contrast, hue and
saturation for cameras on a local system or Web browser.
Search
: The user can access the Search mode on a local system or
Web browser.
Figure 25 : New Group screen
Clip-Copy
: The user can copy video clips on a local system or Web browser, and save video data in an AVI,
bitmap or JPEG file format.
Setup
: The user without Setup authority cannot establish any system settings excluding system shutdown
and logout on a local system.
System Time Change
: The user can change the system date and time on a local system.
Data Clear
: The user can clear all video data or format disks on a local system.
PTZ Control
: The user can control the PTZ camera on a local system or Web browser.
Alarm-Out Control
: The user can reset the recorder’s outputs including the internal buzzer during an alarm
by pressing the [ALARM] button on a local system or alarm-out control button on Web browser.
Covert Camera View
: The user can view video from cameras set as Covert while in the Live Monitoring or
Search mode on a local system or Web browser.
Record Setup
: The user can establish all Record settings on a local system.
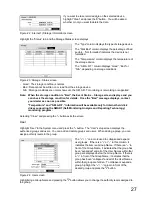
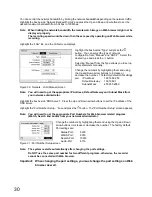
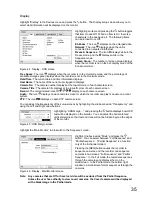
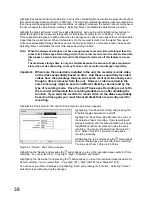
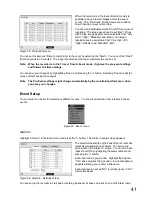
To add a User, highlight the “+ User…” box and press the button. A
virtual keyboard appears allowing you to enter the User Name. Enter the
name and assign the User to a Group and password. You can use either
the front panel’s camera buttons 1 to 8 (or 4) or virtual keyboard screen to
assign the password. The password can be input from 4 to 8 letters. You
will be asked to confirm the password.
Figure 26 : New User (User Information) screen
Note: In addition to using the front panel buttons, you can use the virtual keyboard to assign the
password. To display the virtual keyboard click the
button using the USB mouse (not
supplied).
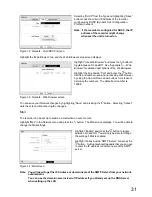
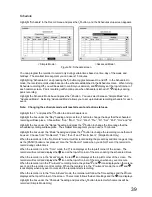
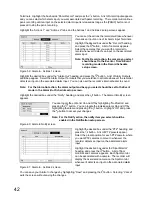
Highlighting the box beside “Auto Login” allows you to select a User to be automatically logged in when the
recorder is powered up. It can also be set to never automatically login a user.
Highlighting the box beside “Auto Logout” allows you to select from a list of times that the user will be
automatically logged out. The options are: “Never”, “1 min.”, “3 min.”, “5 min.”, “10 min.”, “15 min.”, “20 min.”,
“30 min.” and “1 hr.”(hour)
Summary of Contents for WJ-HL204/G
Page 77: ...76 Map of Screens ...


