35
■
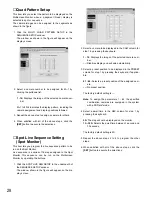
Input (Camera) Number Setup
This item lets you assign numbers for the input from the
system cameras for RS-485 communication.
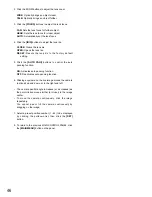
1. Click the CAMERA NUMBER SETUP in the PS.Data
SETUP window.
The CAMERA NUMBER SETUP window as shown in the
figure will appear on the display.
2. Select a camera number corresponding to the VIDEO
IN of the Disk Recorder by pressing the keyboard.
–––:
No assignment.
001 - 128:
Assigns the selected number.
Note:
Make sure not to assign the same number to
more than one system camera for RS-485 communi-
cation.
3. Repeat the above step to edit other inputs (cameras).
4. After completing the settings, click the
[SET]
button to
execute the selections.
5. To return to the previous PS.Data SETUP window, click
the PS.Data SETUP in the window.
RS-232C Setup
These items let you set the parameters for communication
between the SERIAL port of the Disk Recorder and an
external device.
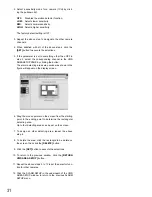
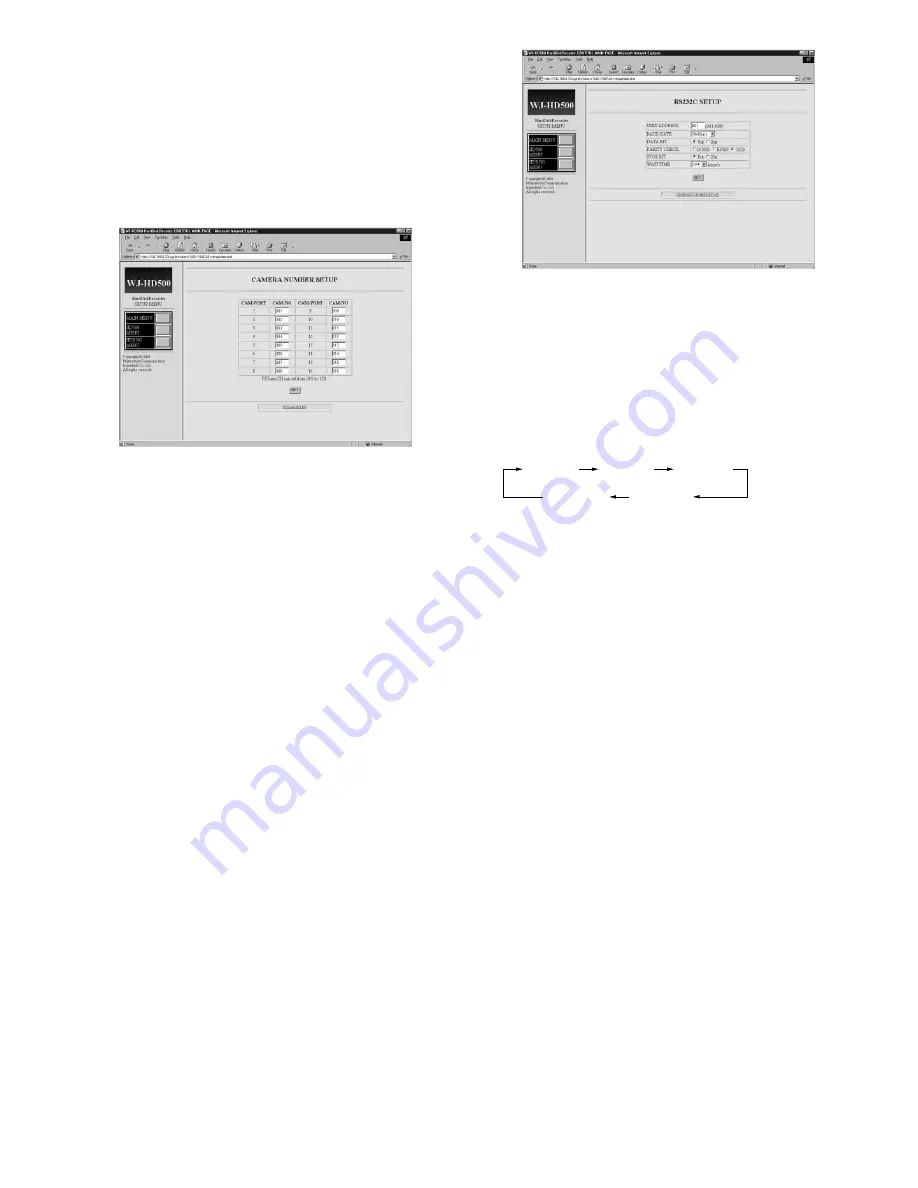
1. Click the RS-232C SETUP in the WJ-HD500 SETUP
MENU window.
The RS-232C SETUP window as shown in the figure will
appear on the display.
2. Select a unit address number of the Disk Recorder to
be used for RS-232C communication by pressing the
keyboard.
Select a parameter value between 001 and 099.
The factory default setting is 001.
3. Select a transmission speed (Baud Rate) shown below
by clicking the pulldown list.
The factory default setting is 9600 bps.
4. Select either 7 or 8 for the number of data bits by click-
ing the button.
The factory default setting is 7 bits.
5. Select NONE, EVEN or ODD for parity check by clicking
the button.
The factory default setting is ODD.
6. Select either 1 or 2 for the number of stop bits by click-
ing the button.
The factory default setting is 1 bit.
7. Select OFF, 100, 200, 400, 1 000 ms for the wait time by
clicking the pulldown list.
The item lets you set the waiting time in milliseconds
(ms) to retry after confirming that no data is received
from the controller for RS-232C communication.
When no transmission is needed, select OFF.
The factory default setting is OFF (no retry).
8. Click the
[SET]
button to execute the selections.
9. To return to the previous WJ-HD500 SETUP MENU win-
dow, click the HD500 SETUP MENU display in the win-
dow.
2400bps 4800bps 9600bps
38400bps 19200bps
2400bps 4800bps 9600bps
38400bps 19200bps
Summary of Contents for WJ-HDB502
Page 7: ...7 WJ HDB502 BOARD SETUP ...
Page 13: ...13 WJ HD500 SETUP ...
Page 38: ...39 SYSTEM OPERATIONS ...

