20
■
Special Day Timer
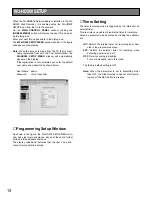
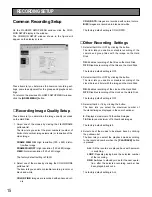
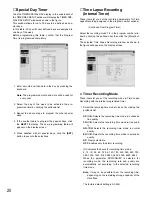
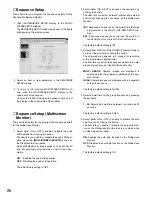
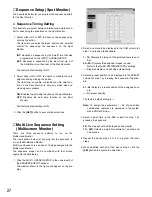
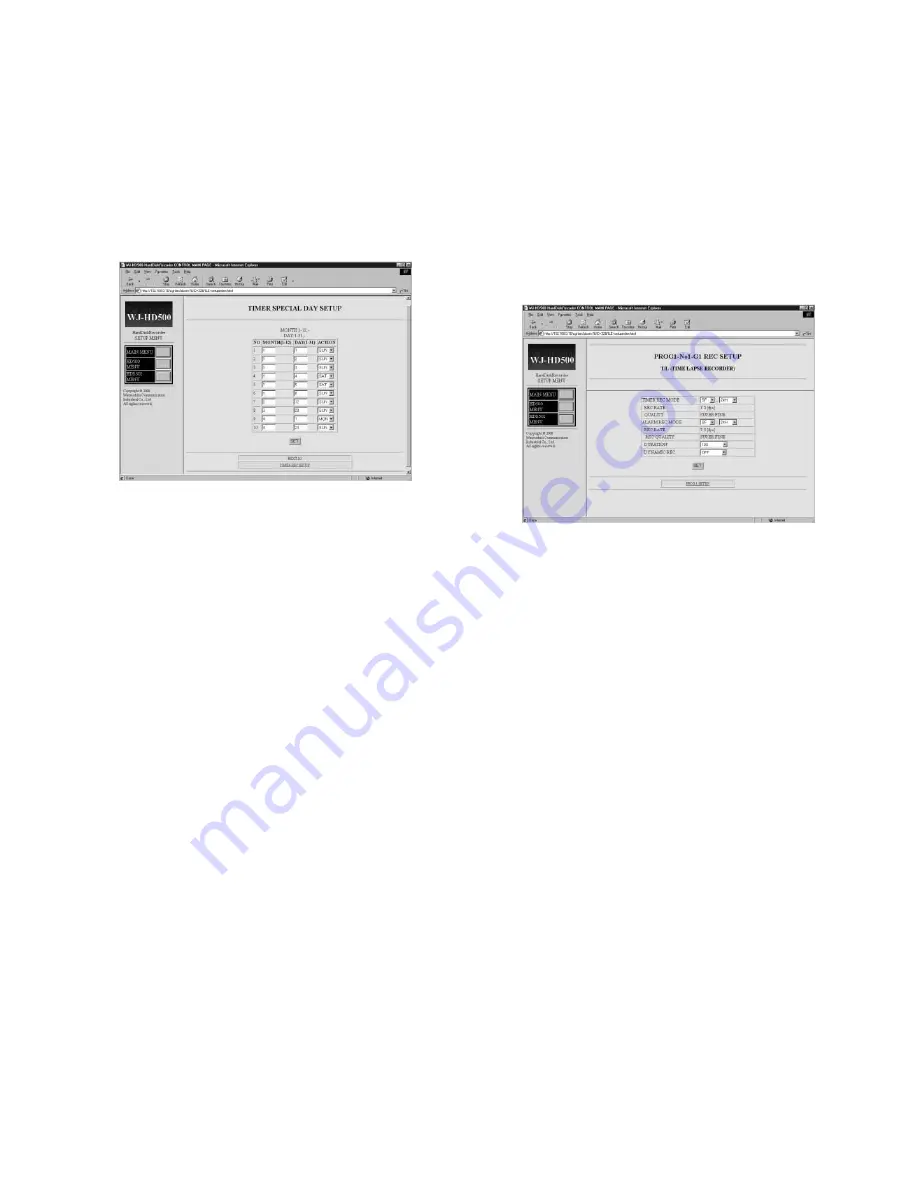
Click the TIMER SPECIAL DAY display in the underneath of
the TIMER REC SETUP window will display the TIMER SPE-
CIAL DAY SETUP window as shown in the figure.
This window allows for up to 30 days to be defined as spe-
cial days.
In this table, 30 specific user defined days are assigned to
one day of the week.
Before programming this table, confirm that the Program
Timer is programmed completely.
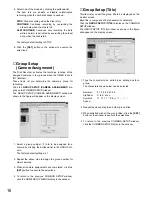
1. Enter a month and then date in the box by pressing the
keyboard.
Note:
The programmed month and date will be valid for
every year.
2. Select the day of the week to be activated the pro-
grammed timer by clicking the pulldown list.
3. Repeat the above steps to program the other special
days.
4. If the another table to program the special days, click
the
NEXT 10
display. The new programming table will
appear on the display screen.
5. When satisfied with all special days, click the
[SET]
button to execute the selections.
■
Time Lapse Recording
(Internal Timer)
These items let you set the recording parameters for Time
Lapse Recording assigned in the program number window.
(Continued from Program Timer)
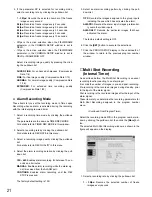
Select the recording mode T/L in the program number win-
dow by clicking the pulldown list, then click the [More] but-
ton.
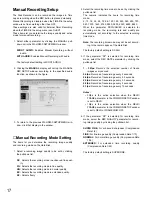
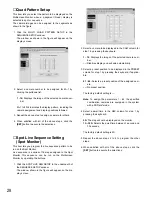
The selected Time Lapse Recording window as shown in
the figure will appear on the display screen.
●
Timer Recording Mode
These items let you set the recording mode in Time Lapse
Recording with the internal programmed timer.
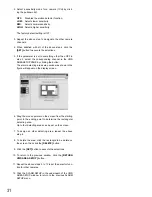
1. Select the recording time mode to be set by clicking the
pulldown list.
SF-
✽✽
H:
Selects the recording time mode in enhanced
fine quality.
FQ-
✽✽
H:
Selects the recording time mode in fine quali-
ty.
NQ-
✽✽
H:
Selects the recording time mode in normal
quality.
EX-
✽✽
H:
Selects the recording time mode in extended
quality.
SP:
Freely selectable
OFF:
Enables only the alarm recording.
✽✽
indicates the hours for recording time mode:
2, 12, 18, 24, 48, 72, 96, 120, 180, 240, 360, 480, 720,
960, 1200, 1440, 2160, 2880, 3600, 4320, 6480, 8640
When the parameter SF/FQ/NQ/EX is selected for
recording mode, the recording rate and quality are
automatically set according to the selected recording
time mode.
Note:
It may no be possible to set the recording time,
depending on the remaining storage capacity of the
Hard Disk.
The factory default setting is SF-24H
Summary of Contents for WJ-HDB502
Page 7: ...7 WJ HDB502 BOARD SETUP ...
Page 13: ...13 WJ HD500 SETUP ...
Page 38: ...39 SYSTEM OPERATIONS ...

