28
■
Quad Pattern Setup
This item lets you select the pattern to be displayed on the
Multiscreen Monitor when a 4-segment (Quad) display is
selected in spot or sequence.
The camera images can be assigned to the segments as
shown in the figure.
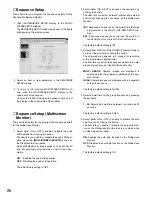
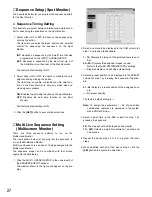
1. Click the MULTI QUAD PATTERN SETUP in the
SEQUENCE SETUP window.
The window as shown in the figure will appear on the
display screen.
2. Select a camera number to be assigned for 4A-1 by
clicking the pulldown list.
1 - 16:
Displays the image of the selected camera num-
ber.
4A-1 to 4D-4 indicates the display pattern, including the
camera assignment and display positions followed.
3. Repeat the above step to assign a camera for others.
4. When satisfied with all of the above steps, click the
[SET]
button to execute the selections.
■
Spot Live Sequence Setting
(Spot Monitor)
This item lets you program the live sequence pattern to be
run on the Spot Monitor.
Live sequence is a series of 16 steps assigned to the Spot
Monitor. This sequence can be run on the Multiscreen
Monitor by operating the buttons.
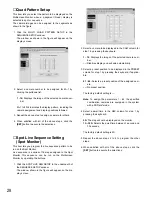
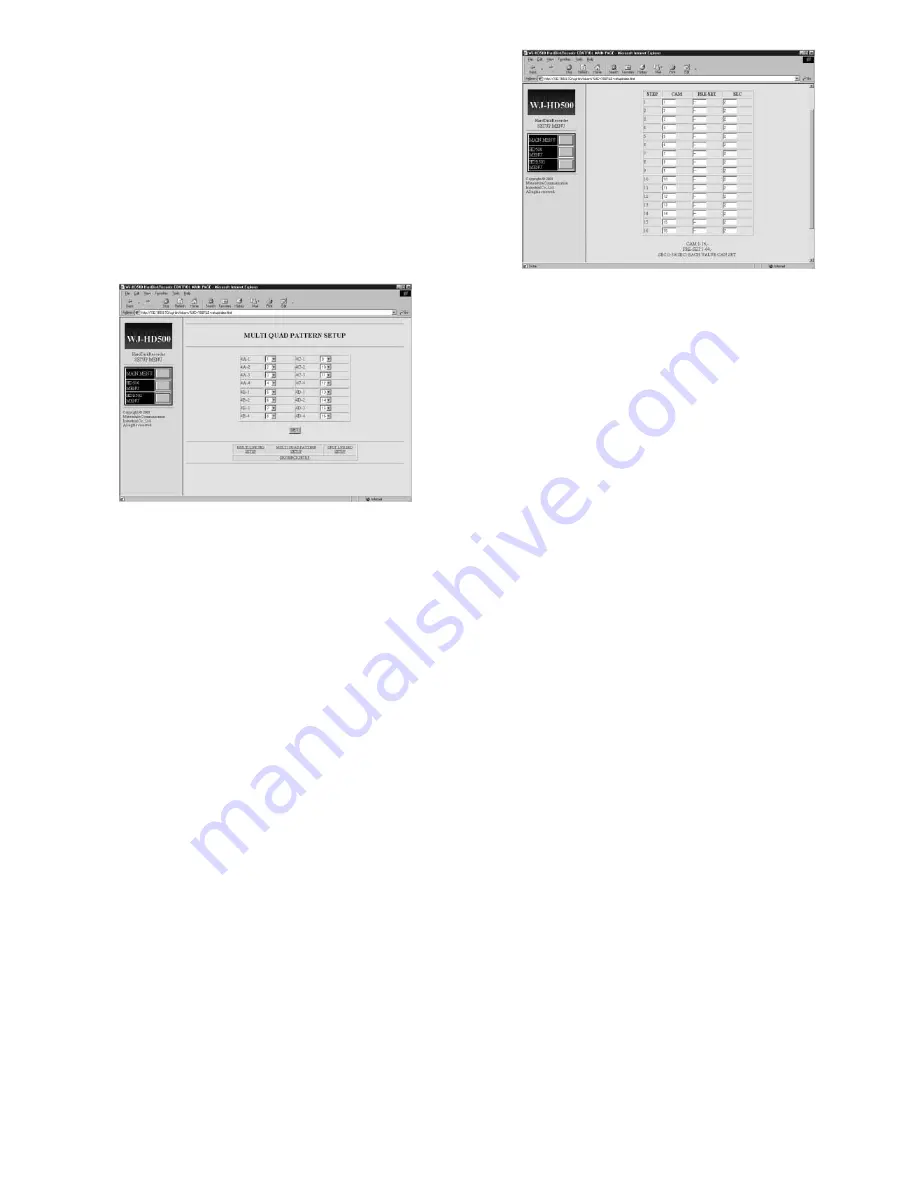
1. Click the SPOT LIVE SEQ SETUP in the underneath of
the SEQUENCE SETUP window.
The window shown in the figure will appear on the dis-
play screen.
2. Select a camera to be displayed in the CAM column for
step 1 by pressing the keyboard.
1 - 16:
Displays the image of the selected camera num-
ber.
––:
Disables display and will skip automatically.
3. Select a preset position to be displayed in the PRESET
column for step 1 by pressing the keyboard, if applica-
ble.
01 - 64:
Selects a preset position of the assigned cam-
era.
––:
No preset position
The factory default setting is ––.
Note:
To assign the parameters 1 - 64, the specified
combination cameras are equipped in the system
with a PS.Data* mode.
4. Select a dwell time in the SEC column for step 1 by
pressing the keyboard.
0S:
The step will not be displayed on the monitor.
1S - 30S:
Selects the dwell time between 1 second and
30 seconds.
The factory default setting is 2S.
5. Repeat the above steps 2 to 4 to program the other
steps.
6. When satisfied with all of the above steps, click the
[SET]
button to execute the selections.
Summary of Contents for WJ-HDB502
Page 7: ...7 WJ HDB502 BOARD SETUP ...
Page 13: ...13 WJ HD500 SETUP ...
Page 38: ...39 SYSTEM OPERATIONS ...

