25
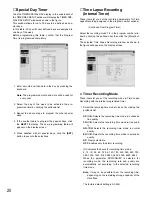
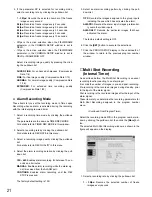
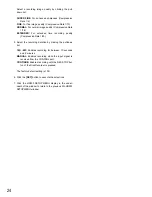
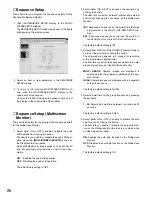
These items let you determine functions such as sequence
and power on status for this Disk Recorder.
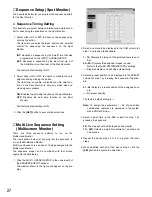
1. Click the
MULTIPLEXER SETUP
in the WJ-HD500
SETUP MENU window.
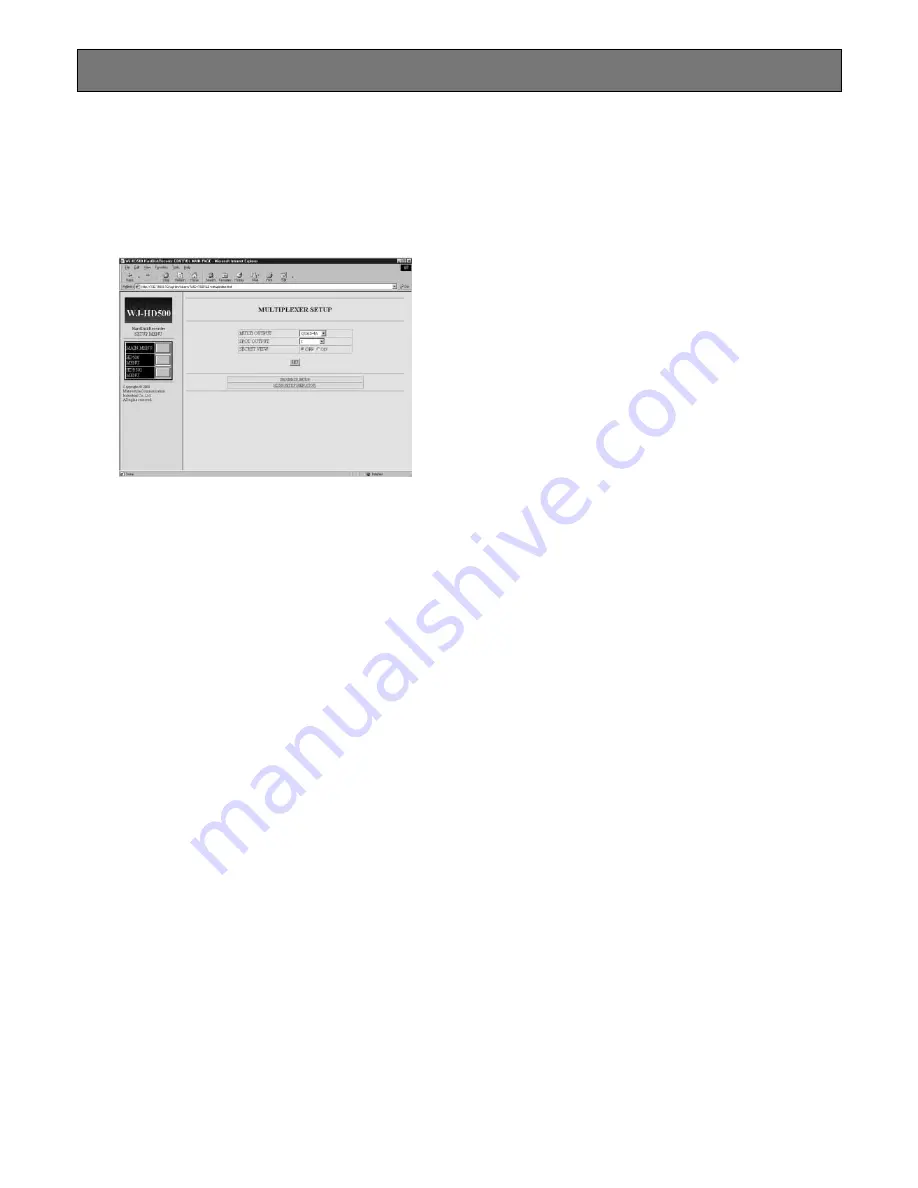
The MULTIPLEXER SETUP window as shown in the fig-
ure will appear on the display.
2. To return to the previous WJ-HD500 SETUP MENU win-
dow, click the HD500 SETUP MENU display in the
underneath of the window.
Or to open the further divided SEQUENCE SETUP win-
dow, click the SEQUENCE SETUP display in the under-
neath of the window.
■
Multiplexer Setup
The following settings are made in the MULTIPLEXER
SETUP window.
■
Power on Status Setup
The items let you select a pattern on the monitor screen
when the Disk Recorder’s power is turned on.
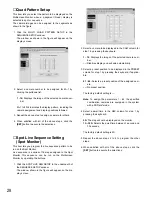
1. Select a display pattern on the Multiscreen Monitor by
clicking the pulldown list.
1 - 16:
Selects an assigned camera image in single
spot mode.
SPOT SEQ:
Selects a sequence pattern programmed
in the Live Sequence (Spot Monitor).
QUAD-4A to QUAD-4D:
Selects an assigned quad dis-
play in spot mode.
QUAD SEQ:
Selects a sequence pattern programmed
in the Live Sequence (Multiscreen Monitor).
MULTIPLEXER SETUP
7 to 16SCREEN:
Selects a display with the assigned
segment.
The factory default setting is QUAD-4A.
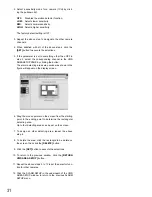
2. Select a display pattern on the Spot Monitor by clicking
the pulldown list.
1 - 16:
Selects an assigned camera image in single
spot mode.
SPOT SEQ:
Selects a sequence pattern programmed
in the Live Sequence (Spot Monitor) described
later.
The factory default setting is 1.
■
Secret View Setting
When the video input is displayed in the spot mode on the
Spot Monitor, the Multiscreen Monitor is enabled to skip the
step in sequence or display a blackout in multiscreen for
that selected input image.
This function is called Secret View and the item lets you
enable or disable this function on the Multiscreen Monitor.
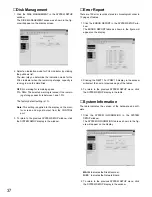
1. Select either OFF or ON for SECRET VIEW by clicking
the button.
OFF:
Disables the secret view function.
ON:
Enables the secret view function.
The factory default setting is OFF.
2. Click the
[SET]
button in the window to execute the
selections.
Summary of Contents for WJ-HDB502
Page 7: ...7 WJ HDB502 BOARD SETUP ...
Page 13: ...13 WJ HD500 SETUP ...
Page 38: ...39 SYSTEM OPERATIONS ...

