Chapter 4
Settings — [PROJECTOR SETUP] menu
146 - ENGLISH
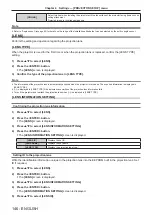
[CEILING]
Select this item when installing the projector with the top surface of the projector facing down such as
ceiling attachment.
Projected image is inverted upside down.
Note
f
Refer to “Angle sensor” (
x
page 43) for details on the range of the installation attitude that can be detected by the built-in angle sensor.
[LENS]
Perform the setting and operation regarding the projection lens.
[LENS TYPE]
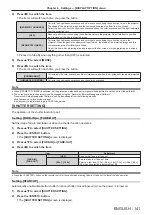
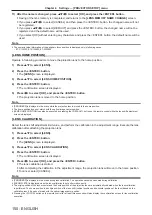
When the projector is used for the first time or when the projection lens is replaced, confirm the [LENS TYPE]
setting.
1) Press
as
to select [LENS].
2) Press the <ENTER> button.
f
The
[LENS]
screen is displayed.
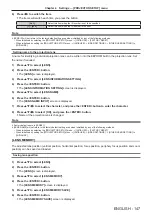
3) Confirm the type of the projection lens in [LENS TYPE].
Note
f
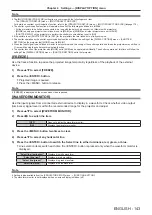
The information of the projection lens is automatically acquired when the projector is turned on. The acquired information is displayed in
[LENS TYPE].
f
[---] is displayed in [LENS TYPE] if the automatic acquisition of the projection lens information fails.
f
Turn off the projector and reattach the projection lens when [‑‑‑] is displayed in [LENS TYPE].
[LENS INFORMATION SETTING]
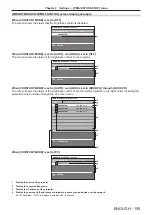
Confirming the projection lens information
1) Press
as
to select [LENS].
2) Press the <ENTER> button.
f
The
[LENS]
screen is displayed.
3) Press
as
to select [LENS INFORMATION SETTING].
4) Press the <ENTER> button.
f
The
[LENS INFORMATION SETTING]
screen is displayed.
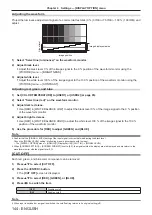
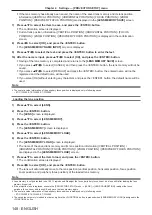
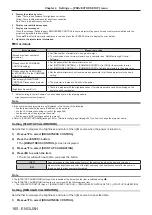
[LENS ID]
Displays the set ID.
[LENS NAME]
Displays the set name.
[LENS TYPE]
Displays the projection lens type.
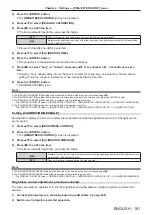
Setting ID to the projection lens
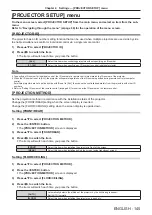
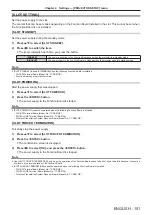
Write the identification information unique to the projection lens into the EEPROM built in the projection lens. Set
ID if required.
1) Press
as
to select [LENS].
2) Press the <ENTER> button.
f
The
[LENS]
screen is displayed.
3) Press
as
to select [LENS INFORMATION SETTING].
4) Press the <ENTER> button.
f
The
[LENS INFORMATION SETTING]
screen is displayed.
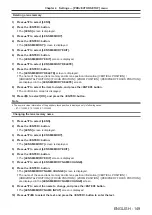
5) Press
as
to select [LENS ID].


