Aurora H2O User’s Manual
5
Chapter 4. Programming Advanced Features
4.2.3 Connecting to an Ethernet LAN
The Ethernet option supports the 10Base-T and 100Base-TX twisted-pair Ethernet standards. Screw terminal
connectors are provided on the
Aurora Terminal Board
for connection to the LAN. The Ethernet cable should be
inserted into an available cable gland, and fed through the increased safety compartment to the terminal board. The
cable should be prepared as described in
Step 6 on page 17
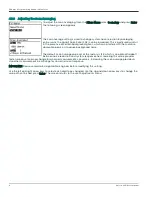
To access the
Ethernet Settings
menu, enter your
User
passcode (
2719
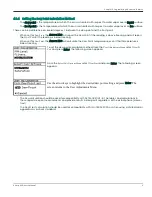
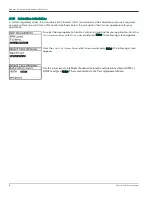
is the default). To
activate the Ethernet port, select the
Status
option and press
Enter
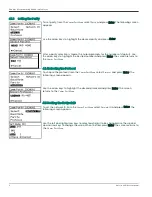
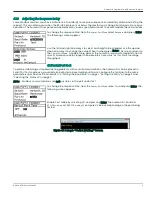
. The following screen
appears.
When the
Status
is set to
Disabled
, power is removed from the module, effectively
unplugging it from the Ethernet network. If the
Status
is returned to
Enabled
, there will be
a delay of up to one minute before the module completes its
Power On Self Test
(
POST
) and becomes visible on the Ethernet network. After selecting the desired
option, press
Enter
. [Note that the
Disabled
option is the default setting.]
IMPORTANT:
If the
Ethernet Settings
menu is “gray” or missing, your Aurora does not have
Ethernet capability.
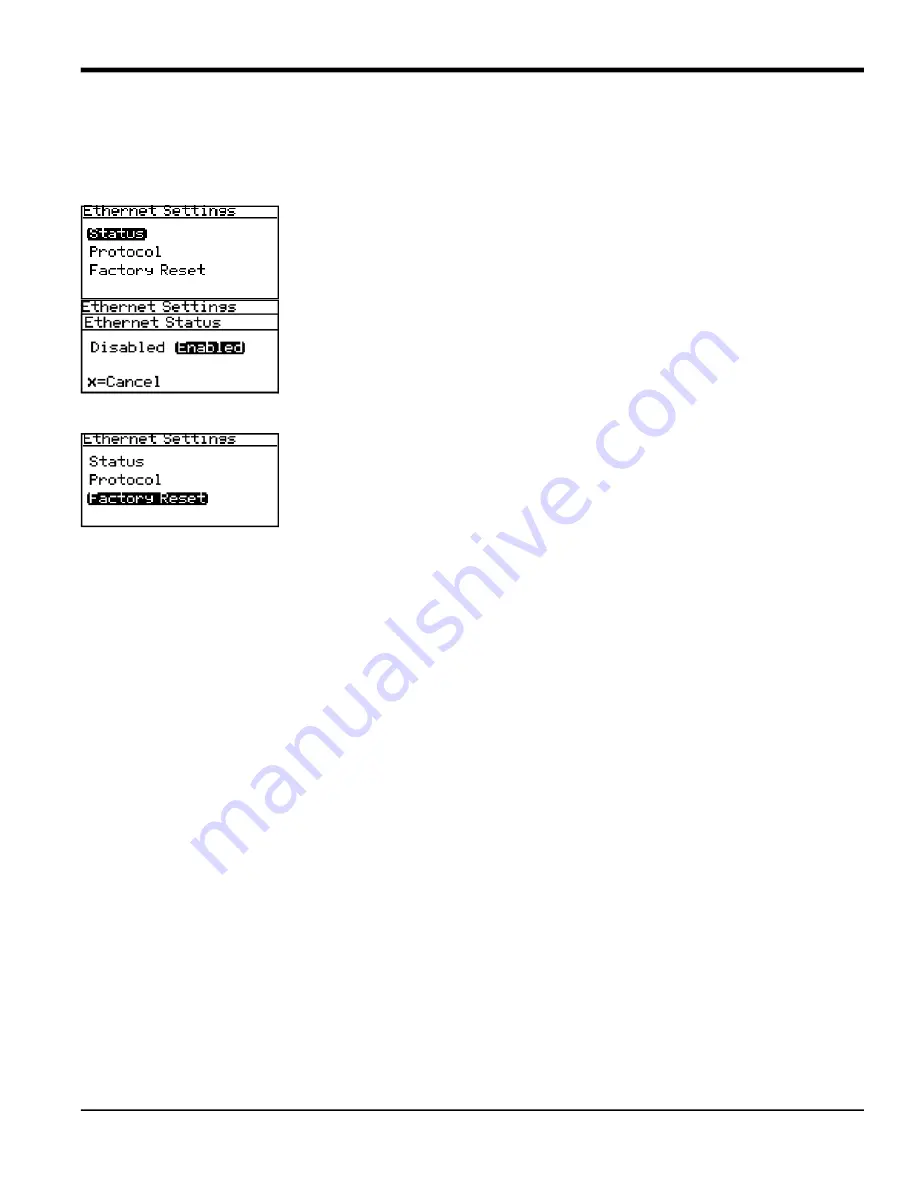
Selecting
Factory Reset
from the
Ethernet Settings
menu returns the Ethernet module to its
default state, which takes approximately 15 seconds to complete. After a
Factory Reset
,
the module enables DHCP, reset passwords to their defaults, disables Modbus/TCP,
and enables RealPort (serial emulation) mode. After a
Factory Reset
, it is necessary to
log in via the HTML or Telnet command interface, and reconfigure the network and
Modbus settings (see
Appendix B. “Aurora H2O Ethernet Operation”
for
detailed instructions).
4.2.4 IP Address Assignment
By default, Aurora uses the
Dynamic Host Configuration Protocol
(DHCP) to obtain an
Internet Protocol
(IP) address
from the network controller or router. If a DHCP server is not available, a static IP address must be selected and
assigned. This is performed via the HTTP or Telnet interface.
If an IP address is obtained from a DHCP server, that server may be used to identify the IP address assigned, or the IP
address may be determined with a
Device Discovery Utility
.
If no DHCP server is provided, after several minutes the Aurora will default to a Link Local Address per IETF RFC 3927.
The Aurora will assign itself a random IP address in the range of 169.254.1.0 - 169.254.254.255.
Summary of Contents for Aurora H2O
Page 1: ...panametrics com 910 317 B August 2022 Aurora H2O User s Manual...
Page 2: ......
Page 4: ...ii no content intended for this page...
Page 12: ...Chapter x Aurora H2O User s Manual no content intended for this page...
Page 24: ...Chapter 1 Features and Capabilities 12 Aurora H2O User s Manual...
Page 44: ...Chapter 2 Installation 20 Aurora H2O User s Manual...
Page 47: ...Aurora H2O User s Manual 28...
Page 65: ...Chapter 3 Operation and General Programming 18 Aurora H2O User s Manual...
Page 96: ...Aurora H2O User s Manual 36...
Page 120: ...Chapter 5 AuroraView Interface Software 24 Aurora H2O User s Manual...
Page 140: ...Chapter 7 Troubleshooting 6 Aurora H2O User s Manual...
Page 148: ...Appendix A MODBUS RTU TCP Communications 14 Aurora H2O User s Manual...
Page 166: ...4 Aurora H2O User s Manual...
Page 168: ...Warranty 6 Aurora H2O User s Manual no content intended for this page...
Page 169: ......


