96
Chapter 6 : Contacts, Calendar, and other personal information
2
Search for a contact (see
Find a contact
), and tap the contact name.
3
(Optional) To copy a contact, open the
application menu
, tap
Edit
, and
tap
Copy All
.
The contents of the contact entry are copied as plain text, with
carriage returns between each element.
4
To edit a contact, tap
Edit.
Info that’s dimmed means it originates from an account that you can’t
edit on your phone (like Facebook).
5
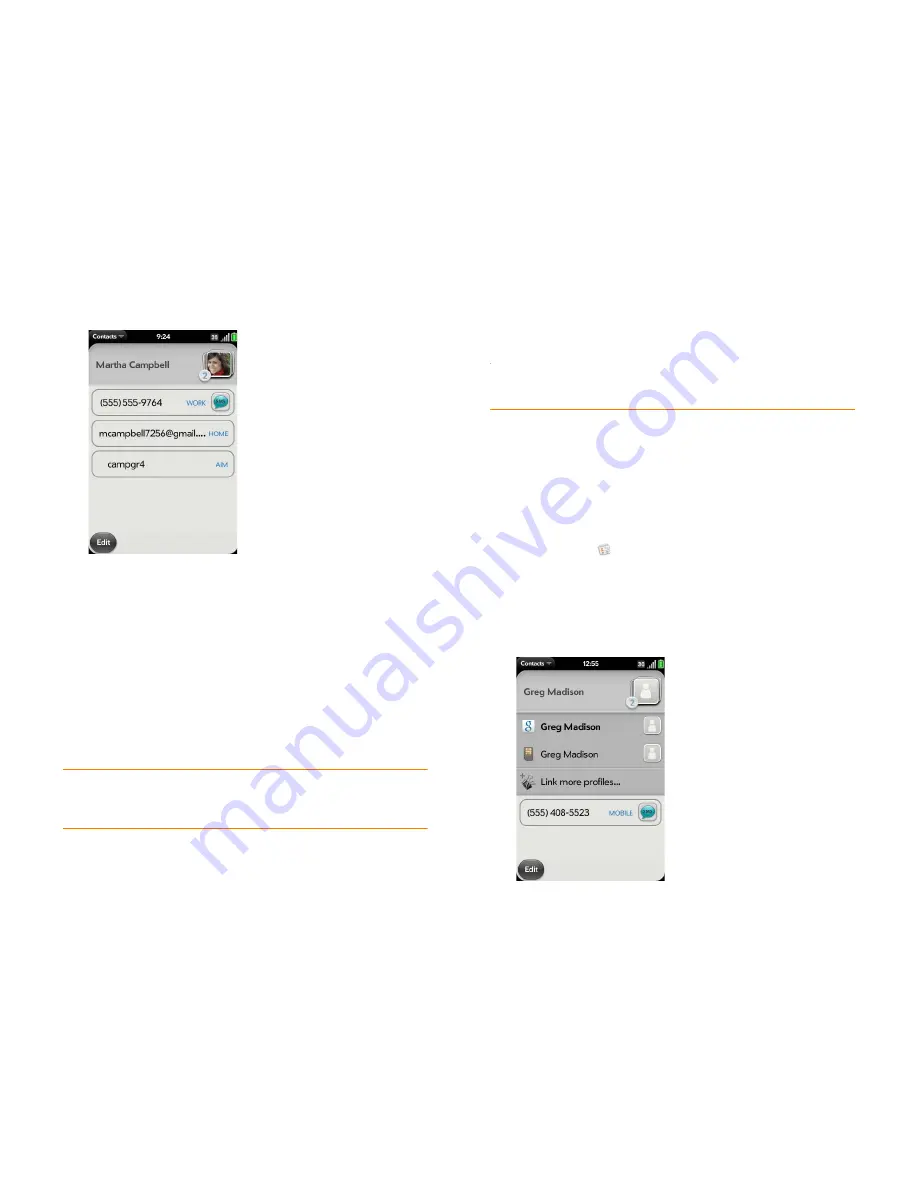
In a linked contact, tap the account icon in the upper-right corner to
edit fields specific to that account.
NOTE
The fields that make up the contact header (name, photo, job title,
company) are unique to each account. You must open a specific account to enter
these fields.
6
Do one or both of the following:
•
To add or change information: Tap a field (see
Enter information in a
field
).
NOTE
In a linked contact, when you enter info in a field for the first time, you can
assign that info to any account by tapping the account button in the field.
•
To delete a piece of contact information: Throw the item off the side
of the screen, and tap
Delete
.
7
Tap
Done
.
Copy a contact to the SIM card
1
Open
Contacts
.
2
Search for a contact (see
Find a contact
), and tap the contact name.
3
Open the
application menu
and tap
Copy To SIM Card
.
The two contacts are automatically linked.
Summary of Contents for Pre Plus
Page 1: ...User Guide ...
Page 46: ...46 Chapter 2 Basics ...
Page 52: ...52 Chapter 3 Data transfer ...
Page 118: ...118 Chapter 6 Contacts Calendar and other personal information ...
Page 134: ...134 Chapter 7 Photos videos and music ...
Page 162: ...162 Chapter 9 Documents ...
Page 176: ...176 Chapter 10 Preferences ...
Page 196: ...196 Chapter 11 Troubleshooting ...
Page 200: ...200 Terms ...
Page 206: ...206 Specifications ...


