Chapter 1
Setting Up Your Palm™ Tungsten™ T2 Handheld
8
Step 5: Perform a HotSync operation
Step 6: Register your handheld
Windows:
When the first HotSync operation is complete, the installer displays
screens where you can select product registration options. After you complete
these screens, the Congratulations! screen appears.
Macintosh:
When the first HotSync operation is complete, double-click the Palm
Desktop software icon in the Palm folder (inside the Applications folder by
default) to access screens where you can select product registration options. After
you complete these screens, the Congratulations! screen appears.
Congratulations!
You’ve set up your handheld, installed Palm Desktop software, performed your
first HotSync operation, and registered your handheld. If you’re using a Windows
computer, you also created your handheld business card. For comprehensive
information about using your handheld, continue reading this electronic
handbook.
For more information about using Palm Desktop software, see the following:
■
The online help for Palm Desktop software. To access the online help, go to the
Help menu in Palm Desktop software.
■
Mac:
The electronic
Palm Desktop Software for the Macintosh User’s Guide.
To
access this guide, open the Palm folder, and then open the Documentation
folder. Double-click the file Palm Desktop.pdf.
Windows:
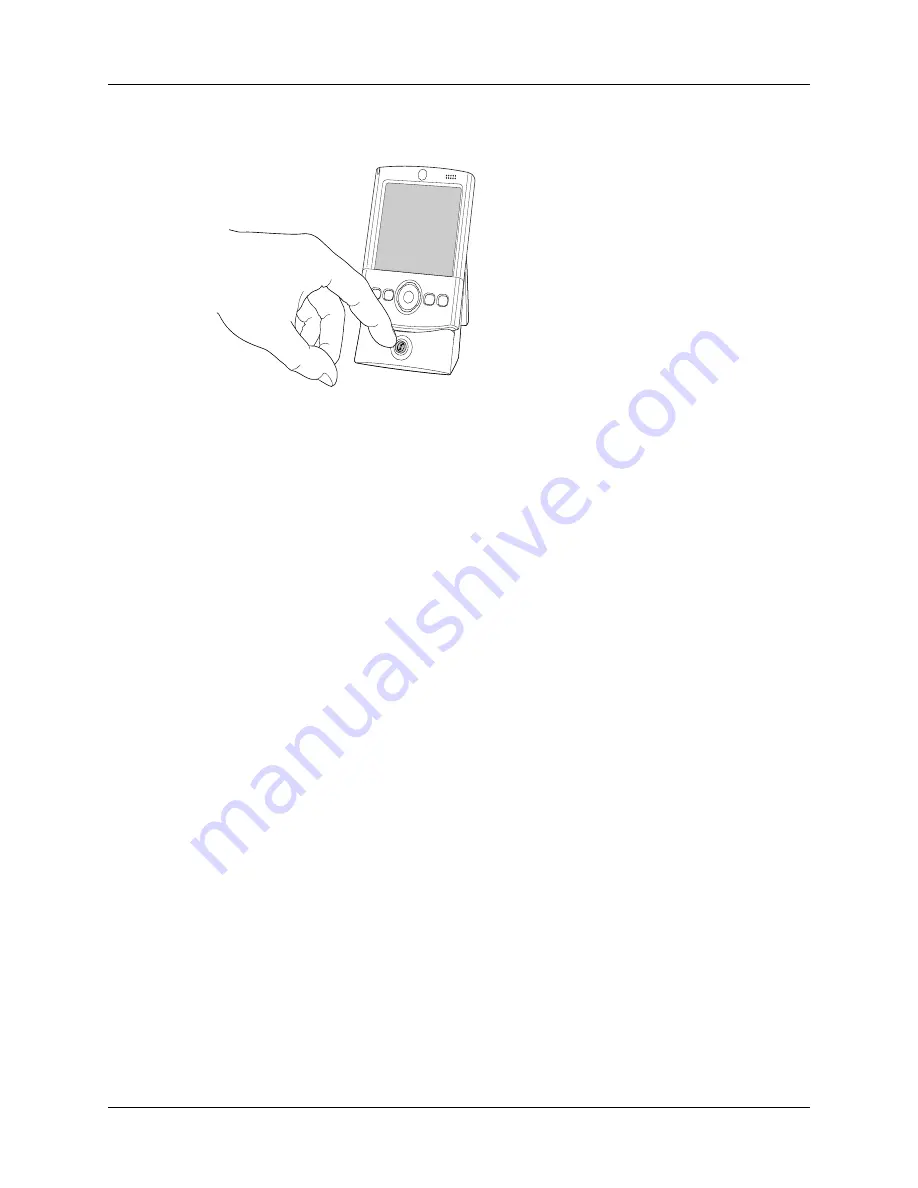
When prompted, place your
handheld in the cradle/cable and press the
HotSync button.
Mac:
After the installation finishes, place
your handheld in the cradle/cable and
press the HotSync button.
Tip:
You can also perform a HotSync
operation using Bluetooth
communication. For more information,
see
Summary of Contents for P80860US - Tungsten T2 - OS 5.2.1 144 MHz
Page 1: ...Handbook for Palm Tungsten T2 Handheld ...
Page 14: ...Contents xiv ...
Page 16: ...About This Book 2 ...
Page 36: ...Chapter 2 Exploring Your Handheld 22 ...
Page 100: ...Chapter 5 Using Address Book 86 ...
Page 104: ...Chapter 6 Using Calculator 90 ...
Page 108: ...Chapter 7 Using Card Info 94 ...
Page 124: ...Chapter 8 Using Date Book 110 ...
Page 132: ...Chapter 9 Using Palm Dialer 118 ...
Page 144: ...Chapter 11 Using Memo Pad 130 ...
Page 162: ...Chapter 13 Using Palm Photos 148 ...
Page 320: ...Chapter 17 Using Palm VersaMail Personal E mail Software 306 ...
Page 330: ...Chapter 18 Using Voice Memo 316 ...
Page 356: ...Chapter 19 Using Web Browser Pro 342 ...
Page 462: ...Appendix A Maintaining Your Handheld 448 ...
Page 501: ...Index 487 Writing area on handheld 12 preferences 388 Writing See Entering data ...
Page 502: ...Index 488 ...


