User’s Manual
32
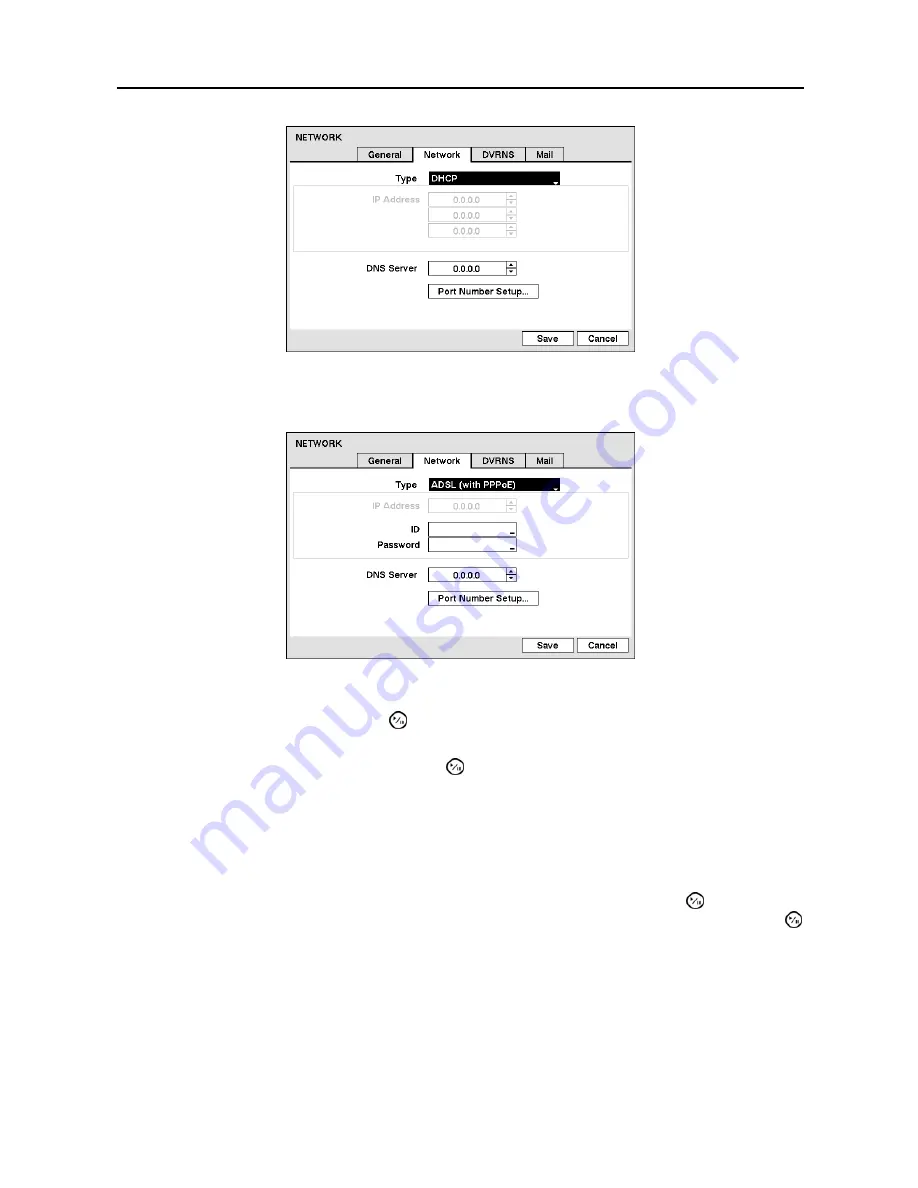
Figure 22
─
Network (DHCP) screen.
Selecting
ADSL (with PPPoE)
allows you to set up the ADSL network.
Figure 23
─
Network (ADSL) screen.
Highlight the box beside
ID
and press the button. A virtual keyboard appears allowing you to enter the
ID for ADSL connection.
Highlight the box beside
Password
and press the button. A virtual keyboard appears allowing you to
enter the password for ADSL connection.
NOTE: Entering the
ID
and
Password
and highlighting
OK
reads the current IP address of the DVR
configured by the ADSL network.
NOTE: If the DVR is configured for DHCP or an ADSL network, the IP address of the DVR might change
whenever the unit is turned on.
After you are finished with the Network Screen, you can highlight
Save
and press the button to save
the changes and exit the screen. If you do not wish to save the changes, highlight
Cancel
and press the
button to exit the screen.


