d-Color MF552/452/362/282/222
3-7
3.2
Sending after checking the state on the recipient side (manual transmission)
3
5
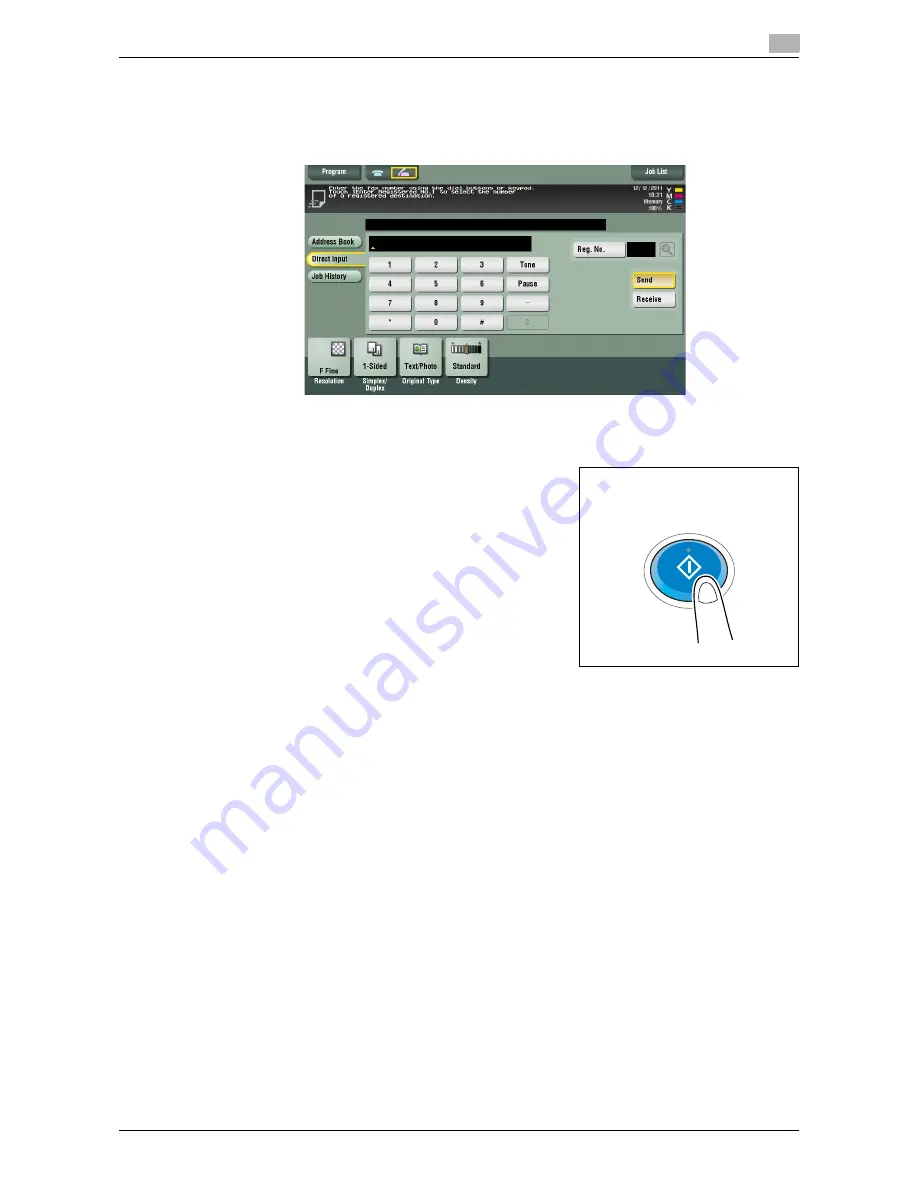
Check that [Send] is selected and specify a fax number.
%
Fax numbers can be specified from [Address Book], [Direct Input], [Job History] or [Program]. For
details on how to specify the destination, refer to page 3-13. For details on how to recalling a
fax/scan program, refer to page 3-15.
6
As signal sounds are heard, press
Start
.
%
To redo operations for specifying destinations or option settings, press
Reset
.
This displays a screen that asks whether you want to start sending faxes.
7
Tap [Yes].
Sending starts. If you are using a phone, replace the handset.
%
Press
Stop
while the original is being scanned to stop scanning and view a list of inactive jobs. To
redo scanning of the original, delete the job from the list of inactive jobs.
Summary of Contents for d-Color MF552
Page 10: ...Contents 8 d Color MF552 452 362 282 222...
Page 11: ...1 Fax Functions...
Page 12: ......
Page 14: ...1 1 4 d Color MF552 452 362 282 222...
Page 15: ...2 Setting up for faxing for the administrator...
Page 16: ......
Page 20: ...Option settings 2 2 6 d Color MF552 452 362 282 222 2 3...
Page 21: ...3 How To Send a Fax...
Page 22: ......
Page 50: ...Option settings for Fax TX 3 3 30 d Color MF552 452 362 282 222 3 6...
Page 51: ...4 Sending Options...
Page 52: ......
Page 77: ...5 How To Receive a Fax...
Page 78: ......
Page 82: ...Manual reception 5 5 6 d Color MF552 452 362 282 222 5 2...
Page 83: ...6 Receiving Options...
Page 84: ......
Page 103: ...7 Printing Fax Reports...
Page 104: ......
Page 107: ...8 Managing Destinations...
Page 108: ......
Page 119: ...9 Description of Setup Buttons...
Page 120: ......
Page 147: ...10 Description of Setup Buttons User Settings...
Page 148: ......
Page 159: ...11 Description of Setup Buttons Administrator Settings...
Page 160: ......
Page 193: ...12 Index...
Page 194: ......


