2 OPERATIONS WITH THIS EQUIPMENT
14 Printing Documents
5
Change the print settings as necessary.
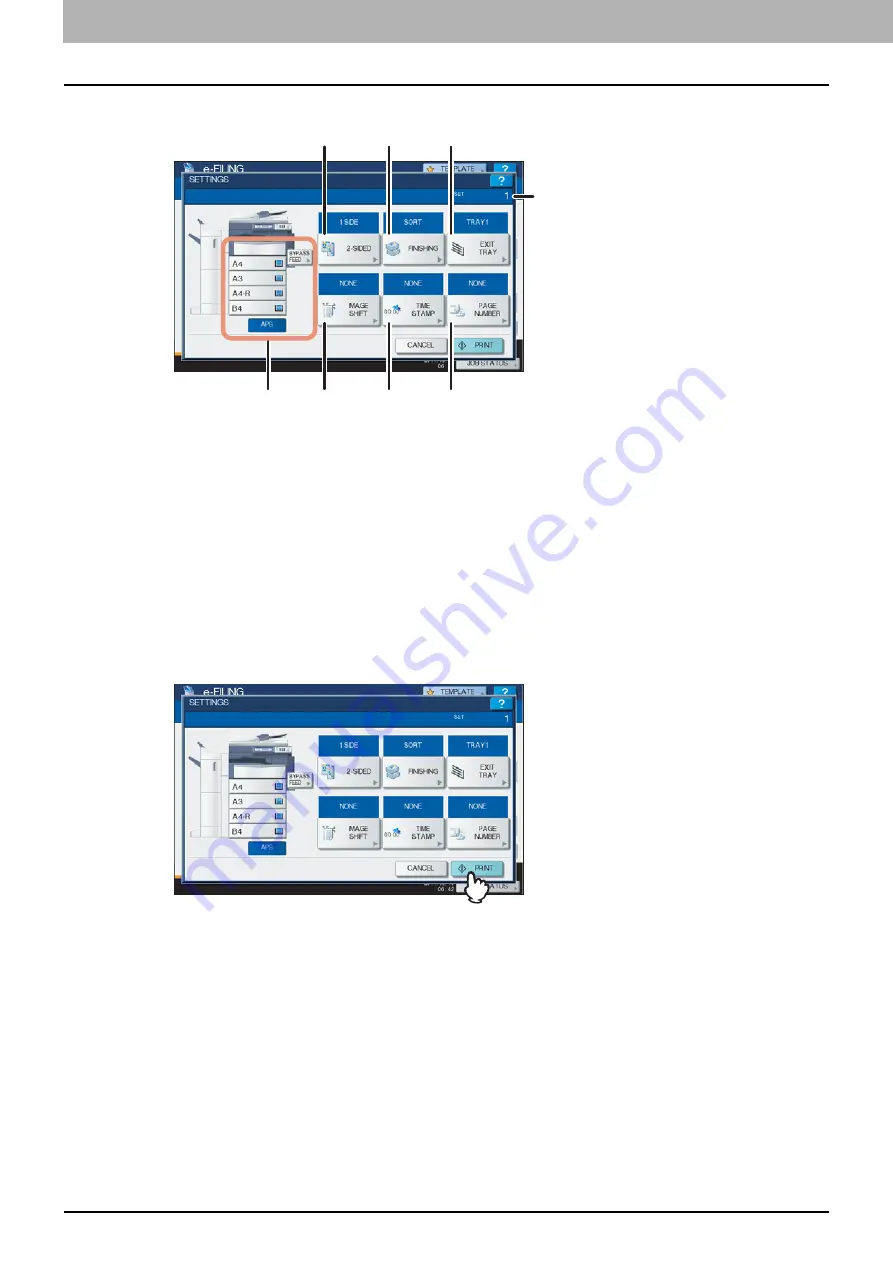
You can operate the print settings as below. For step 3 to 8, when each button of the menu is pressed, the setting
screen appears. Perform the appropriate operations. These operations of settings are the same as the one of copy
modes. For details of the operation, refer to the
Copying Guide
.
1) Select the paper feeder. However, if the selected paper size is different from the actual one, the selection will be
cancelled and automatic paper selection will be applied.
2) Key in the number of copies to be printed using the digital keys.
3) Select the duplex printing mode. If you do not want to print on both sides of the paper, select [1 SIDE] in the
menu.
4) Select the finishing mode. The available finishing modes differ depending on the type of finishing device
installed.
5) Select the receiving tray. This button is available only when the Finisher (optional) is installed.
6) Set the position and width of the margin.
7) Set the position of the date and time to be printed.
8) Set the position of the page number to be printed.
6
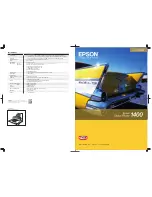
Press [PRINT].
Deleting print jobs
Follow the procedure below to stop the printing of the document (delete print jobs).
1) Press [JOB STATUS].
2) On the job status menu, display the print job list or the scan job list.
3) Select the job you want to delete, and then press [DELETE].
4) The delete confirmation screen appears. Press [DELETE].
For details of deleting print jobs, refer to the
Copying Guide
.
1
6
7
8
3
4
5
2
Summary of Contents for CX4545 MFP
Page 12: ......
Page 118: ......
Page 121: ...ES9460 MFP ES9470 MFP CX3535 MFP CX4545 MFP ES9160 MFP ES9170 MFP...


