5 MANAGING DOCUMENTS
82 How To Manage Documents
Destination setting
On the Recipient List page, you can specify up to 400 destinations to send e-Filing documents as Email.
You can specify the recipients by entering the Email addresses manually, selecting the recipients from an address book,
selecting the recipient groups from an address book, or searching the LDAP server for recipients.
If [LDAP Authentication] is selected in [Authentication Type], you can choose only destinations that are registered in
the authenticated LDAP servers. For details of the LDAP Authentication option, refer to the
TopAccess Guide
.
P.82 “Entering recipients manually”
P.83 “Selecting recipients from an address book”
P.84 “Selecting groups from an address book”
P.85 “Searching the LDAP server for recipients”
P.86 “Removing contacts from the recipient list”
Entering recipients manually
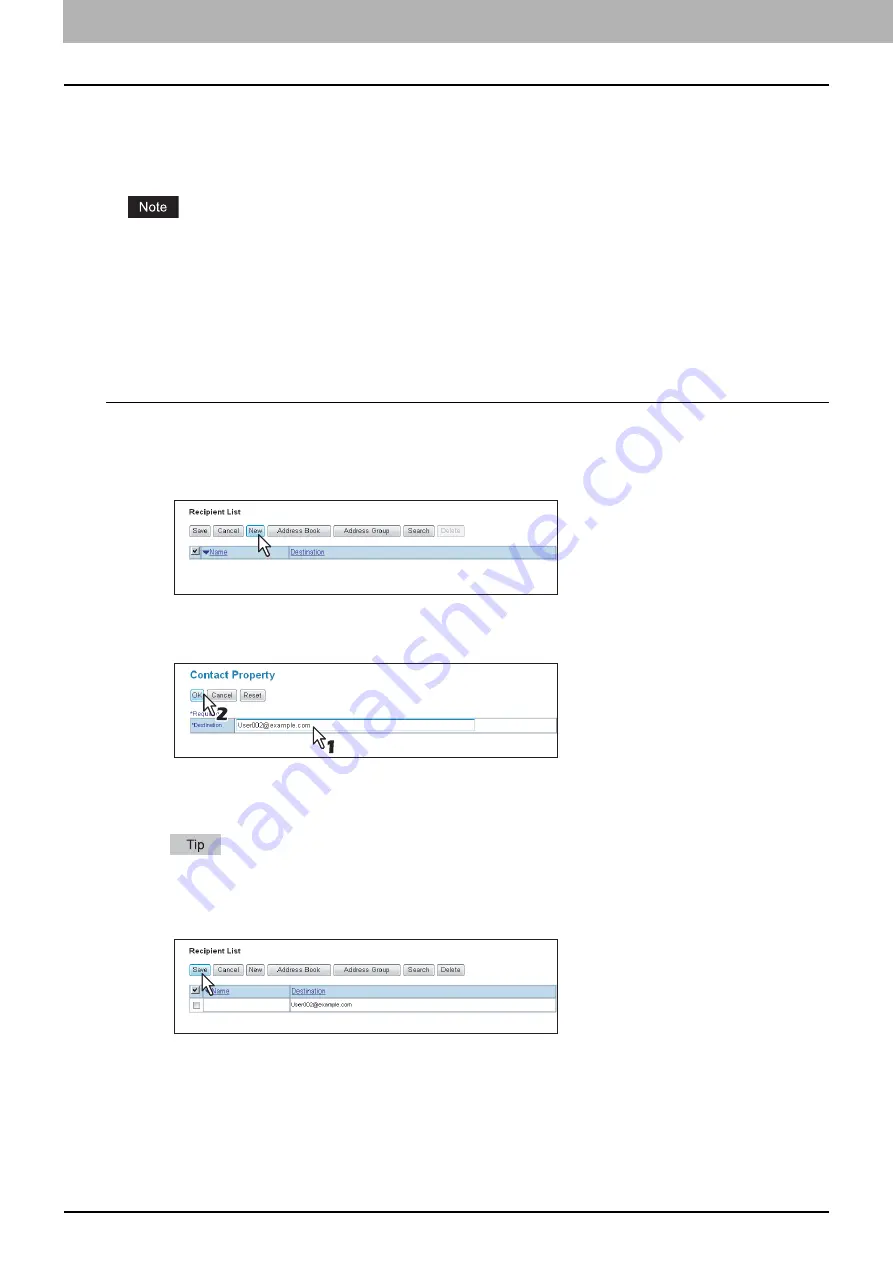
Follow the steps below to manually add a recipient to the Recipient List.
1
Click [Destination Setting] to open the Recipient List page.
2
Click [New].
The Contact Property page is displayed.
3
Enter the Email address of the recipient in the [Destination] box and click [OK].
The entered recipient is added to the Recipient List page.
4
Repeat steps 2 and 3 to add all the recipients as required.
You can remove contacts once added to the recipient list before saving the destination settings.
P.86 “Removing contacts from the recipient list”
5
Click [Save].
The contacts are added as the destinations.
Summary of Contents for CX4545 MFP
Page 12: ......
Page 118: ......
Page 121: ...ES9460 MFP ES9470 MFP CX3535 MFP CX4545 MFP ES9160 MFP ES9170 MFP...


