Scan to E-mail: Using the SendMe Scan Settings
82
CX3641 Advanced Technical User Guide
Tools for Converting Paper Documents to Digital Files
All of the SendMe document distribution and management methods
(E-mail, NetConnect, Print)
use the scan workspace to convert paper
documents to digital files. Several tools are available in the
workspace:
•
Scan
settings (see “Using the SendMe Scan Settings” on page 82)
•
View
settings (see “Using the SendMe View Settings” on page 84)
•
File Formats
(see “About the SendMe Digital File Format Settings”
•
Encryption
Settings (see “About SendMe Encryption Settings” on
•
Edit
settings (see “Using the SendMe Edit Settings” on page 88)
Using the SendMe Scan Settings
THE SCAN SETTINGS
SHOULD BE TAILORED
TO EACH DOCUMENT
THAT IS SCANNED
The Scan settings tell the scanner what type of documents you are
scanning (e.g., whether the document is single- or double-sided and
the document size) and what information you want to collect from the
document (e.g., color information and image resolution) to produce
the best digital file.
TABLE 5-2.
Scan Settings
To specify the:
Touch this icon:
Choose a Setting:
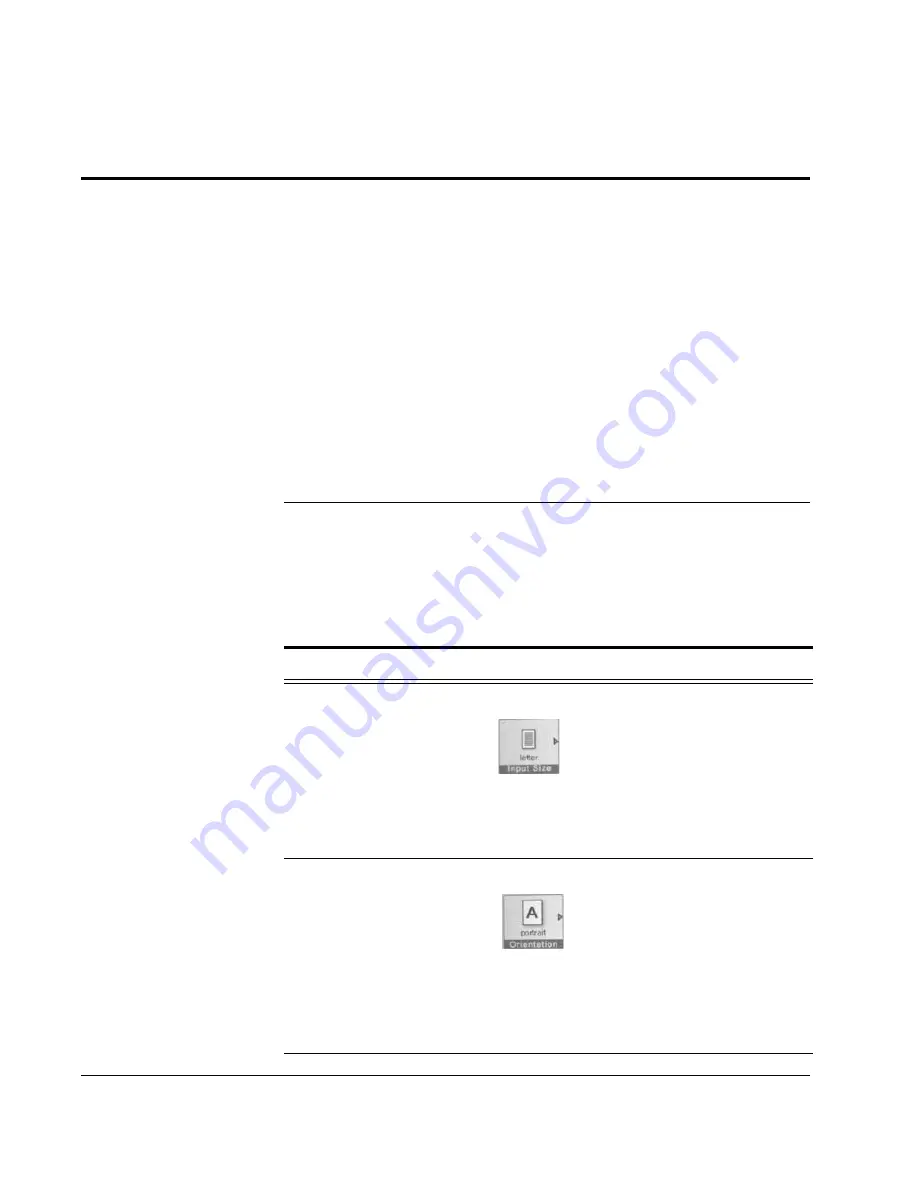
Document size
Tells the scanner what
size documents you
are loading. If you are
using documents of
different sizes, you can
use the “AUTO” setting
or scan each size
separately.
Input Size
•
Letter (8.5” x 11”)
•
Legal (8.5” x 14”)
•
Tabloid (11” x 17”)
•
A4
•
A3
•
Auto (scanner
determines size)
Orientation of the page
Tells the scanner which
side of the page is at
the top. For documents
with a variety of
orientations, use the
Clean up tools on the
Edit tab, see
SendMe Edit Settings”
on page 88.
Orientation
•
Portrait (short edge on
top)
•
Portrait (long edge on
top)
•
Landscape (short edge
on top)
•
Landscape (long edge
on top)


