


Appendix B Option Units
B-4
Close the stoppers of the DIMM socket to secure the
DIMM.
When you finish installing the DIMM, reinsert the
side cover into the printer by reversing the removal
procedure.
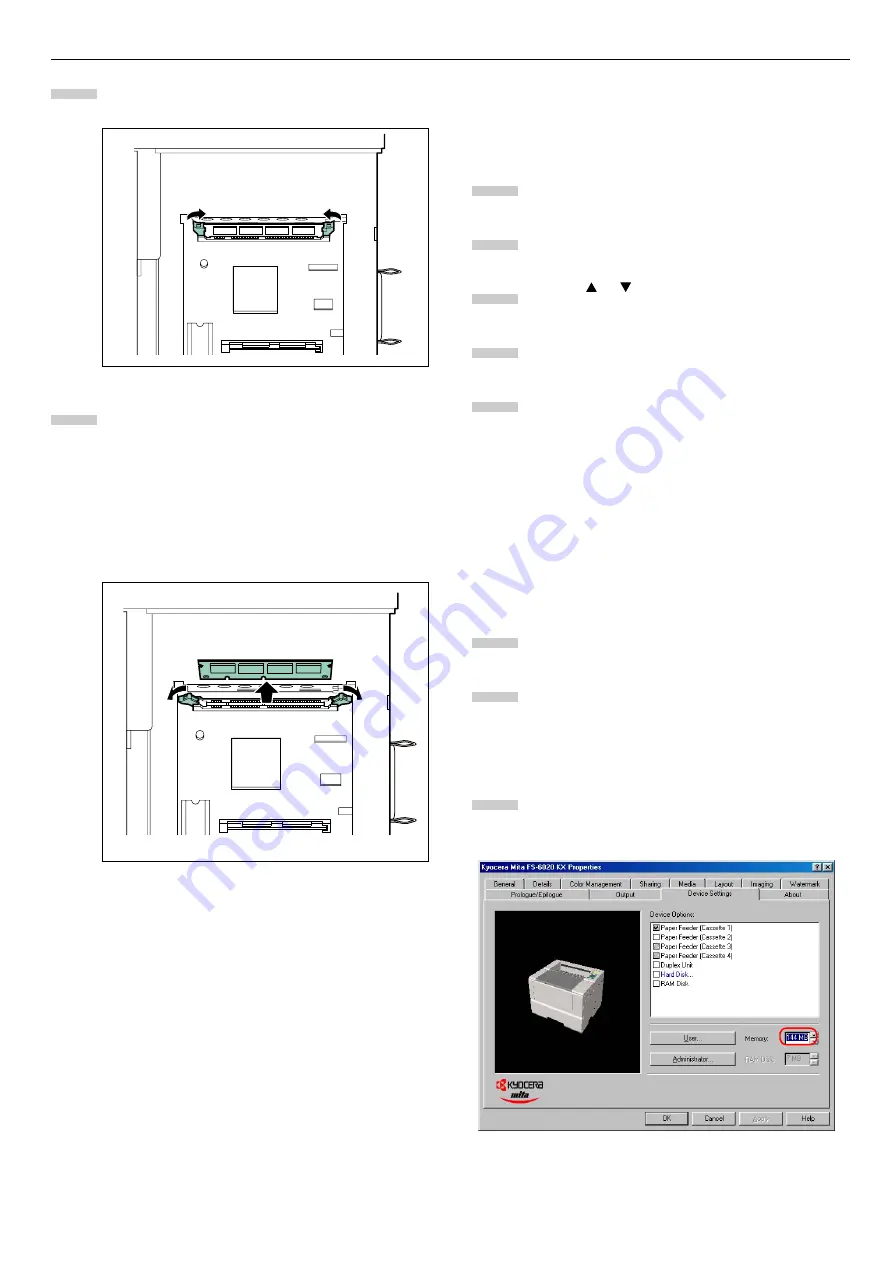
Removing DIMMs
To remove a DIMM, carefully pull the end stoppers out-
wards, then pull the DIMM out of the socket.
Testing the Expansion Memory
After you finish installing DIMMs in the printer, test the
printer to see if the installation was successful. To test the
expansion memory, proceed as follows:
Make sure printer is turned off. Plug the power cord
into the printer and turn the printer on.
Press the
MENU
key on the operator panel.
Press the or key repeatedly until
Status Page
appears.
Press the
ENTER
key twice.
If the installation was successful, the amount of
memory shown on the status page will correspond
with the amount of expanded memory. (The factory
installed memory size is 16 MB.)
Setting the Printer Driver
After you install the additional memory to the printer, follow
the instructions below to set the printer driver so that the
printer can use the memories efficiently.
Click the Windows
Start
button, point to
Settings
then click
Printers
.
Right click the
Kyocera Mita FS-6020 KX
icon, and
click
Properties
.
The
Properties
dialog box will open. Click the
Device
Settings
tab.
Enter the total memory size installed to the printer
(up to 144 MB) in the
Memory
box.
5
6
1
2
3
4
5
1
2
3


