


3
Specifying Settings From the Control Panel
3-110
cm2520
Sp
ec
ifyin
g
Set
tin
gs
F
ro
m
th
e
Co
nt
ro
l Pa
ne
l
Chapter 3
To specify the notification address settings
1
In the Total Counter Report Setting screen, touch [Schedule1].
The Schedule1 setting screen appears.
2
Specify the notification period.
3
Touch [OK].
The Total Counter Report Setting screen appears again.
2
Note
To cancel changes to the setting, touch [Cancel].
Notification Address Setting
You can specify the e-mail addresses for sending the total counter. You can
specify up to three addresses. An example for specifying “Address1” is de-
scribed below.
1
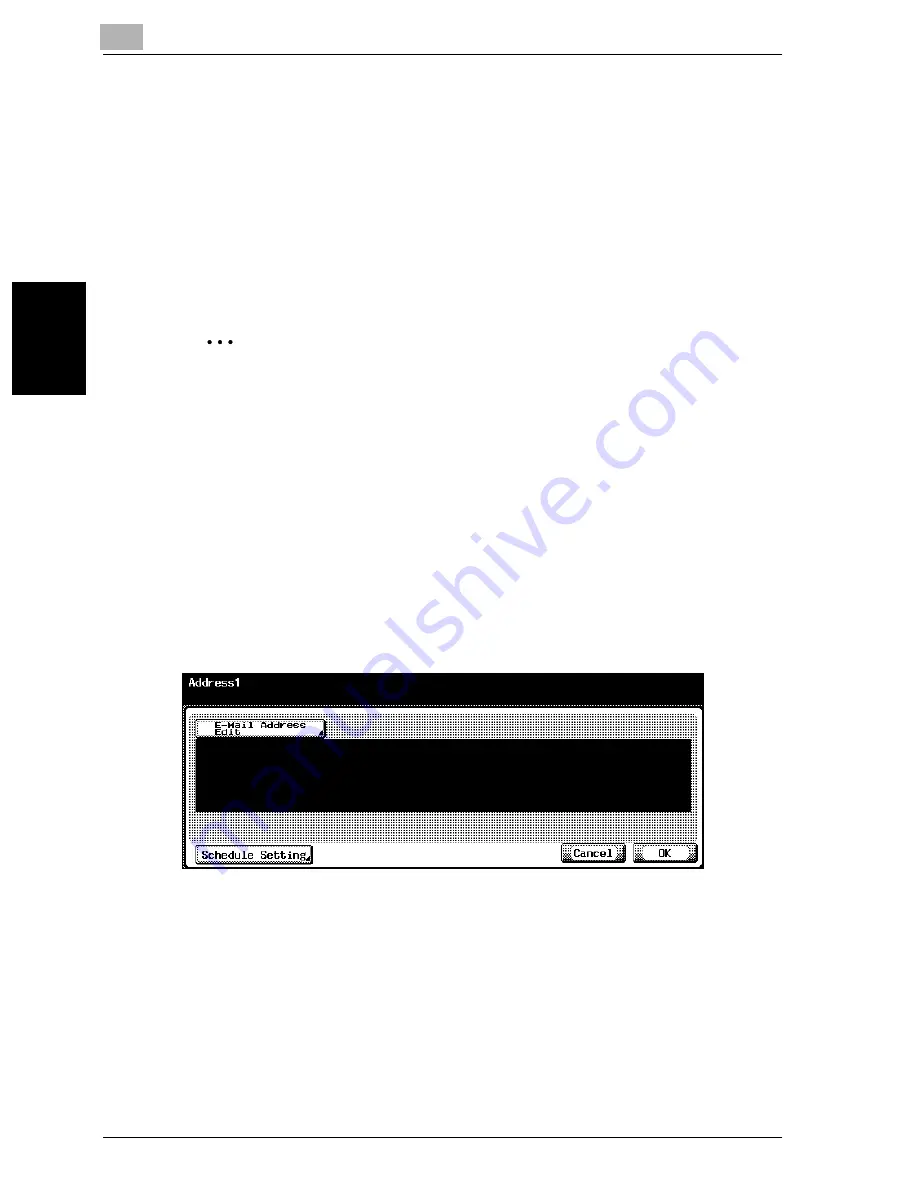
In the Total Counter Report Setting screen, touch [Address1].
The Address1 screen appears.
2
Touch [E-Mail Address Edit], and then use the keyboard that appears
to type in the e-mail address (up to 255 characters).
3
Touch [OK].
4
Touch [Schedule Setting].
The Schedule Setting screen appears.
Summary of Contents for cm2520
Page 1: ......
Page 19: ...Introduction x 18 cm2520...
Page 20: ...1 Before Using the Scan Functions Chapter 1 Before Using the Scan Functions...
Page 33: ...1 Before Using the Scan Functions 1 14 cm2520 Before Using the Scan Functions Chapter 1...
Page 34: ...2 Scanning Documents Chapter 2 Scanning Documents...
Page 260: ...4 Specifying Settings Using Web Connection Chapter 4 Specifying Settings Using Web Connection...
Page 376: ...5 Scan Function Troubleshooting Chapter 5 Scan Function Troubleshooting...
Page 378: ...6 Appendix Chapter 6 Appendix...
Page 383: ...6 Appendix 6 6 cm2520 Appendix Chapter 6...
Page 395: ...6 Appendix 6 18 cm2520 Appendix Chapter 6...
Page 396: ......


