3
Specifying Settings From the Control Panel
3-52
cm2520
Sp
ec
ifyin
g
Set
tin
gs
F
ro
m
th
e
Co
nt
ro
l Pa
ne
l
Chapter 3
9
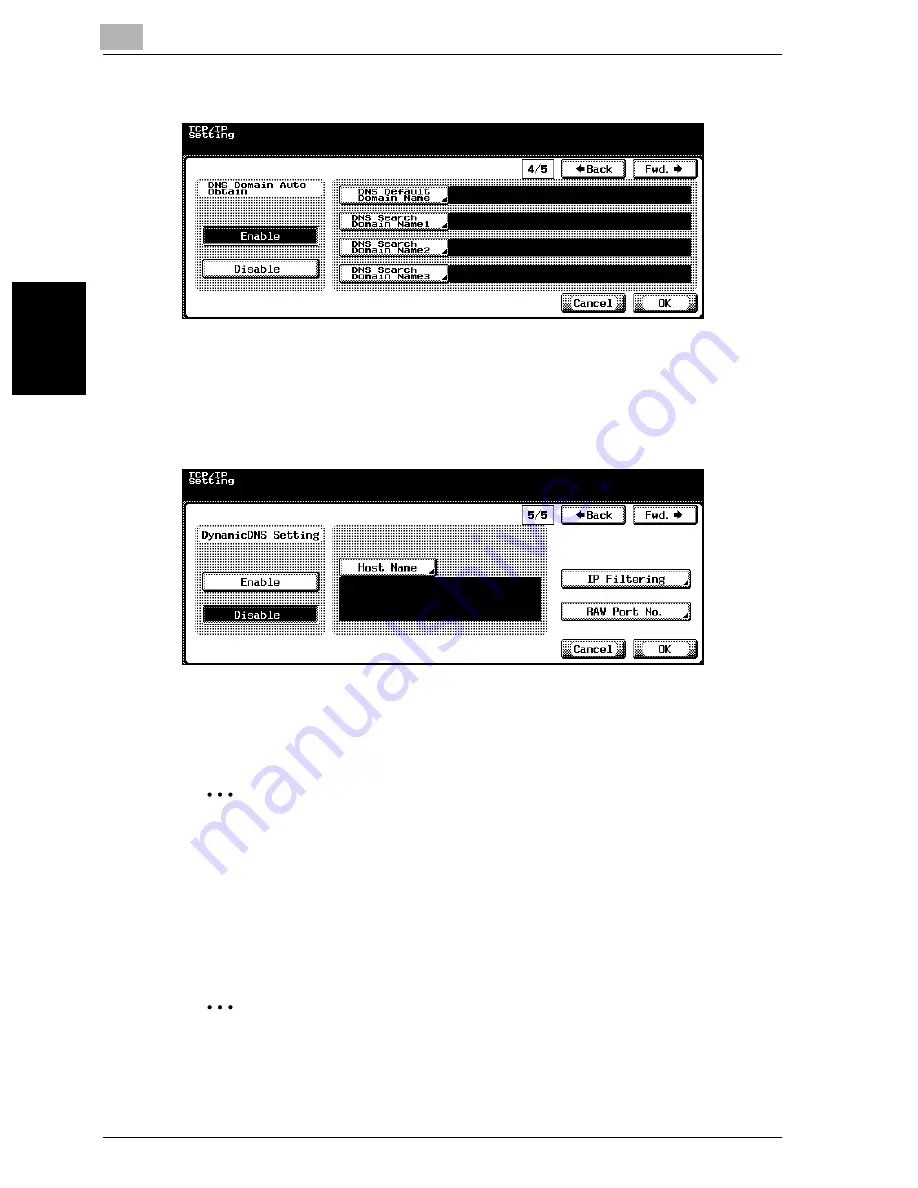
Specify the desired settings.
10
Touch [Fwd.
→
].
TCP/IP Setting screen 5/5 appears.
11
Specify the desired settings.
12
Touch [OK].
The TCP/IP settings are applied.
2
Note
To cancel changes to the setting, touch [Cancel].
To quit specifying the Utility mode setting, touch [Exit] in the sub display
area or press the [Utility/Counter] key. Otherwise, cancel the Utility mode
by touching [Close] in each screen until the screen for the Copy, Fax,
Scan or Box mode appears.
2
Reminder
In order to apply the changes made to “IP Address”, “Subnet Mask”,
“Default Gateway”, and “DHCP”, the machine must be turned off, then
on again.
Summary of Contents for cm2520
Page 1: ......
Page 19: ...Introduction x 18 cm2520...
Page 20: ...1 Before Using the Scan Functions Chapter 1 Before Using the Scan Functions...
Page 33: ...1 Before Using the Scan Functions 1 14 cm2520 Before Using the Scan Functions Chapter 1...
Page 34: ...2 Scanning Documents Chapter 2 Scanning Documents...
Page 260: ...4 Specifying Settings Using Web Connection Chapter 4 Specifying Settings Using Web Connection...
Page 376: ...5 Scan Function Troubleshooting Chapter 5 Scan Function Troubleshooting...
Page 378: ...6 Appendix Chapter 6 Appendix...
Page 383: ...6 Appendix 6 6 cm2520 Appendix Chapter 6...
Page 395: ...6 Appendix 6 18 cm2520 Appendix Chapter 6...
Page 396: ......


