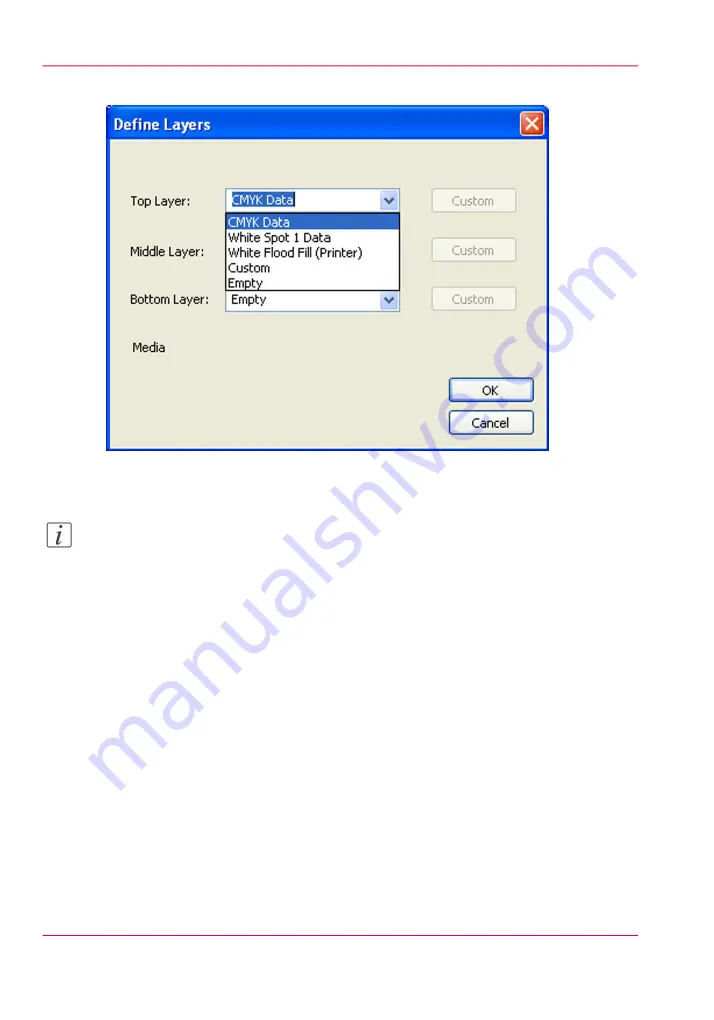
5.
Select White Flood Fill (Printer).
[102] Define Layer
6.
Put the printer back online in ONYX RIP-Queue and send the job to the printer.
Note:
To preview the layer order in the image, click Layers in the printer software.
7.
Print the job.
Chapter 9 - How to Work With White Ink and Varnish
154
White Ink QuickStart
Summary of Contents for Arizona 400 Series GT
Page 1: ...Oc Arizona 400 Series GT Oc Arizona 440 460 480 GT XT Revision A Oc User Manual...
Page 6: ...6 Contents...
Page 7: ...Chapter 1 Introduction...
Page 14: ...Chapter 1 Introduction 14 Product Compliance...
Page 15: ...Chapter 2 Product Overview...
Page 18: ...Chapter 2 Product Overview 18 Printer Specifications...
Page 19: ...Chapter 3 Safety Information...
Page 41: ...Chapter 4 How to Navigate the User Interface...
Page 71: ...Chapter 5 How to Operate Your Oc Arizona Printer...
Page 97: ...Chapter 6 How to Operate the Oc Arizona 400 Series XT...
Page 104: ...Chapter 6 How to Operate the Oc Arizona 400 Series XT 104 How to Print With Dual Origins...
Page 105: ...Chapter 7 How to Operate the Roll Media Option...
Page 136: ...Chapter 7 How to Operate the Roll Media Option 136 How to Use Media Edge Protectors...
Page 137: ...Chapter 8 How to Use the Static Suppression Upgrade Kit...
Page 141: ...Chapter 9 How to Work With White Ink and Varnish...
Page 198: ...Chapter 9 How to Work With White Ink and Varnish 198 How to Create and Use Quick Sets...
Page 199: ...Chapter 10 Ink System Management...
Page 206: ...Chapter 10 Ink System Management 206 How to Change Ink Bags...
Page 207: ...Chapter 11 Error Handling and Trou bleshooting...
Page 211: ...Chapter 12 Printer Maintenance...
Page 265: ...Appendix A Application Information...


